
I'm celebrating a goal accomplished at this Resolutions time of year!
The goal last year: to not purchase sandwich bread at the store for a year.
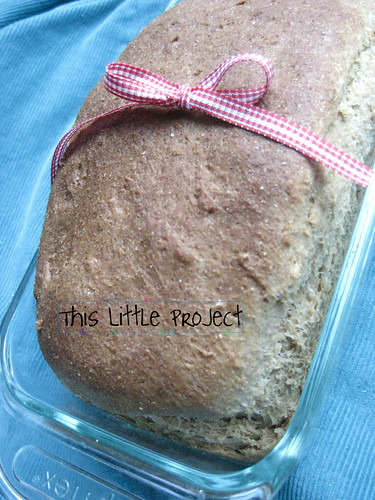
Instead I made homemade
Honey Whole Wheat Bread
for a whole year!
Honey Whole Wheat Bread
for a whole year!
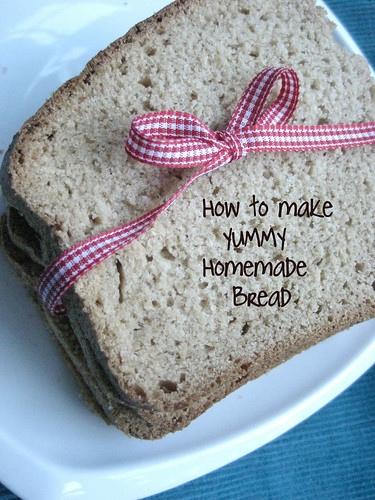
And to celebrate I want to share my favorite recipe
and a {little} story :)
My mother-in-law gave us This L'EQUIP Nutrimill Grain Mill awesome wheat grinder as a Christmas gift. And since I had made bread almost every weekend for years as a kid (that's the story coming up) I thought I should put the grinder to good use! That's right, this bread is made {little} Red Hen style: grinding my own wheat and everything (but no, I didn't grow the wheat--I'll tell you where to get some below :)

So I decided that I would make all of our own loaf bread for a year.
I didn't make all our bread--not hamburger buns, bagels, etc. Just loaf bread. We go through about 4 loaves a week, give or take.
And now that it's been 16 months of homemade bread (OVER 250 loaves!) I have to say that this really is a {little project}. Making bread isn't really that hard. It's like most things: it takes practice and patience. It might not turn out perfect every time. But bread is forgiving. And it's yummy too!
The best is that my {little} 4 and 6 year old tell me how much better homemade bread is than the bread from the store. Talk about motivation :)
Now for the story: This past year I have used the same recipe every time. It's the recipe I grew up with. My mom has a friend named Orva. Orva made her own YUMMY bread and my mom starting making it too. Now, Orva is one of those amazing people that has 7 or 8 kids and makes her own bread. And now that I'm a mother too, I can appreciate that! My mom was just that same kind of woman. In fact, she tasted the bread and thought that others would like it too. So what did she do? She put her entrepreneurial skills in motion and got her kids learning how to make bread!
You know how hard it is to find "real work" for your kids to do--especially when they don't grow up on a farm and aren't 16 yet? Well, 12 year olds and 10 year olds can make bread too. How do I know this? Because me and all of my siblings made bread and sold it to our neighbors!
My mom's brilliant idea worked: Our neighbors loved having hot-from-the-oven Honey Whole wheat Bread delivered right to their door on Saturdays. We had a regular route of people every week. Which means we had a regular responsibility! And we also had a regular income which we, as kids, loved!
So, whether you want to enjoy the bread for yourself and family, or put your kids to work,
here is the recipe and some {little} tips too!
Here are some {little} bread-making tips:
First, making bread isn't hard. It just takes a little practice. Bread is quite forgiving. The main things you need to make bread are: time (I try to do it on a day I'm home a lot because it has to rise) and a willingness to try again if it doesn't work out as well as you liked. I've had bread with bubbles (holes through the middle) and undercooked bread and overcooked bread. But the more you do it, the better you get! Really!
I have a fun red Kitchenaid that was a wedding gift and I love it, except for making bread.

If you are considering a purchasing mixer and want to make bread, you want to get this Bosch instead:

The reason is that the bread dough can wind right up the mixing head of the Kitchenaid up to the motor, which can be a big pain.
So when I make bread I mix it in 2 halves (so only 2 loaves worth is in the mixer at a time. This is also easier on the motor (another reason the Bosch is better for bread making) and then the whole batch (4 loaves since I mix 2 of the recipe above ) is still rising and cooking at the same time.
I purchase my wheat here, from a LDS Home Storage Center.
Whole wheat flour and white flour are different enough that you have to be pretty true to the recipe, using what either calls for. This recipe is a whole wheat recipe and doesn't work with regular white flour.
Notice in the recipe that the first half of the recipe needs to sit for at least an hour. That is important. It's called "sponging" and it helps the bread to be softer.
Also, the knead time of 10 minutes at the end of the recipe is also important to the texture of the bread. I stay close by during that time, checking the consistency of the dough and adding more flour as needed. The dough should pull away from the side of the bowl as it mixes and not be too wet.
It's best to add that flour a {little} at a time. It's easier to add flour to wet dough than to add water to a dough that is too dry--because the water doesn't mix in as well!
If you haven't kneaded dough by hand before, don't worry! It's not that hard. Ask a friend who knows or look for a good video of how to do it on youtube :) You just do that at the end to form the dough into 2 loaves for the pans.
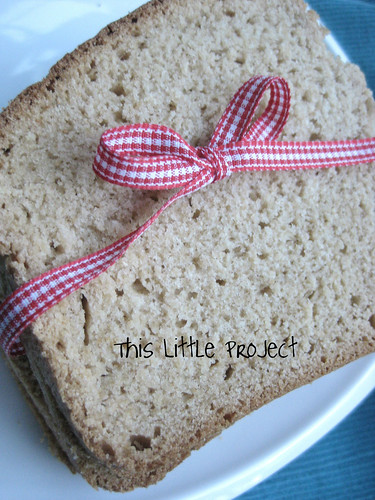
One great thing about making your own bread is that you know just what is in it. And this bread is healthy goodness that I can feel really great about feeding my family.
Not only that, but it's soooo yummy! There's no treat like hot bread from the oven!
If you haven't made bread before I hope you will give it a try!
Enjoy!!

You may also be interested in our (easy) Favorite Breadsticks!

1 comment:
How do you store your bread for the week after you make it?
Post a Comment