Showing posts with label Birds. Show all posts

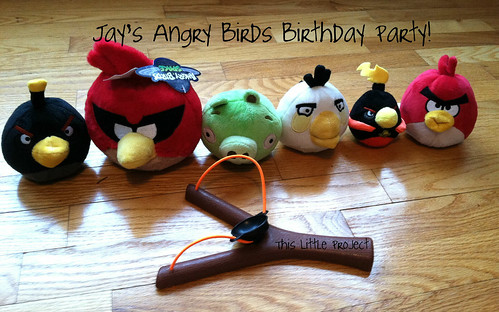
Jay's Angry Birds Birthday Party


Jay told me he wanted to invite some friends over for an Angry Birds birthday party this year.  He told me this months ago and I was grateful for the warning because we would have a newborn when his birthday came around!

I tried to think ahead but I knew I would have to keep it simple.  And simple turned out to be perfect.  We had a ton of fun and baby M slept through the whole thing--perfect!
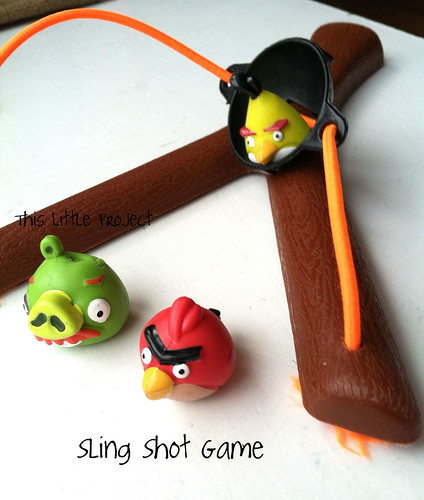


I wanted to have a fun game for the kids to play while we were waiting for the guests to arrive.  I made a Sling Shot Game and it was the perfect activity and it kept everyone busy and having a great time.

I had all kinds of blocks available for the kids to build structures with.  They built their structure and then they placed the green pom poms in them for the piggies.
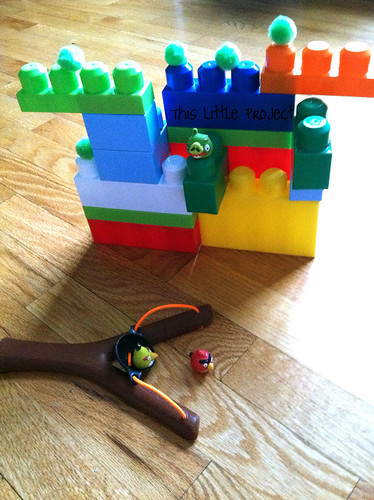

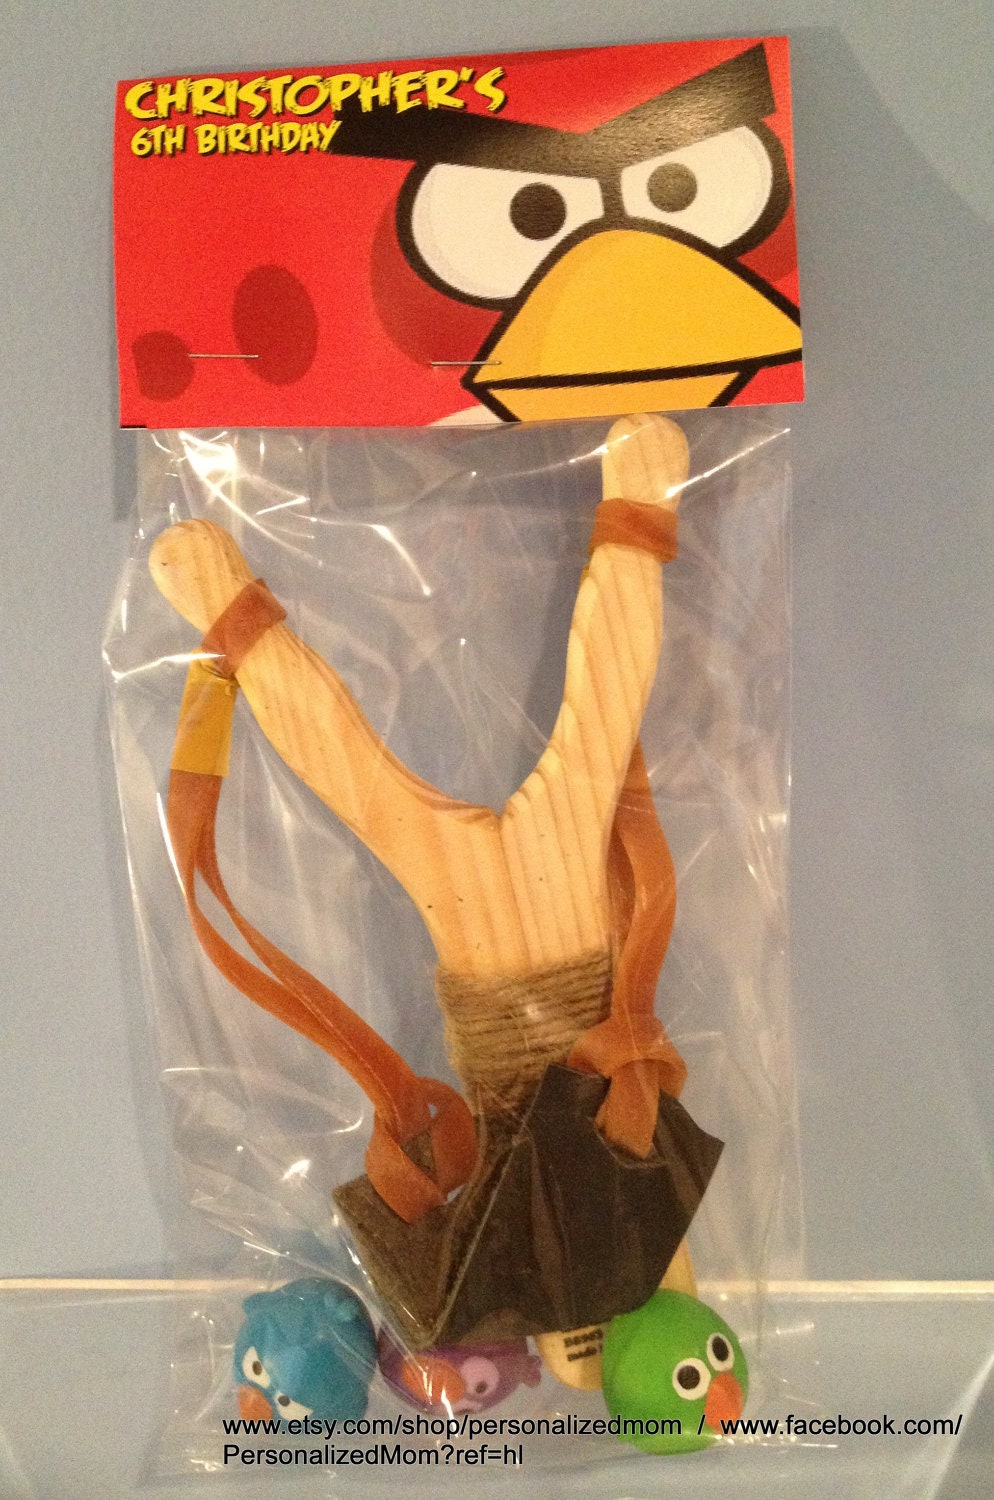
I had a variety of sling shots and Angry Birds available to fling at their structures.  They loved it!


After the kids had fun knocking down their structures we went on a {little} Treasure Hunt --one with secret codes!


The treasure they were looking for was this nest of eggs (the eggs the green pigs stole!)


I filled the eggs up with Angry Birds Fruit Snacks.


I prepared enough Treasure Hunt clues for each guest.  
But they were in a secret code.  
This clue took them to the playroom. 
 

I used white 3x5 cards and wrote the clues out with a white crayon so they couldn't see the clue. I numbered the clues on the other side so I would remember what order they went when I placed them.

Then I gave each child a washable marker.  As they went around from one clue to the next each guest had a turn to "decode" the clue by coloring their marker over the card to show what it said. 
So easy!
And they LOVED it!

One of our favorite traditions is reusable gift wrap.  For each birthday I make a birthday shirt (see below for that) and I also make a gift bag that matches the theme of their birthday or goes along with something they like that year. It's fun to use the bags from the past and remember the fun years we've had and the celebrations we've had together of our special birthday boy!


I happened upon some clearance Angry Birds t-shirts and made one into a bag for this year.  The space bags worked perfectly with it too!
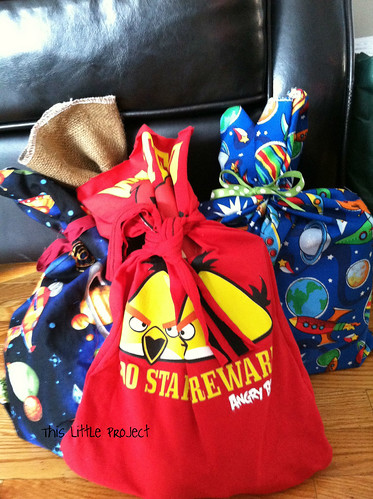


  I used one of my clearance shirts that I found for Jay's Birthday Shirt this year, and just added the 7 to the bottom right of the shirt.  I love {little} projects like that! 
(You might recognize the "7" fabric from other upcycled projects this winter ;)

  Jay wants to wear his birthday shirt everyday. I'm not kidding. 
 He loves it :)


I happened upon some sling shots at a garage sale this summer (perfect!) but here are some other places to find them:

 Oriental Trading
 Pinned Image

Etsy: Bird Sling Shot Party Favors


One of our family's favorite games is "Don't Eat Pete."  So I made an Angry Birds version (you can print it out below.)
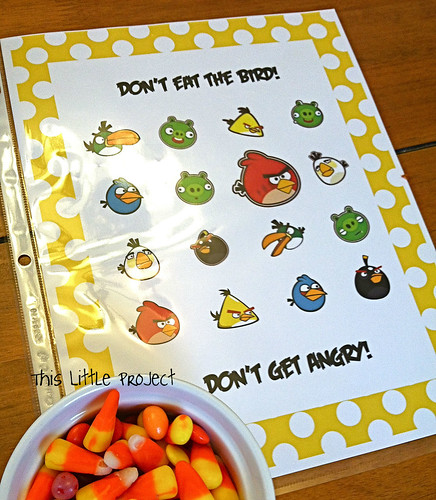


The kids LOVED this {little} game!  And it's so easy to play and prepare!  The candy in the bowl was our "bird seed" and we used it to cover up each Angry Bird on the paper.

Then we went around the circle and each child had a turn being the one choosing the bird that "doesn't want to be eaten" and his neighbor went out of the room while it was being chosen.
Then he came back in and took a candy off each Angry Bird until he got to the one that had been "chosen."  When that happened everyone yelled, "Don't eat the bird!" and his turn was over.  The goal is to get as many treats as they can--what's not to love about that kind of game ;)

It was a hit! 
Here's a copy for you to enjoy (but not to sell.)

Angry Birds Game


I used this [free!!!] printable Angry Birds party kit for setting up a lot of the rest of the party.

It made putting the rest together truly a {little project}.
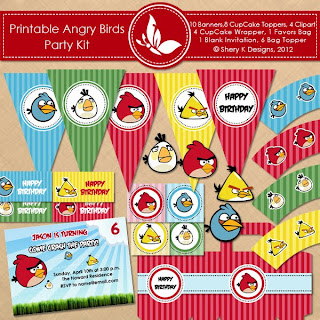
Free Printable Bithday Kit | Angry Birds

Here's what I used the Party Kit for:

Jay's Party invite: sample included on left in photo above.  I imported it to My Memories Suite --which I love! (use code: STMMMS60806 to save $10)
Using this software it was easy to customize it. 
The Angry Birds font is even included in the party kit!

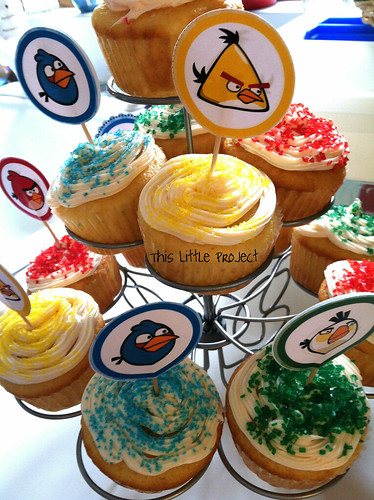
I made cupcake toppers with toothpicks and a little glue.  I {heart} cupcakes so these were perfect and simple.  The colored sprinkles were enough to fancy them up!

The printable birthday banner--super simple and fun!
The kit comes with empty banner pieces to write the birthday boy's name in too!
  
And the Party Favors: 
 
I found the Angry Birds activity books at Joann Fabrics in the $1 book bins.


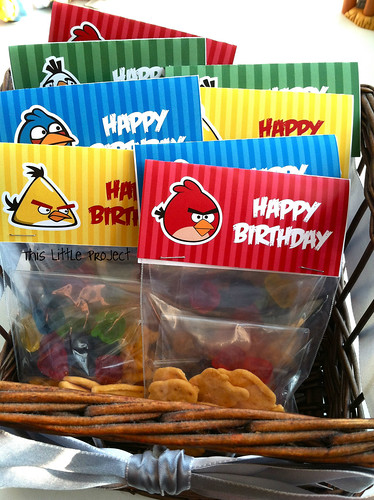
I had Angry Birds Fruit Snacks and and Angry Birds Cheese Nips in {little} baggies with the bag topper that is included in the kit.
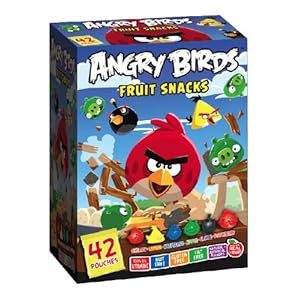
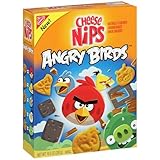
Angry Birds Fruit Snacks 42 Pouch Assortment Variety BoxProduct Details
 
 
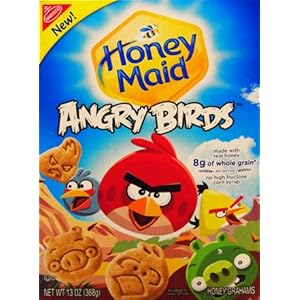
The Angry Birds Honey Grahams are also a perfect snack!

Spring Birds-they hatched!

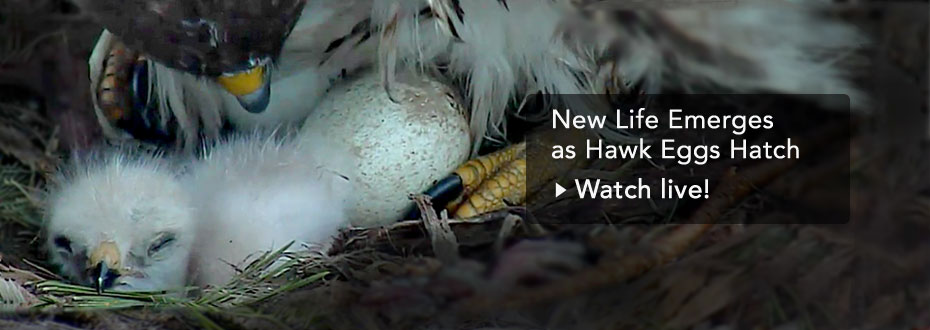
I shared the links last week for the live webcams of the two bird nests we've been watching.  

Well, all the eggs have hatched and the {little} baby birds are darling!

You have to go see them!

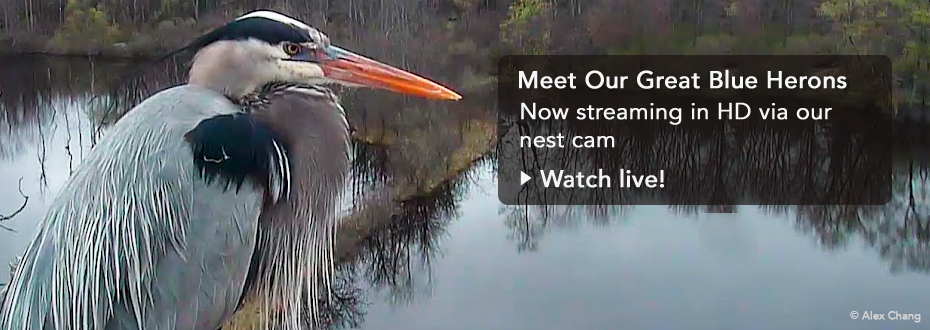
Here's the link for the Great Blue Heron nest.
 
Watch HD video of Great Blue Herons nesting outside our offices nest

And Here's the link for the Red-tailed Hawk nest camera.

Watch incredibly clear streaming video of a Red-tailed Hawk nest

Have fun!

Spring Birds!

I've been meaning to share a {little project} we've been enjoying with birds for the past 2 weeks.  We've been watching LIVE bird cams that stream live video of a Great Blue Heron and it's egg in it's nest!
AND
a Red-tailed Hawk and the eggs in it's nest!

My kids love watching the birds talk care of their nest and trying for a peek at their eggs.  You see different kinds of behavior watching at different times of the day.

Here's the link for the Great Blue Heron nest.
 
And Here's the link for the Red-tailed Hawk nest camera.
 
To go along with our bird learning, we've been enjoying 
 
As well as some of these other {little} birds projects:
 
birdie Baby toy
a fun art project
  
bird nest cookies (great for using up left over Easter candy :) 
baby birds and their nest
their nests are easy to make with yarn! 
 
 
Edible bird's nest
another good one for using up peeps and candy.  
Enjoy!


Baby Gift from a Child

It's pretty much any day now for our baby to arrive-I'm so ready!
We wanted to create a keepsake to give to the baby on its "birthday."
Jay is so excited to give the baby the gift that HE MADE
and I'm thrilled for all the memories that will come with it.

1- We started with a picture that Jay had drawn. I just asked him to draw a picture for the baby and he drew this bird. My little Jay loves birds, so it was very fitting that he would give one to the baby.

2-I traced his picture onto regular white paper with fabric crayons.

3-Jay colored the bird picture with the fabric crayons. I also had him write BABY. Then I traced it because the letters have to be BACKWARDS to turn out the right way when you iron it on :)

4-I ironed it-no photo-according to directions on package to a piece of white fabric. {Little Project Tip:} it seemed that the longer I ironed the darker the color of the bird became.

5- Put the front and back pieces of fabric facing each other and cut the bird out.

6-This is a bad photo of the next step because I forgot to take the picture BEFORE I did it. So imagine with me: BEFORE you sew the bird together, pin some little ribbon "feathers" between the two pieces of fabric. Your fabric should be right sides together.
These need to be going down (like I am holding it) BETWEEN the two pieces of fabric and sewn that way for them to turn out when you turn it right-side out.
You can see that the "Baby" words are the back layer of fabric.

7-When you turn your bird inside out it looks like this with fun feathers and feet for baby to play with

8- Jay stuffed the bird himself and was so proud of his little bird friend. We added a bell inside because Jay loves bells and thought the baby would like it too. Now it rings a little when you shake it.
9-I hand-sewed it closed when he was done.

Now Jay's artwork is a keepsake for his baby brother or sister.
He can't wait to give it to our baby!

{This Little Project} is an easy way for a child to create a keepsake gift.

It would be a hit at any baby shower. Let me know if you try it!

Happy Spring!


Today is the first day of spring and we had to celebrate by making these little friends along with a little nest for them. Jay has been WAY into nests lately and Kay LOVES bird watching, so it was the perfect activity for our FIRST spring day (and the weather even cooperated!)

To make your own nest you need: yarn, a balloon, a cup to hold the balloon, elmers glue, and a bowl. {Little Project Tip:}This is an activity for older preschoolers on UP. Kay just wanted to pull it all apart (but she loved playing with the birdies-see below).
Cut the yarn into pieces-ours varied thanks to Jay's help-4-7 inches works :)

Blow up a balloon and put it inside a cup to hold it still. Then dip the yarn pieces in the glue and lay them across the balloon like this:

We made some yarn birdie eggs to go inside by dipping the yarn in the glue and then wrapping it around a finger. This works best with LONG pieces of yarn.

The nest takes about 24 hours to dry completely. My camera ran out of battery before the final product was done. I'll put a photo up later...sorry! HERE IT IS!


To make some birdie friends you need: pom poms (different sizes are fun-the big ones were our favorite), googily eyes, a few colors of felt, a pipe cleaner, and hot glue gun. {Little Project Tip:} This is not an activity for young kids to make, due to the hot glue.  But if they aren't so little that they will eat these little friends, they will love to play with them-mine did for days!
  This is our birdie family:

This photo was before Jay insisted that they have feet, "so they can fly." We had a little bird anatomy lesson after that comment.
I used hot glue to put the googily eyes on.  The wings are just small pieces of felt.  The beak works best if you cut out a diamond piece and put a little hot glue in the middle and close it to look like a beak before you hot glue it on.
To make the feet (see above) you just bend part of the pipe cleaner into an "M" shape to look like 2 feet and then cut the remainder off.  Hot glue under the pom poms.  The pipe cleaners help the birdies stand up better.

Playtime with the birdies-a total success! Watch them fly!


If you don't have a need for a little birds nest at your place, check out this link for how to do the same technique and turn them into baskets.


I also saw these photos on Jordan Ferney and LOVED them and thought of my Dad, Mr. Master Gardner. Our daffodils just bloomed and now I'm looking for tulips! Aren't these fields breathtaking!?


Happy Spring with a Happy Little Project!

LinkWithin Related Stories Widget for Blogs Add to Technorati Favorites Share/Save/Bookmark