Well, I have good news: we survived our cross-country move and are all moved in! So I wanted to check-in and share a little project.
I won't dwell on our move because it wasn't a little project at all. It was a big one.
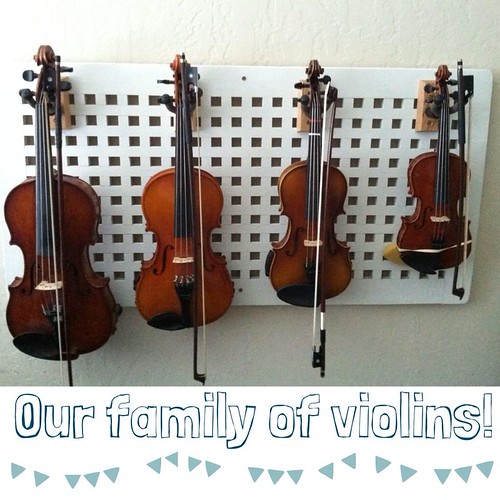
But, I am loving the music room in our new house. I found this fun piece of wood on the side of the road and instantly loved it and knew I had to do something fun with it. I measured it and knew it would be perfect for our violins to hang on.
Jay, Kay and Ellie all play the violin. (The full-sized violin is mine.) Little fingers take forever to get their violins out of the case, get the shoulder rest on, bow out, and ready to play. And then putting them away takes that time all over again. So "this little project" is saving me over an hour a day!
Our violins are supposed to be stored away from an outside wall. So this wood with some spacers behind it became the perfect way to save time, store them properly, and it's so fun to see all the pretty violins too!
I attached these String Swings to the wood that holds the violins. I love that they hold the violins safely and are easy for the kids to use.
It feels nice to get something accomplished, other than packing and unpacking!
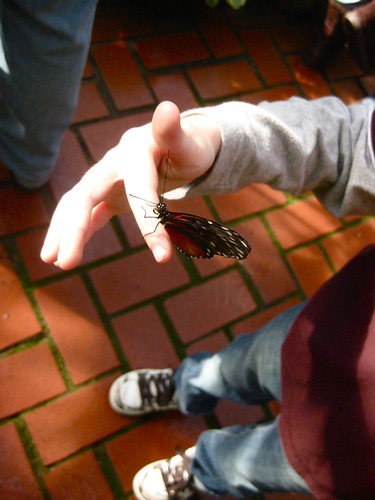
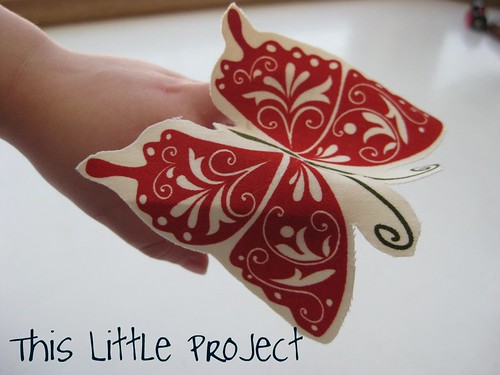
We are enjoying a lot of butterfly fun at our house right now. We rescued a monarch from the middle of the road this past week and have been watching a friend raise some monarchs from egg to chrysalis. Today I want to share some ideas that go along with that beautiful transformation from caterpillar to butterfly that will get you MOVING and enjoying MUSIC too!
My kids and I have been hanging out at our local butterfly exhibit. We can't get enough of them...
It's a miracle every time!
This movie shows the transformation of of
a butterfly from an egg to a monarch butterfly. It's perfect to watch
before learning and singing the songs below.
This movie is a song about the life cycle of a butterfly, with
pictures. It's short and easy for young kids to sing. (Note: usually
the "house"a butterfly makes is referred to as a chrysalis and the one a
moth makes is a cocoon.)
Here is another song about the butterfly life cycle-no pictures, but the kids would love coloring this one to go with it. Just cut out each piece and glue to it a popsicle stick and hold it up for each part of the song.
I love this way of acting out the life cycle. You just need a blanket, some butterfly wings, and some "leaves to eat". This is a wonderful way to incorporate movement into learning.
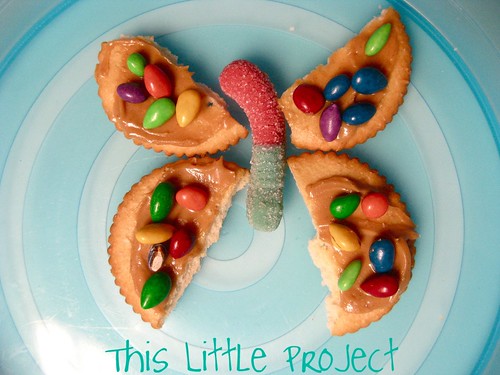
A Snack Craft!
is a fun way to do some hands-on learning. This gummy worm is the
caterpillar and then the kids turn him into a butterfly. For peanut
allergies, substitute marshmallow cream for the peanut butter spread. Directions here.
How do you learn about butterflies and the world around you?
I love to hear your ideas!
I'm excited to share something we've enjoyed a lot in our home. {This Little Project} is perfect for back-to-school music practicing too.
It's magic! really!
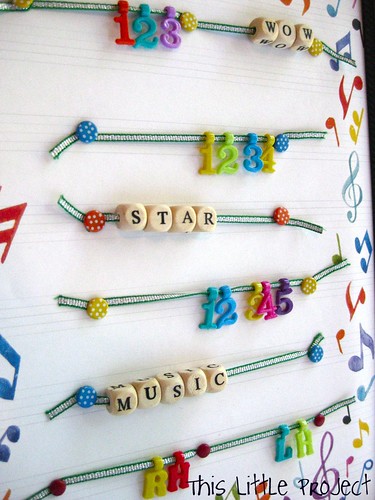
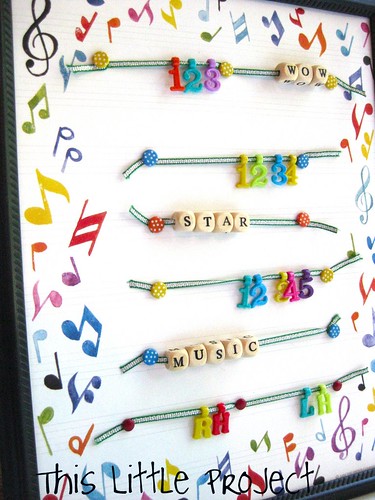
I call it the Abracadabra Practice Abacus.
You remember what an abacus is, right? It's kind of an old-school calculator--with the beads you move around to count things.
Well...
Sometimes when I'm trying to encourage my kids with their music practice, we need a little magic to make it all happen--otherwise practicing is no {little project}. That's where the Abracadabra Practice Abacus comes in.
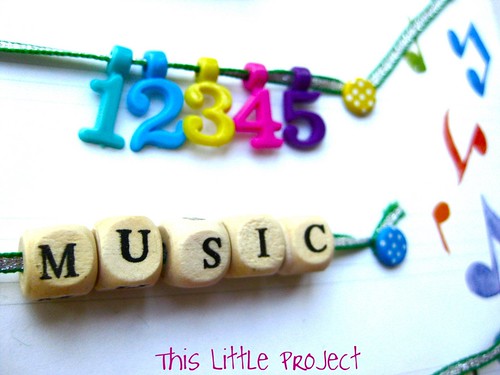
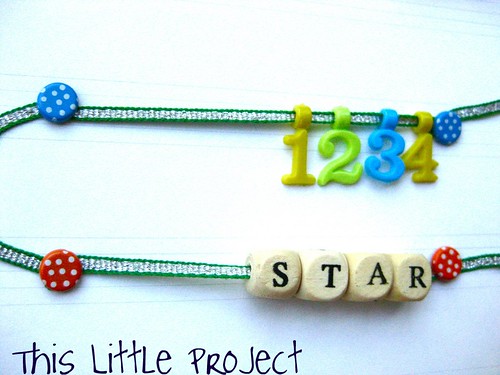
Each string has a number of beads or beads that spell a word. Want to know why?
Because: repetition is magic.
Kids like to do things once. But things don't improve much with one try. But give it a few consecutive tries and you'll get some nice progress! It's kind of like magic.
So, on the Abracadabra Practice Abacus you will find places to count 5 repetitions (see above), 4 repetitions, 3 repetitions, and 2 repetitions (rh/lh). That way there is a fun way to keep track of those repetition and make the magic happen!
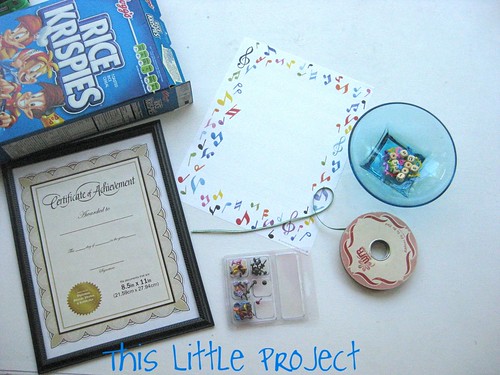
a piece of paper to mount it on (that fits your frame)
glue stick
binder clips
optional: overhead projector sheet (plastic)
Directions to make {This Little Project}:
(hint: read all the directions before you start--I'm hoping this makes sense!)
First- cut your cereal box to the size of the paper you are mounting. Glue the paper to the cardboard.
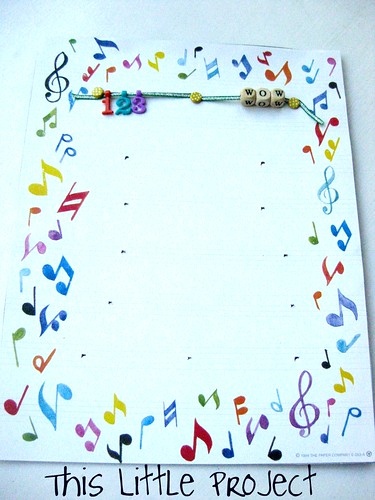
Then decide where your lines of beads will go and mark the paper where the brads will go in.
If you think your Practice Abacus will get a lot of use you may want to put a overhead projector sheet over the top of the paper to mount the beads and brads on. It's kind of like laminating it. Use the binder clips to hold it on while you punch the holes.
I punched the holes with my scissors, but a different tool might be nice.
Cut your ribbon lengths at least 2 inches longer than they need to be to go across the paper because you will wrap the brads. You can trim the extra at the end.
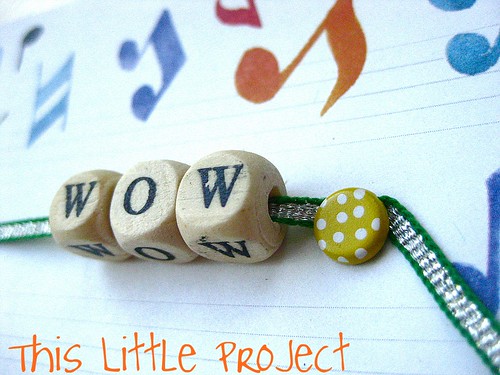
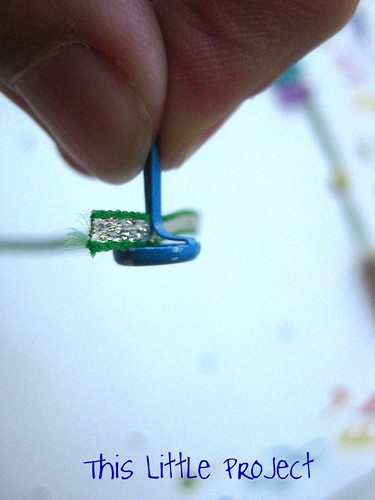
The brad will hold the ribbon in place on the abacus. First thread it through the middle of the brad like this:
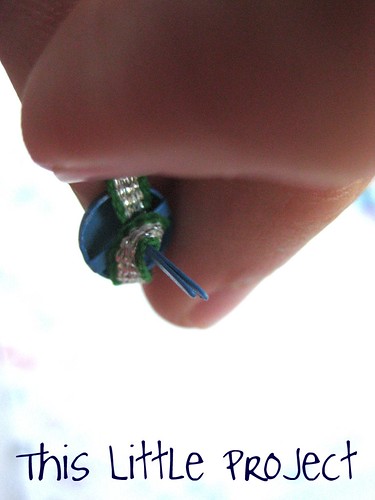
Then wrap it around the brad once like this, before putting it through the hole you created on the left side of the paper. Spread the brad open on the back of the cardboard to secure it.
Now just decide how many beads you want on that line of your abacus.
Next thread your beads on the ribbon.
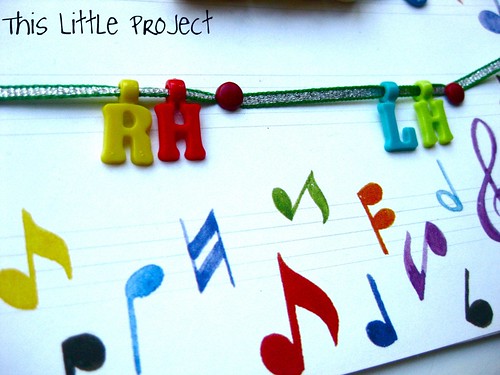
If you have room, you can put a brad in the middle of the paper (not just on the sides) so that you can have two different counters that move on the same ribbon line, like this one.
The RH/LH line we use for when Jay needs to do 2 repetitions of something on each hand.
The reason I did 2 different counters of 4 each like the one below is so that Jay can either count the word out or count with the numbers. He can also use it for doing 4 on one hand and 4 on the other hand. It's nice to be able to track how many and it's fun too!
Continue putting brads into the holes you marked until you have the number of counters you would like.
For my Practice Abacus I put the "3's" at the top, then the "4's", then the "5's", followed by the 2 (RH/LH) at the end.
Abracadabra, it's done!
Now watch the magic happen at your house as you use your Practice Abacus!
Have you ever lost a music book at your house? I've taught music lessons for about 15 years. And it seems to be a common problem.
At our house I like to use "Montessori-Inspired" organization. In other words: accessible to my kids so they can practice taking responsibility for themselves in addition to practicing their music.
Right now I am loving these:
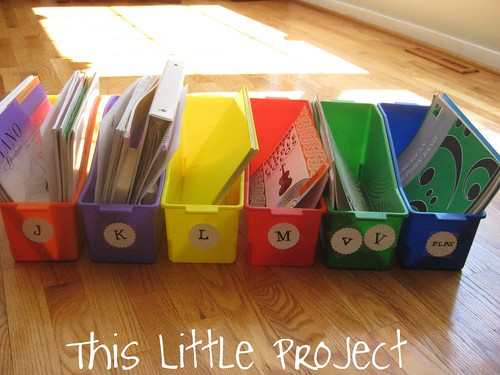
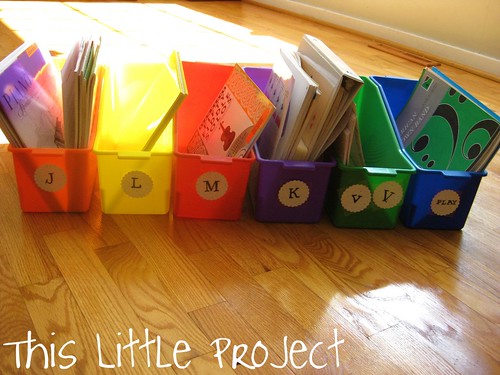
I recently got these bins from the Target dollar spot (for $2.50) with the back-to-school things. The tag on them says they are "locker bins" but when I saw them I thought, "Wow-those would be perfect for our music books!"
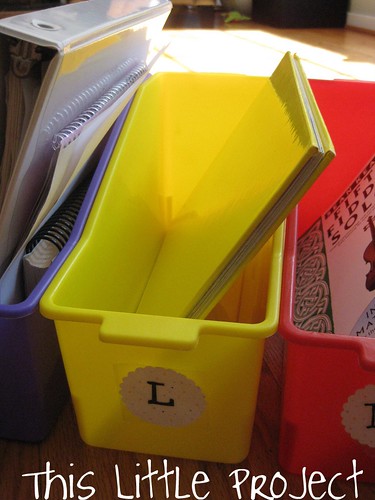
So I bought 3 to try them out. They are the perfect size and since they are longer than they are tall, they don't tip over like regular magazine box storage--which would be very frustrating for kids. Also, they are heavy duty plastic and will hold up to daily use. I went back and got three more-one of every color!
To label them I just punched paper, stickered on a monogram and did lazy laminating (packaging tape covering the paper punch) and they were ready to go.
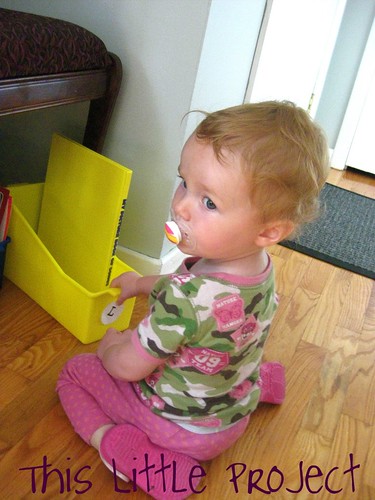
Ellie likes taking her tag on and off. These are kid friendly :)
Ellie doesn't take lessons yet. Her book and bin is to remind me to play and sing to her!
These bins keep everything in one place: lesson assignments, practice records, music magazine, theory exercises, listening CDs, history reading, manuscript paper, as well as their books of music. It's also very easy for the kids to see what is inside these kinds of boxes so they like using them.
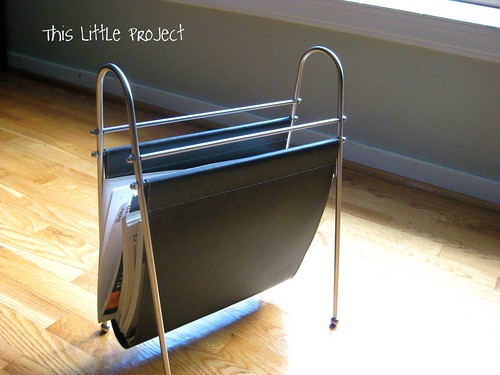
To give you some more ideas, I also love my steel and black leather magazine holder. I've had this for about 7 years and it is my favorite thing to keep right next to the piano for all the books that I use most.
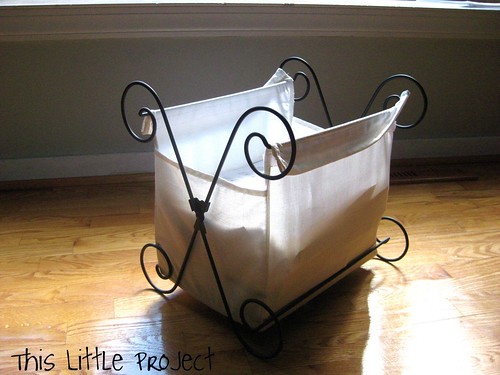
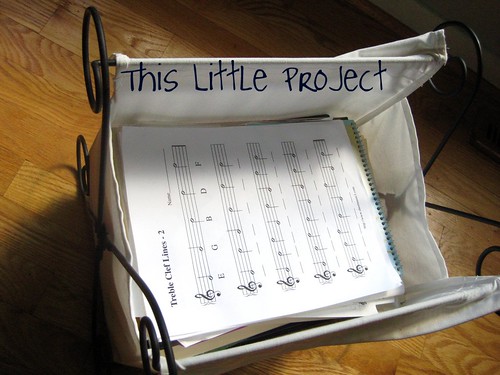
This is the other bin that I keep near the piano. It's metal and cloth. It's the perfect size for music books. I like it because the books can either stand up in it or lay flat.
It's from IKEA--about a year ago. I looked on their website and couldn't find a link though. So I'm not sure if they still carry this. If you live close to an IKEA store, now you have a good excuse to go shopping and find out ;)
It's nice to have a clear place for everybody's things. Here's to no more lost music books and fewer music books stacked all over the piano!
One of Jay's and my summer {Little Projects} is fiddling together. If your kids take music lessons you know that it can be a challenge to keep up with their practicing during the summer months. As a kid, my violin teacher kept our interest by declaring summer months the time for fiddling around-literally!
For those of you wondering what the difference between a violin and a fiddle is...well, there isn't any difference. A fiddle is a violin and a violin is a fiddle. It's all a matter of the style of music and playing you do.
One of my favorite artists that I've bumped into lately is Aaron Ashton. His style is a like the title of his album, "About That Place between Violin and Fiddle" His website lets you listen to a bunch of songs from his newest album
I just downloaded his album here:
I have fond memories of our Fiddle Fests that I did as a kid at the end of the summer where all the student's families brought picnic blankets and joined us at a park to hear all we had learned to fiddle that summer. There was always food and friends and fiddling. It's a great combination!
Jay is finishing up the first Suzuki book and I was probably looking forward to fiddling more than he was-I've missed it!
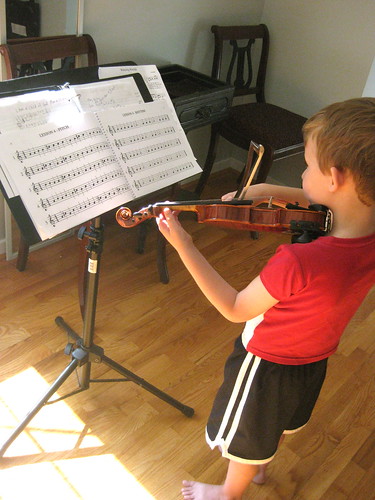
I'm too lazy to put a video up of what we've been doing-sorry just a photo! But this little guy is kinda similar to where Jay was with his his fiddling at the beginning of the summer.
"Orange Blossom Special" is just classic fiddling tune and it's fun to see a child playing it!
In case you are interested in violin and/or fiddling, I'll share the books we're using right now.
If you have had a child learn violin and/or fiddling and have suggestions for fun music, please share!
This is the first book we started with. Jay listens to the CD each night when he goes to bed but we don't follow strictly Suzuki. I found that using only the music in this book did not keep Jay's interest well enough. There is much to be said about the Suzuki method though and we do follow the theory of the Suzuki method, we just don't strictly keep to just this book-which I think is very much in the spirit of what Suzuki had in mind when he created his method, actually.
I picked this one up for me! It comes with a CD of the tunes that are sure to inspire! Irish and American fiddling are different and wonderful in their own ways! I was an Irish Step Dancer for many years so this is very fun for me.
Duets are a fun way to encourage practicing and Jay and I are having fun with these. They are simple tunes and simple duets.
Jay just started using this book. He has loved it. Until this summer he has worked entirely by rote (listening, not reading music). This book is great for introducing both basic rhythms and beginning note reading for the violin.
This book starts out with Twinkle on double stops. It's automatic fiddle sound and a great place to start. I think we will be able to use this book now and for future fiddle summers.
This book also comes with a CD. It is a great companion to the Suzuki method and can be helpful for parents too. Kay loves to listen to the CD but I've been surprised at how little we've used it. I would say that's it's not because it isn't great that we haven't used it. I think I just need to get it out more maybe.
I got this book to accompany the I Can Read Music Book above. It has short exercises with fun pictures that kids would like. We haven't started it yet, but I can see it being good for us soon.
This is an example of Irish fiddling. I love the feel and sound of Irish fiddling too!
Fiddling has been a really fun {Little Project}. Since I teach Jay the violin/fiddle myself for now we will probably just invite a few friends over and have our own Fiddle Fest in a few weeks!
Today is the first in a series I will be doing on the first Monday of each month. I hope that reading some ideas here will inspire you to share a few minutes of music-making with your kids too!
For my youngest piano students (and my own kiddos) one of the first things we do is to play stories on the piano. Anyone can do it-you don’t have to be a piano teacher!
To start, just choose one of your favorite children’s books.
I’ll show you what I mean:
One of our favorite stories to play on the piano is
We’re Going on a Bear Hunt
I should also mention that you can use any instrument with this activity, but I will share how we have been doing this at the piano.
First we make our hands into bear paws and then we play all five fingers on the piano. First left hand then right hand-like we’re walking. We do this steadily as a beat while I/we say, “We’re going on a bear hunt….”
Each thing that we come to in the story is a chance to make different sounds:
Loud (“Oh no!”)
Short (“Splash”)
Low/high (“running/in the cave”)
Long (“mud”)
Quiet (“tiptoe”)
Quick (“quick, back!”)
Etc.
With a little imagination, you can do this kind of thing with almost any children’s story.
We like to put the storybook right up on the music stand and turn the pages as we go.
Pretty soon the kids know the story and the “music” that goes with it and will tell the story and make the music sounds all on their own. I love it when I am in the other room and hear Kay “playing” one of our stories. It’s so fun!