Valentine Countdown!

We're starting {This Little Project} at our house to countdown to Valentine's Day.  The words, "I love you so much" are 14 letters long-just right!  And the bonus for {This Little Project} is: it was all of $3 to make!  Seriously!  Gotta love that!
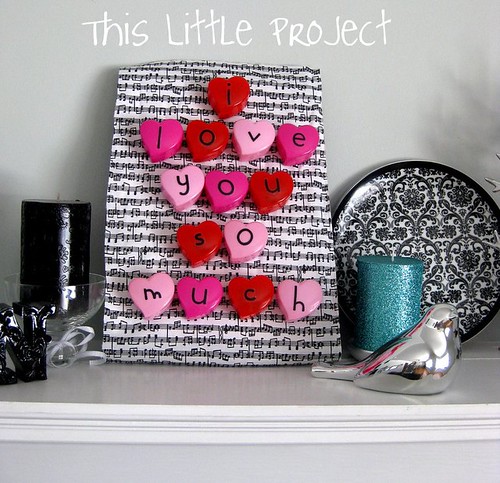


Each heart opens up and is the perfect size for a little "love note" or treat.

Want to make {This Little Project}
Here's what you need:
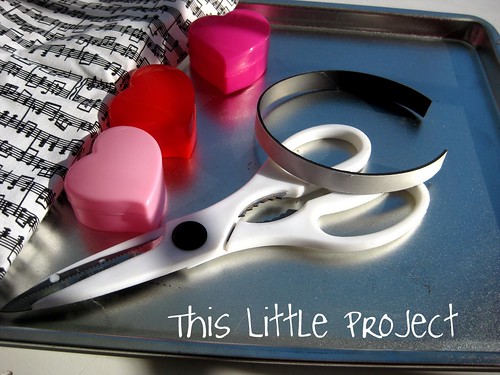

scissors

2 packages of plastic hearts (10 in each from Dollar Tree)

metal cookie sheet (it's kinda small-from Dollar Tree)

sticky-backed magnetic strip

A scrap of fun fabric (thin) or cute scrapbook paper

alphabet stickers (or vinyl)

number stickers (or vinyl)

First, arrange your hearts in the color pattern you want.  These 3 colors all came in the same package.  Attach the letters (I used stickers) to the outside of each heart box.
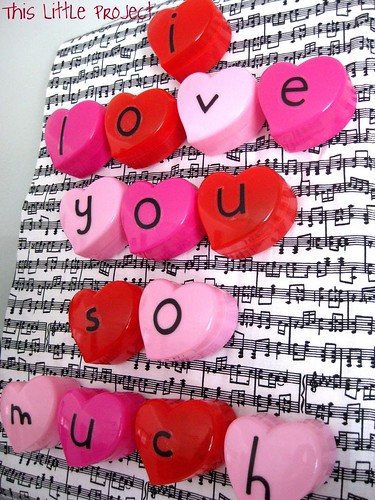


Then cut pieces of magnetic tape and attach them to the back of each heart.

Cut your fabric piece to be just a tiny bit bigger than the cookie sheet.  That way-no one will know that it's just a cookie sheet back there!  

The boxes are attached to THE BACK of the cookie sheet.  Since {This Little Project} is going in my music studio, I chose a scrap of music notes for the background.

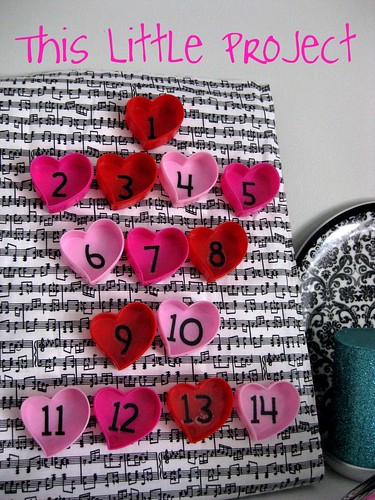
Attach the numbers to the insides of each box for the countdown.

{Little Project Tip} If you use sticker numbers, keep in mind you'll need quite a few "1's"
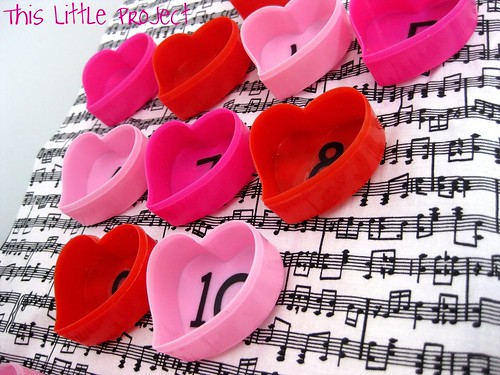


Now arrange your fabric over the cookie sheet on a flat surface and then "stick" all the magnetic heart boxes in place.


Now is also the time to put something sweet in there.  A love note or quote for each day. 

 I'm putting a scripture about hearts and love in each one with an idea of how my kids can show love for someone or each other.  We'll open it each morning and have a fun challenge for showing love that day.

However you use your countdown, you'll probably be the only one that knows that-for how cute it turned out-it's only attached to a cookie sheet!  
Unless your friend makes one too :)

Enjoy, and spread some love!


On a Roll: Love Notes

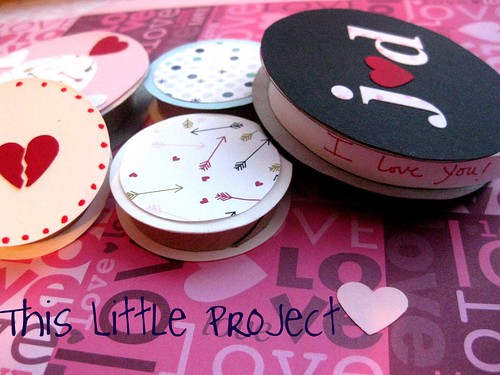
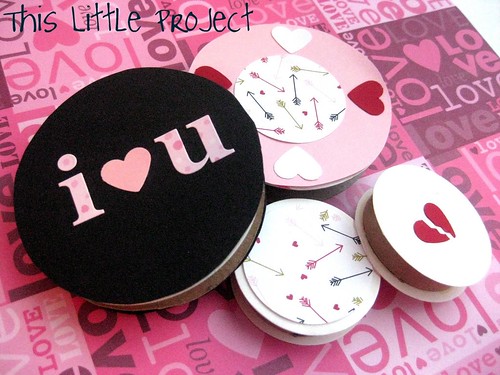
These Valentines are On A Roll:
A Ribbon Roll!

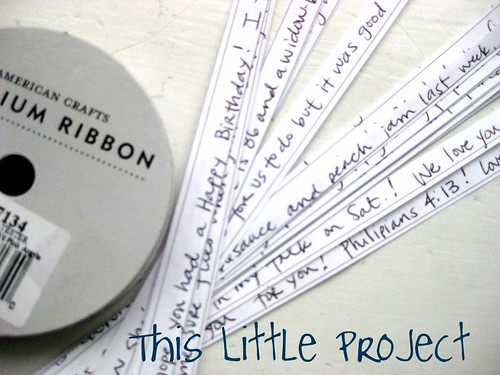
I was looking through my invention box and saw all these different sizes of used up ribbon rolls that were tossed in there and I knew I had to write some "love" letters with them!  

If you want to give a valentine that's unique and FUN to get, {This Little Project} is for you!


Valentine's Day is "Love Day" but I like to use it as an excuse to say, "thanks for being in my life and making my world brighter."  
It's a chance to send a note (and photo of my kiddos) to grandparents, parents, siblings, and friends.  

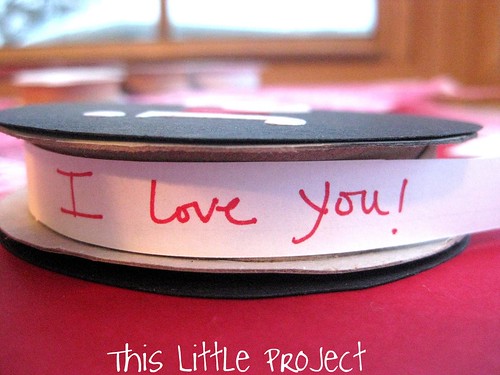
Doesn't this look like a fun {Little Project} to get in the mail?  


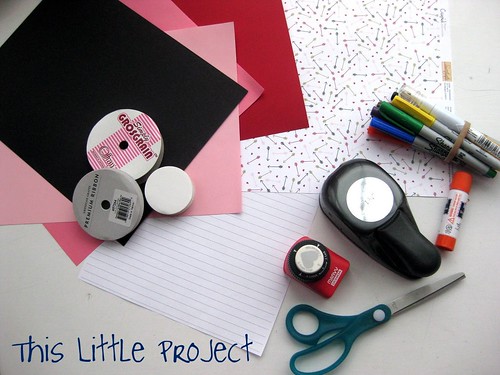
Here's what you need to make 
{This Little Project}:


Discarded Ribbon Rolls-any size
scissors
tape
Lined Paper
glue
pens
stickers
paper
stamps, paper punches
whatever else you want to add!

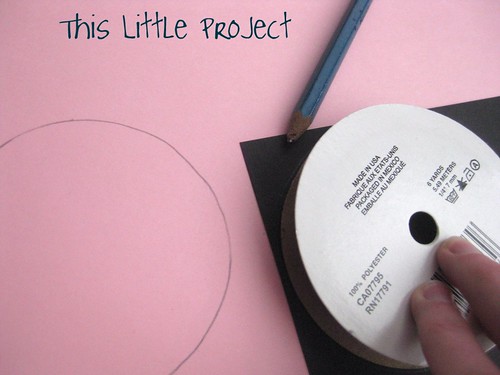
First, trace around your ribbon spools and cut the circles out.

Then glue them onto the spools and have fun adding monograms, initials or an other decor with your stickers, stamps, paper, etc.

Next, cut a piece of your lined paper and make sure it fits inside the "roll" to replace the ribbon.


Then write your note. It's actually easier if you write your "love" letter first and then cut out the strips.  Just make sure that you don't let your letters "hang" down over the edge of the line-or they'll get cut off :)
{Little Project Tip}:  Be careful to keep them in order as you cut out the strips!

Tape ALL of the strips of paper together in order.  It will make one long line of "paper ribbon."

Then, tape the LAST strip of your letter onto the ribbon spool. 

Roll it all onto the spool.  The beginning of your note will be the last strip of paper that you roll on. 

Have fun sharing some LOVE!

Invention Box: Snowmen!

I was looking at our Invention Box the other day and decided we needed to do a {Little Project} because it was starting to overflow! 
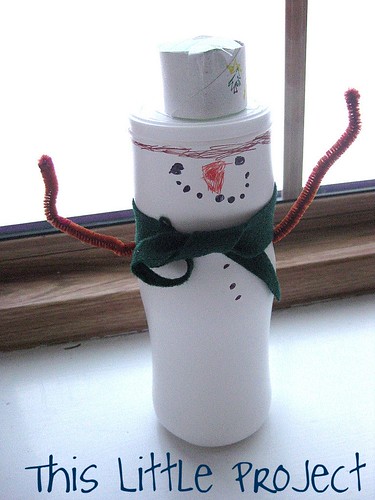
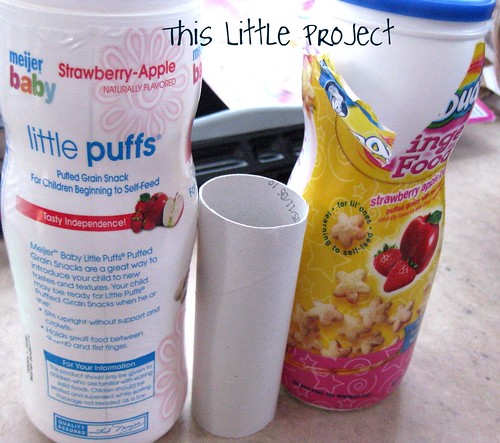
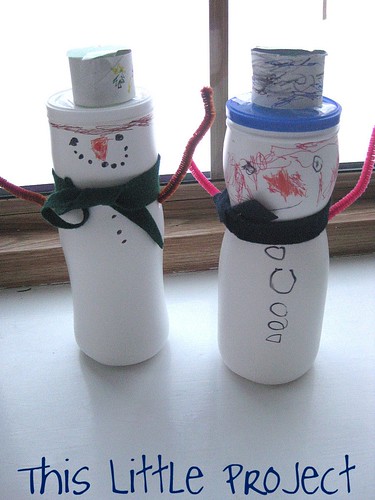
Little Ellie is loving her baby puffs right now and I couldn't toss these when they had such a fun "snowman" shape!  So I came up with these snow men for Jay and Kay to make.  

So {This Little Project} all started with these 3 things from the Invention box:

To make {This Little Project} you need:
"Puffs" container-we used one of each brand, but the Meijer brand actually has more of a "three snow-ball shape."

scissors

1 toilet paper roll (for the hat)

chenille stem (for the arms)

permanent markers

felt (for scarf)

tape


1- Unwrap the plastic on the puffs containers and draw your snowman face on.

2- cut your toilet paper roll 2" high for the hat

3- trace the circle of the toilet paper tube and cut it for the top of the hat.  Tape it on.  Double sided tape works best for attaching this part of the hat to the top of the lid.
4- I used scissors to punch a little hole on each side for the arms.  A drill would work too.  

5- Cut the chenille stem in half and put thread one piece for each side.  Bend the arm part inside down so that it won't slide back out.

6- Tie the scarf on (I cut a thin piece about 10 inches long)


And there you go-a fun {Little Project}!  But be careful about taking your eye of your little one while they have markers-Miss Kay went a little crazy-though she loves how it looks :)


Granola Bars Recipe

One of my {Little Projects} for 2011 is:
not to buy any treats
at the store.

We will still eat treats, for sure. It's just that they will be the homemade kind. We have an exception for ice cream though, even though I love making that :)

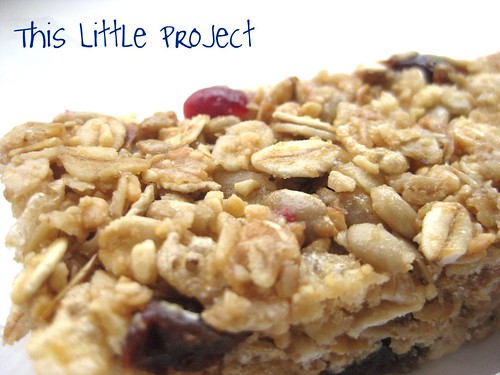
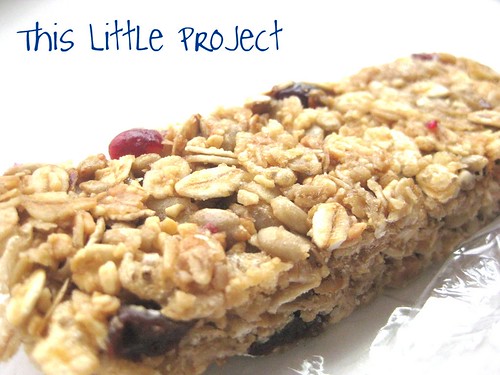
Today I'll share one of our favorite granola bars recipes. It's great in bar form and I make a couple batches and freeze some of them.

They are still wonderful after spending time in the freezer. We also use them in yogurt or milk for breakfast.


Delish!

To make {This Little Project} you need:

2 cups oats
3/4 cup puffed rice cereal
3/4 cup sunflower seeds (salted, roasted)
1 cup crushed peanuts
1 cup raisins or craisins (or 1/2 of each)
2/3 cup brown sugar
1/4 cup honey
4 Tbsp. butter
2 tsp vanilla extract


To toast the oats:
spread them on a baking sheet and toast at 400 degrees for about 10 minutes total. You will want to stir them every few minutes so they don't burn. Once they are done you are done with the oven.

To make the bars:
Mix the other dry ingredients together and add the oats to it in a large bowl.

In a separate sauce pan, mix the brown sugar, butter, honey, and vanilla over medium heat. Stir until butter is melted and brown sugar is dissolved. Then add it to the dry ingredients in the large bowl.

{Little Project Tip:} if you want to add mini chocolate chips do it right as you are dumping the granola into the pan. The mixture is hot and they melt! My experience is that melted chocolate in this recipe makes it so the bars don't hold together as well. So, you may want to drizzle chocolate over the top.

Line a 9x 13 glass baking pan with wax paper-leave extra on the ends so you can lift the granola bars out.

Spread the granola out in the dish and then pack it down firmly using the back of a spoon or your hand using a piece of wax paper. Wait for it to cool about 3 min. Then score lines across the top. Wait at least 2 hours for them to firm up. (I had to wait MANY hours once-don't know why it took longer that time.)

{Little Project Tip:} If you make multiple pans at the same time, like I do, you can stack the dishes on top of each other while they are firming-it saves counter space!

When ready to cut into bars:
Transfer the granola bars to a large cutting bard and use a sharp knife to get a nice clean cut.

To Store them:
I wrap each bar in cling wrap. Each piece of wrap is about 4-5 inches wide. Fold the short sides in first. Then fold the long sides down over the side pieces. Store them in an airtight container.

To freeze:
Wrap them like above and place the wrapped bars into a zip lock bag and store in the freezer. Mine kept for about a month because by then they were all eaten!

One of the things I love about this recipe is the hint of peanut butter taste from the nuts-luckily we don't have peanut allergy at our house. I use my food processor to crush them nice and tiny-but if you leave it on too long you will have peanut butter!
Yummy goodness! Enjoy!

Nature Shelf: More Montessori

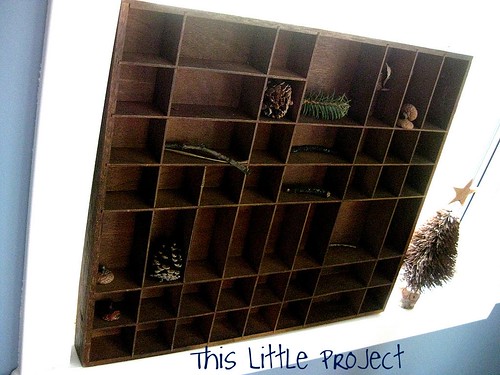
I've been wanting to have a Nature Shelf in our home for a long time. But I couldn't find the perfect thing for {This Little Project} that would hold the little collections that come home in their pockets.

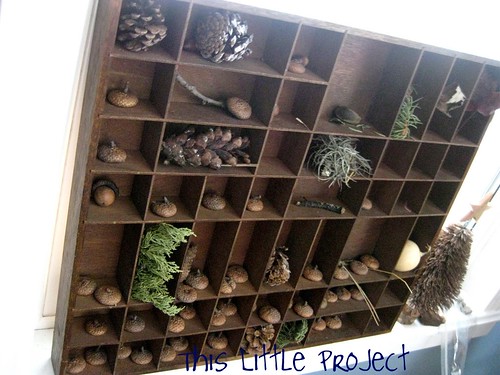
Then I happened upon this shelf at the re-store just as winter began.

I knew it would be perfect for {This Little Project}!

My goals in having a nature shelf:
  1. I was hoping that having this shelf in our home would encourage our kids to WANT to spend time outside.
  2. I was hoping they would look more closely at their environment.
  3. And I hoped that seeing a beautiful piece of God's creation everyday INSIDE our home would help them be more appreciative and careful of the world they live in.
Since we started our nature shelf in the winter, I was worried that we would have trouble finding many things to put on it:

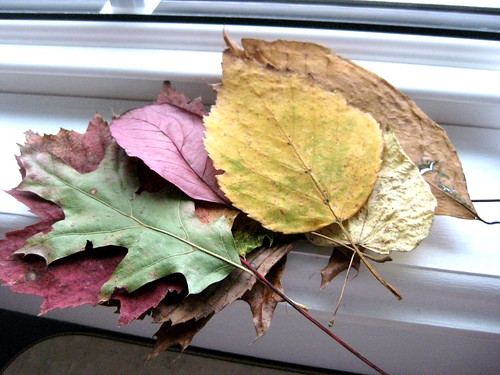
There were some leaves we dried in the fall and some pine needles, pine branches and "acorn hats" but the ground was quickly getting covered by the snow!


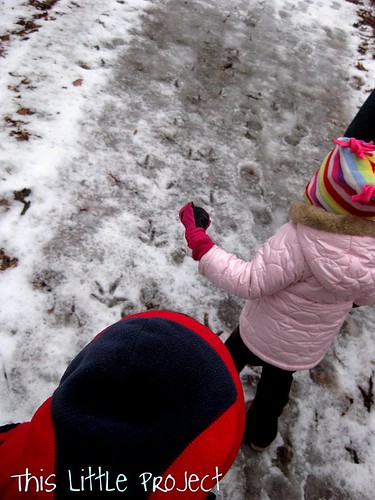
Then we went
"walking in a winter wonderland"

and found some treasures! Check out those wild turkey tracks!

So after nature walk when we visited Elspeth:

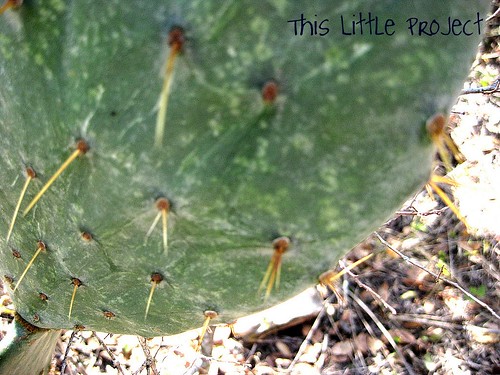
And finding neat things to collect there in warmer weather

And unearthing some surprises from the ice, our nature shelf is looking quite busy for this time of year.

And I LOVE it when Little Miss Kay goes in and rearranges it all so she can touch everything!

Happily, the shelf has really helped to make all of those goals I had a reality!

In short, a nature shelf is a great addition to our home! It's been a fun {Little Project} for our family. Ours sits in a windowsill right now. It's at the perfect height to be seen, touched, and enjoyed by children :)

Easy Breadsticks Recipe

I'm making some of these yummy breadsticks for dinner tonight. We eat these almost once a week! I'll be forever grateful for my good friend Chrispy who taught me how to make them!
I love them because they are easy and work well with white or whole wheat flour (or a mix of the two).
To make {This Little Project} you need:
1.5 cups warm water
1 T. yeast
3 T. sugar
4 cups flour (white or whole wheat)
3/4 T salt
1/2 cup of butter OR margarine OR olive oil
1/2 cup parmesan cheese
garlic salt

{Project Note:} If you want to time these to come out when your dinner is ready, plan for about an hour-start to finish. They are easy, but there is 25 minutes of "wait" time involved before you cook them :)

FIRST: combine these and let them sit together while you do the next mixture:
1.5 cups warm water
1 T. yeast
3 T. sugar

SECOND- Make flour mixture: (combine in your mixing bowl)
4 cups flour (white or whole wheat)
3/4 T salt

3- Add yeast mixture to flour mixture in your kitchen aid. Mix together and let sit for 10 minutes.

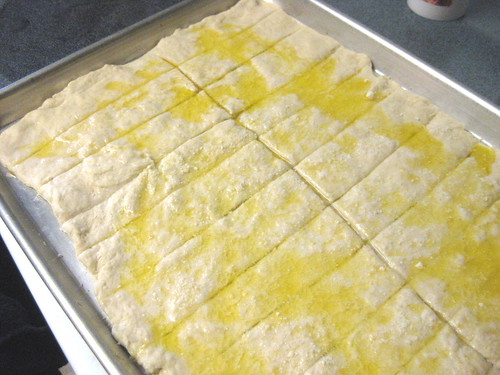
4- Roll the dough out into a greased jellyroll pan (or cookie sheet with 4 sides). {Project Note:} I think it is difficult to use a rolling pin inside the pan so I mostly just use my hands to spread the dough out- but it gives them a bumpy look-as you can tell :)

5- Spread 1/2 cup melted butter (or margarine, or olive oil) over the dough. {Project Note:} Yes, this seems like a lot of butter. You can experiment with less if you would like. Every time I do, my husband notices it's less and asks me to leave it will ALL the butter :)

6- Sprinkle with 1/2 cup parmesan cheese and then sprinkle with garlic salt

7- Cut into strips with a pizza cutter.

8- Let rise for 15 minutes.

9- Bake at 350 for 15-20 minutes.

These are BEST hot but are still yummy the second day, especially if you warm them again.
They are the perfect bread with anything Italian, but we also love them with soup. And breadsticks are also just a great winter treat!
Enjoy!
LinkWithin Related Stories Widget for Blogs Add to Technorati Favorites Share/Save/Bookmark