Showing posts with label upcycle. Show all posts

Easter Hand Stitching {From the Invention Box}


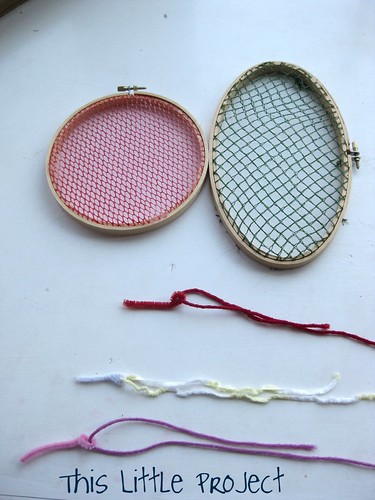
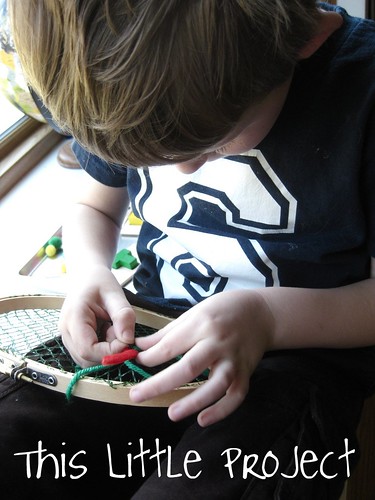
{This Little Project} is courtesy our Invention Box.  We've done some stitching like this before.  But this time we had an egg design in mind as we practiced our sewing skills.


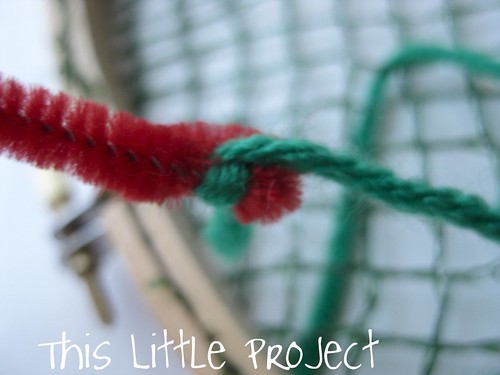
Chenille stems make great kid-friendly "needles" for sewing.  


Just knot the yarn to the looped stem on the back side and the kids don't have to worry about it slipping from the "eye" of the needle.


I used an avocado bag for Jay's stitching and a clementine box wrapper for Kay's.  
Both worked really well.  


Easy and fun--to see the patterns through the materials.


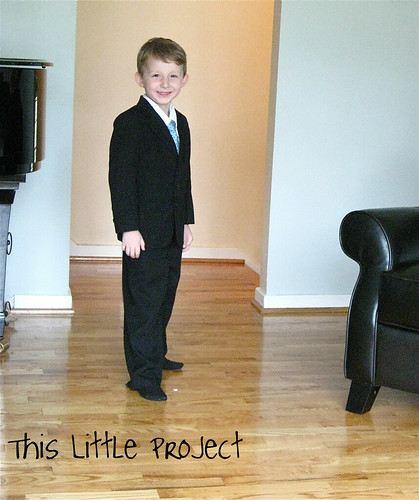
Little Man Ties {easy remake}

If you like to dress your {little} man up
{this little project} is for you!

I know there are a ton of DIY tie ideas out there for little boys.   
But they still require making the tie. 

These {little} ties are WAY EASIER!


These {little} man ties would be perfect for Easter, dressing up like Dad on Father's Day, etc.  

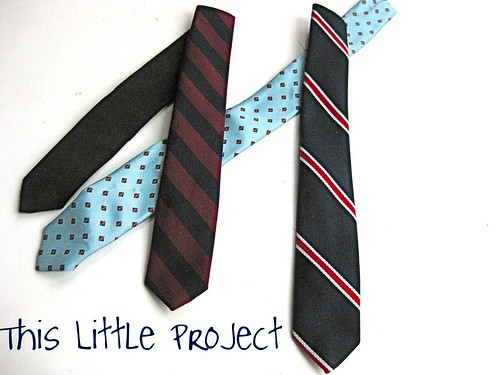
I was wandering through a consignment shop and happened upon a basket of ties. 
I thought: I can chop the end off to shorten this tie and be done with it!

If you put a man's tie on a boy the tail is too long right?  Well, so cut it off and you have your tie.  Done!  I'm pretty sure that most of our hubbys have ties that aren't their favorite anymore.  So now you can give them a new life!

So I bought them ($1 each), had my husband tie a knot in them closer to the front end, adjusted the size for my little Jay to wear, CHOPPED the end off, and hemmed it.

easy!
 
To make these ties {little} boy friendly, we just leave the ties tied.  He just slips them on and tightens them up.  And loosens them when taking them off.  Easy.

Jay was 5 years old when I made these for him and they will last for a long time since they adjust just like Daddy's ties do!

And what do you think I'm going to do with the tails?  I think I'll sew them onto Baby M's shirt to make my two {little} boys match:)


There you go!  A handsome {little} man tie. 
 
Have fun dressing your {little} man up!

Carseat Canopy-Upcycling Project

I love the idea of these little car seat canopies for keeping baby out of the wind and away from germs and people. I decided to make one to match our carseat out of fabric I already had on hand-which included a medium sized pair of brown pants and a men's button-up shirt-since I am LOVING upcycling lately.
I had a great time with using the design features of the shirt (buttons, pocket, cuffs) and it's a fun way to use Daddy's shirt for baby!


Here's how to make {This Little Project.} I didn't put every detail in, so if you have questions let me know :)

Start by cutting the front and the back of the shirt from the sleeves of this men's XL shirt:

And from the neck:

Then cut the back of the shirt the same way. This photo shows that after it's cut from the sleeves and neck you cut it in half and sew one half to each side of the front to make the front panel larger.

Now I have the front panel of the canopy from the shirt-now to add the border from the pants to create the right size (36"x 42"). Reusing fabric is a great way to keep the cost of materials down for your projects :)

But first...look how perfect the cuffs from the sleeves are for loops to attach it to the car seat! I love being able to use the design features of the "old" in the new Project!
Just cut them from the sleeve, add some rick rack and move the button over so they are just the perfect size. Easy!

This is what the canopy looks like with the brown border on it.

The brown fabric came from this pair of pants-yes you can use fabric AGAIN! (bad photo-taken at night after my kids were in bed, since of course that's the best time for getting some projects done :)

I used the front and back of each leg to create the 4 sides of the border.

When I was done cutting this is all that was left-it feels good to use things well :)

After sewing the border to the shirt it looks like this (not ironed of course :)

Next use a yard of a coordinating fabric to back it, sewing right sides together. Then top stitch around the outside of the brown border.

I love how the buttons from the shirt go across the middle. It's a fun design feature-especially for a boy baby. It's hard to add fun without it looking girly sometimes, but this worked well. I sewed between the buttons so they would lie flat. Then sewed the cuffs centered in so it would hang like this:

You can see the front pocket from the shirt in the bottom of the photo below. I sewed some velcro to it so it closes. Now it's an extra "hiding place" for a binkie or nursing pad :)

This was a fun and useful {Little Project} that was fun to design as I went along. Now if the baby would just come so we can use it :) 3 days and counting......

LinkWithin Related Stories Widget for Blogs Add to Technorati Favorites Share/Save/Bookmark