
{little project} with my kids each week.
Our motto for {this little project} is:
"To invent you need a good imagination
and a pile of junk."
~Thomas Edison.
and a pile of junk."
~Thomas Edison.
I love seeing their minds go crazy with all the possibilities of inventing.
One of our favorite invention {projects} has been the Rupunzel Hair Clip Keeper.
My little Miss Kay is really into long hair.
Many {projects} (like these headbands) have been for her.
I'm soaking in her little girliness because I know it won't last forever.
Many {projects} (like these headbands) have been for her.
I'm soaking in her little girliness because I know it won't last forever.
Right now she's a little girl that loves princesses.
So this invention was just her style.
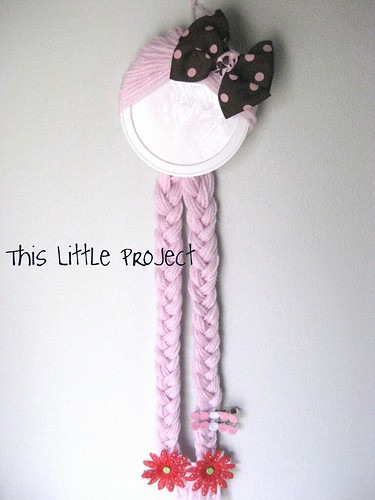
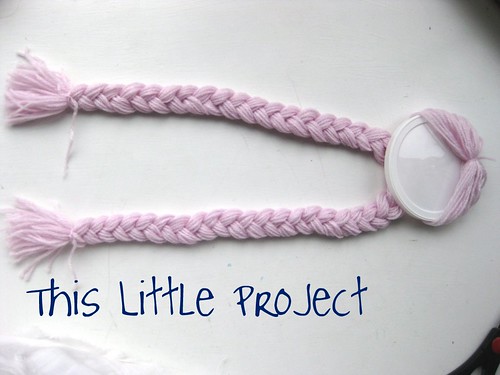
Meet the Rupunzel Hair Clip Keeper:
( in pink!)
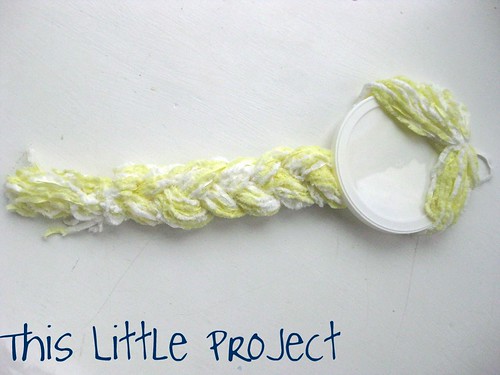
And here is the yellow-haired version:

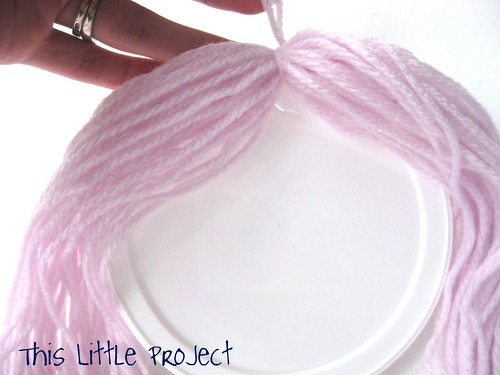
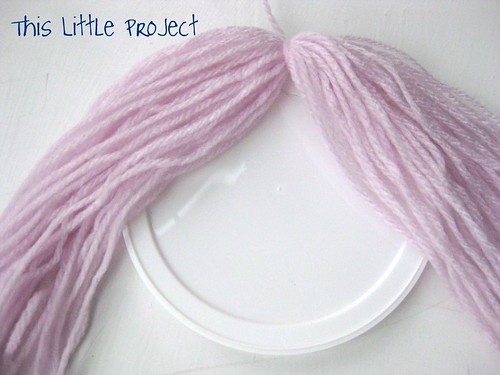
Next pull her hair around the the back. It will start to look like she really has hair now!
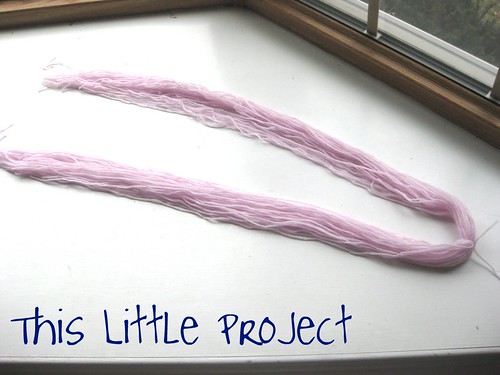
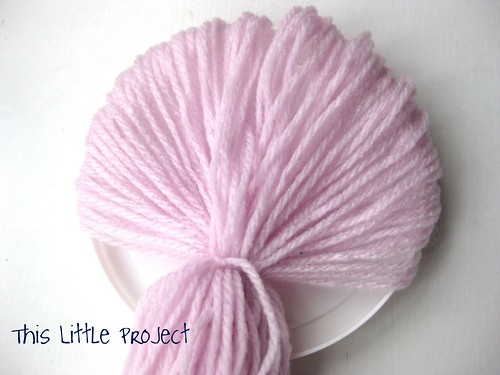
Use a small piece of yarn to tie her hair into a pony tail.
Then just braid the yarn into one or two braids with the yarn.
If your little girl is old enough, she might like to do the braiding.
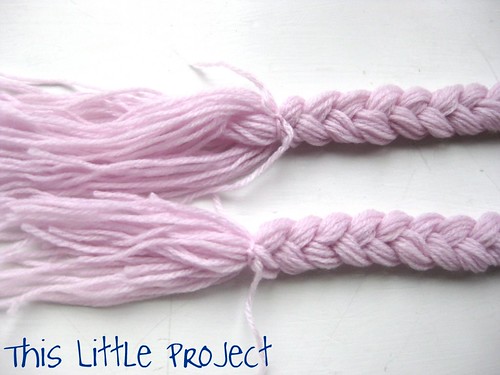
When you get to the end, tie each braid off and give her a little hair cut to trim the ends.
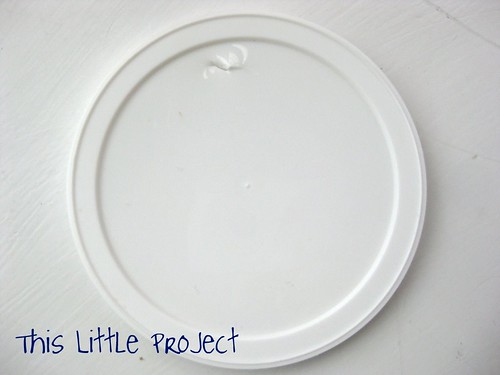
Remember the first knot you tied? The rest of that piece of that yarn can be used to hang her up.
Now is also the time to add a face (self portrait!) with a sharpie if you want to.
Now is also the time to add a face (self portrait!) with a sharpie if you want to.
And there you go, a {little} invention to keep your princess's clippies organized.
She's all ready to be decorated!

p.s. these are fun gifts too!

No comments:
Post a Comment