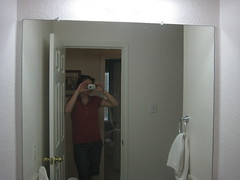
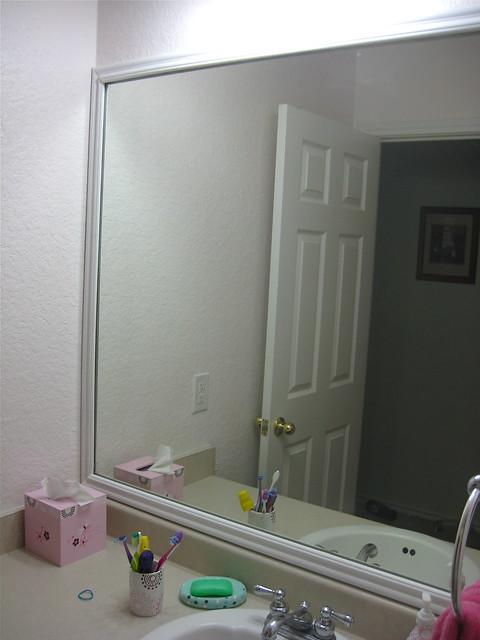
My bathroom mirror is a little rusty around the edges but otherwise in great shape, so I thought I'd put a frame around it to make it look a little nicer.
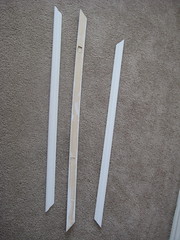
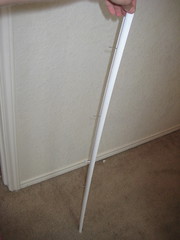
I bought some inexpensive molding at the hardware store and used my table saw to cut it to length. Make sure that you the measurement is from point to point. I also used my dremel tool to carve out two spots for where the mirror attached to the wall.
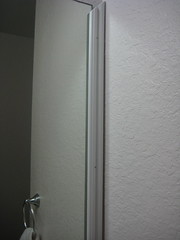
I glued the bottom piece of molding to the mirror using hot glue. I wanted the two side pieces to go to the wall and as they didn't overlap the mirror enough to use the hot glue without showing, I had to nail the other pieces of molding to the wall using finishing nails.
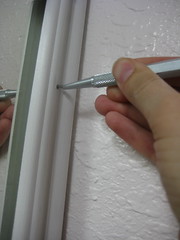
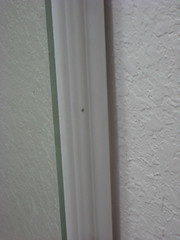
I predrilled holes in the molding in the middle of the board so it would be easier to nail on and also not split the molding. If you drill the hole too close to the wall side of the molding, it's hard to hammer without hitting the while. You also can't get to close to the mirror side, or you'll hit the mirror. Once all the nails were in the board, I nailed them in most of the way with the hammer.
I then used a nail set to finish nailing the nail in so that the hammer wouldn't damage the wood.
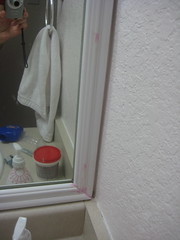
After the molding was up, I used wood filler to cover the nail holes and fill the gaps in the corners where the two pieces came together. You could also use caulk, spackle or putty. The last thing I did, was sand the wood filler and touch up the paint.
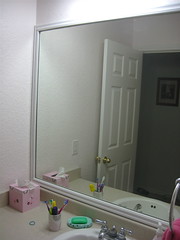
Voilá!
You can check out this tutorial as well as several other do-it-yourself projects at


1 comment:
We did this to one of our mirrors and it makes such a difference. Great job!
Post a Comment