Christmas Songs for Kids
Thanksgiving Tangrams (free)
We have been having a lot of fun designing some Thanksgiving tangrams in our math work this week. I started out making {this little project}, but Jay quickly took the lead. I love watching {little} people at work. It gives a glimpse into what's on their mind.
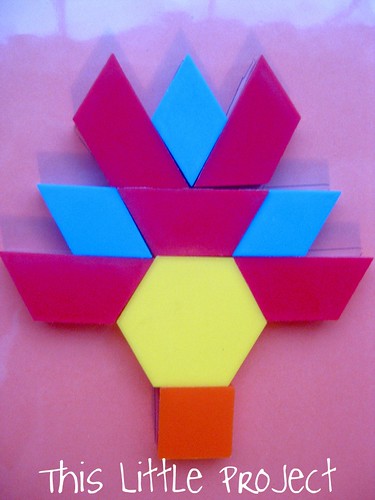
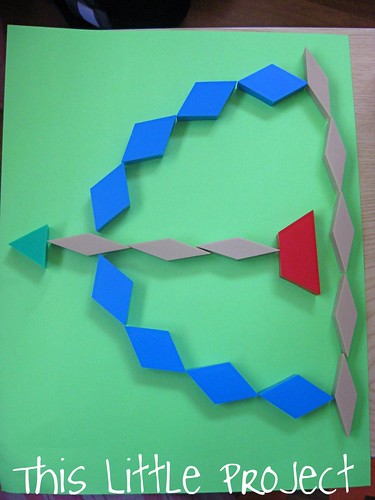
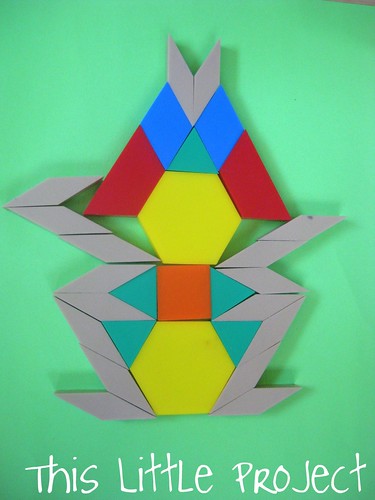
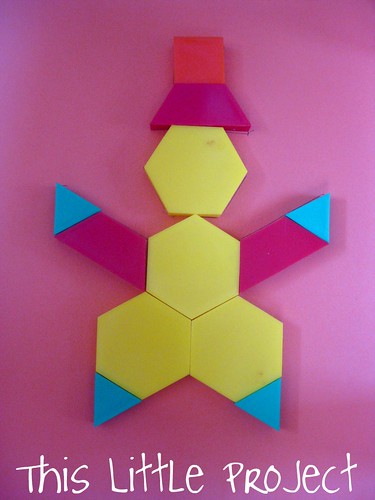
Since there aren't many Thanksgiving tangrams available for use on the web, I've included pictures for anyone else wanting to do {this little project}. I was going to upload the printable patterns, but my scanner isn't working. Hopefully the photos will be inspiration enough to get you going.
No offense intended in any of these depictions. After all there's only so much detail you can do with simple shapes.
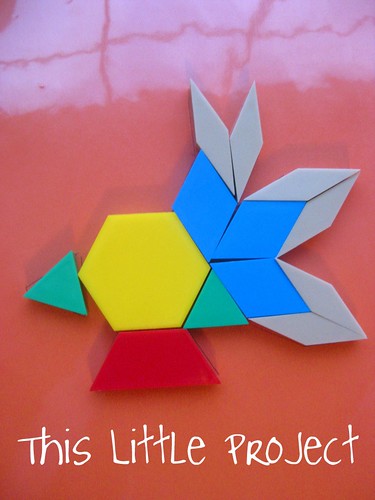
My turkey:
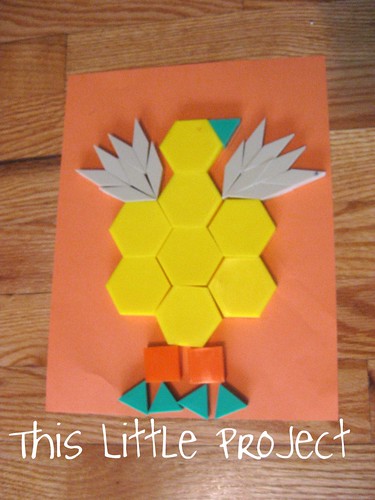
Jay's turkey:
See what I mean? I love it!
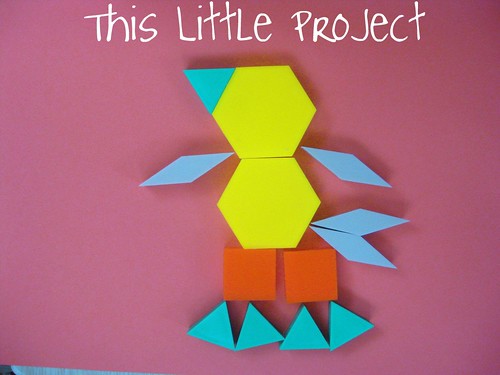
He also made a {little} baby turkey:
A Native American headdress:
A bow and arrow (this was Jay's idea all the way):
Native American sitting:
Pilgrim:
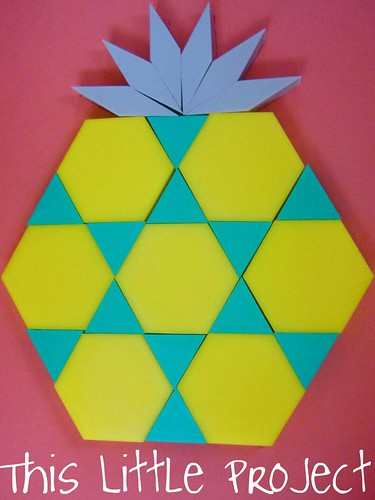
Pineapple? I know, it's not really a traditional Thanksgiving idea. But trying to make corn turned into pineapple. Oh well!
And after we finished ours, I looked on the web and loved the ones we found here, especially the mayflower. We'll have to try that one now!
This is what we use to create our tangrams:
If you have kids coming to your Thanksgiving dinner, challenging them to create their own Thanksgiving tangrams should keep the the {little} people busy for awhile!
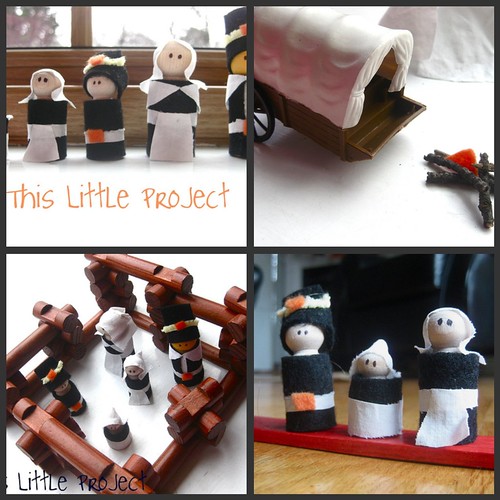
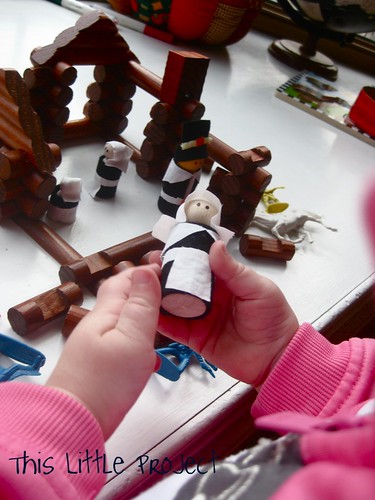
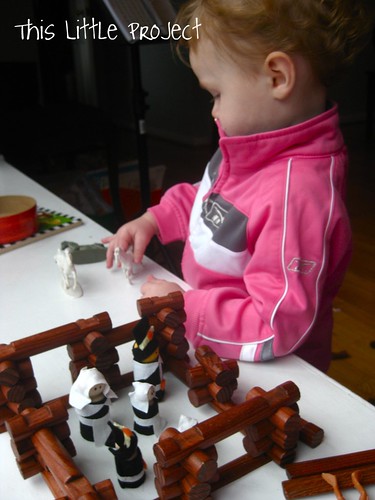
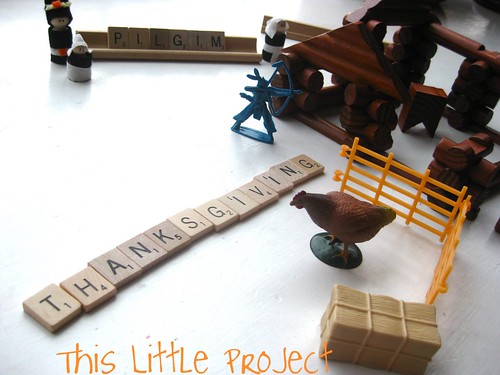
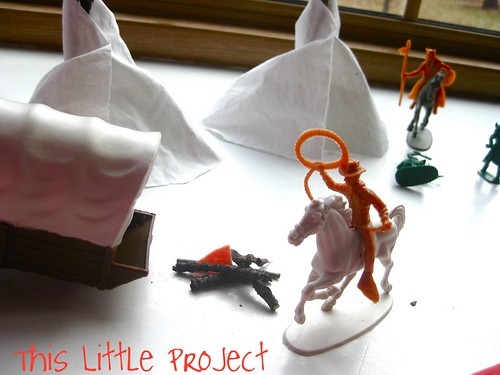
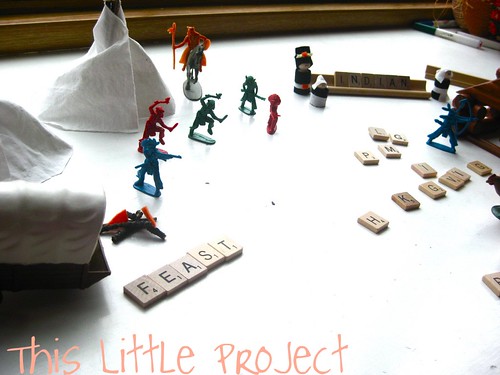
Thanksgiving in the Village
It's still one of our favorite {little projects}.
{This Little Project} has brought Thanksgiving to life.
It's been serious fun!
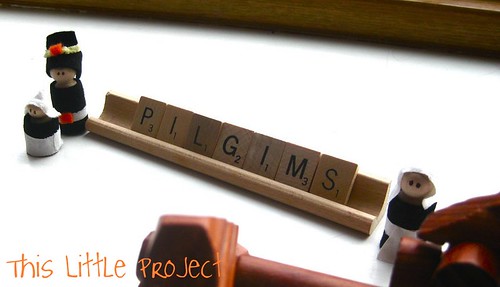
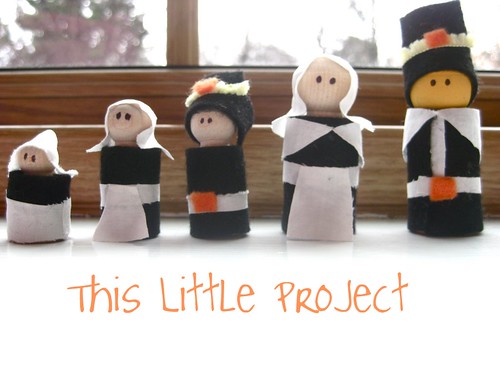
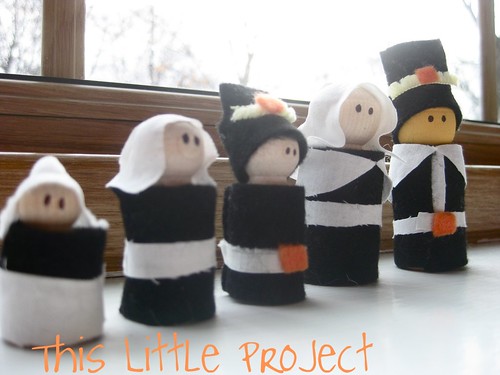
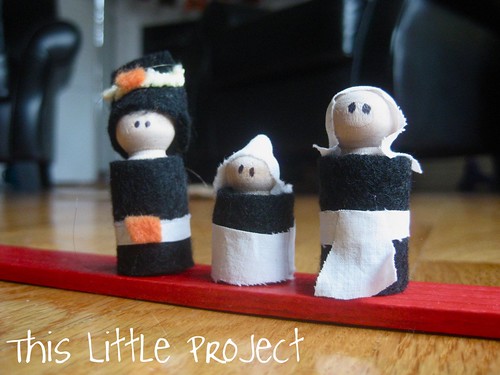
Pilgrim Peg Dolls
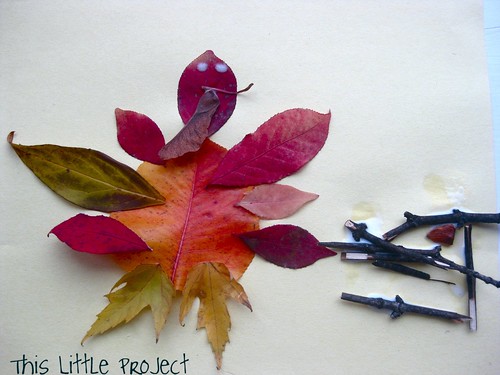
Nature Art: Leaf Turkeys!
Yesterday our {little} nature walk and bike ride turned
into an art project: a leaf turkey!
Note Card Caddy
Sometimes I'm a sneaky mom.
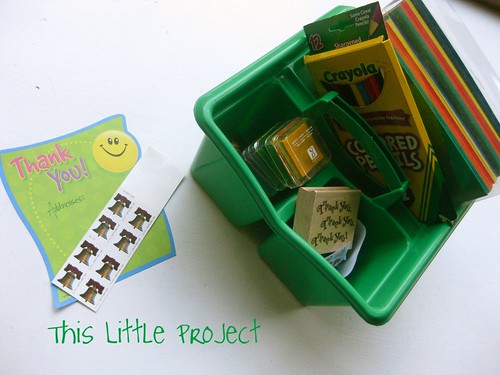
{This little project} looks like a box of fun stamps, cards, stickers, etc.
But it is a disguise for teaching my kids how to write thank you notes and practice their handwriting and spelling.
We've been using it for a few months and they don't know it yet!
Even though I made {this little project} for the kids I decided that I had to make one for me too!
At this time of year we take a little extra time to be grateful.
{This little project} has made it a little easier
to say "thank you" all year round.
Just today one of our neighbors gave Jay a plant (he loves plants!) when he came home he said, "Mom I should write her a thank you card." That's music to a mom's ears.
To make {this little project}
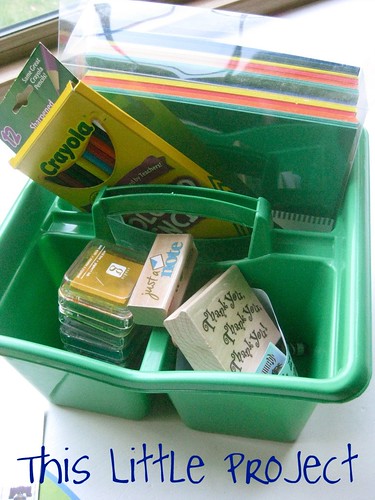
I used a cleaning caddy because I love the handle and that it naturally separates all of our supplies.
Our Note Card Caddy has:
blank cards and envelopes (we send a lot of happy birthday cards too)
stamps and ink pads
colored pencils
stickers
addresses
postage stamps
crayons/markers
And just this week I picked these up for $1 each at Michaels. With these six stamps you pretty much have every occasion covered.
And if you are nervous about kids and stamps/ink, here is a {little project tip}: I keep a couple of my old t-shirts near this box. The kids can slip it on over their clothes and slip it back off when they are done. easy.
We also wet a paper towel to stamp the extra ink off of the stamp. I love watching them learn to take responsibility for their things.
There's nothing like a pen pal for making writing fun!
Raspberry Cream Cheese French Toast
With Thanksgiving coming up and planning and recipe hunting underway, I wanted to share one of my favorite breakfast recipes. {This Little Project} is the make-the-night-before goodness that makes for an easy morning. On a holiday that is just what I need.
Usually I'm not much of a fan of french toast breakfast caseroles because they look kinda gross. So, I'm delighted to share a {little} hint for making yours look good (and it's super yummy too!)
Oh, and if you are taking it to a brunch or other gathering (which I do a lot) than you'll also love that you don't have to take any syrup along. All the goodness is baked right inside.
It looks so good that it makes you look good :)
Here's what you need to make
{this yummy project}
Raspberry Cream Cheese French Toast:
3 cups milk
1 loaf of bread
1 T. cinnamon (I love cinnamon but if you don't, use less)
8 oz cream cheese
10-12 eggs (depending on size)
1/2 cup maple syrup
vanilla 1 1/2 T
raspberries (frozen or fresh)
Streusel Topping ingredients:
4 T. softened butter or margarine
1/2 cup brown sugar
1/3 cup flour
1/2 t. cinnamon
a pinch of salt
To make {This Little Project}
1- Grease a 9x13 baking dish
2- Break up half the loaf of bread into bite-sized pieces and put in the backing dish.
3- Cut the cream cheese into small cubes. And spread them over the bread. I try to imagine that whoever is eating it gets a little piece of cream cheese in each bite-so that's an idea of how to cut and spread it out.
4- Break up the other half of the loaf of bread into bite-sized pieces and spread over the cream cheese in the dish.
5- Prepare the egg mixture in a separate mixing bowl: Combine the eggs, syrup, milk, vanilla, and cinnamon. Whisk them together.
6- Pour the egg mixture evenly over the bread in the baking dish. I always press down/flatten any bread that isn't covered so that it all gets soaked.
7- Cover and refrigerate overnight.
8- In the morning make the streusel topping and sprinkle over the top.
9- Sprinkle the raspberries over the streusel topping.
10- Cook uncovered 375 degrees for 50-60 minutes
Be sure to check the middle-if the middle it's not done, cook longer.
When you take it out it looks pretty. I love pretty food.
Enjoy!
Organizing School Work and Art Projects
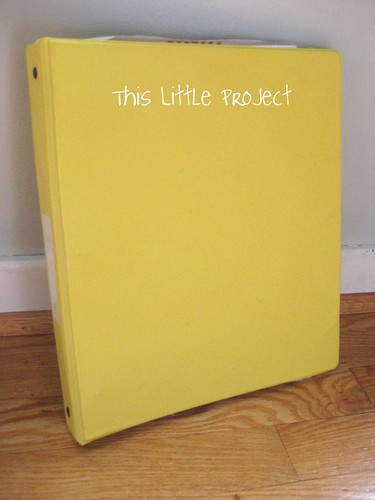
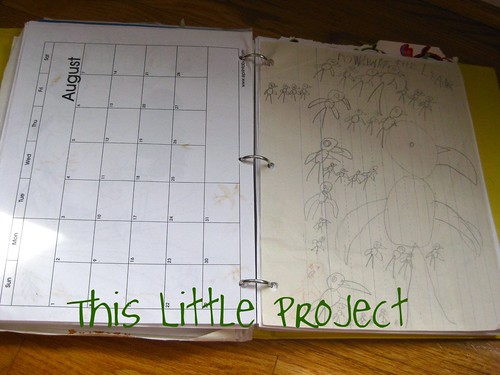
Today I want to share with you some organizing ideas that we've been doing for the past 2 years.
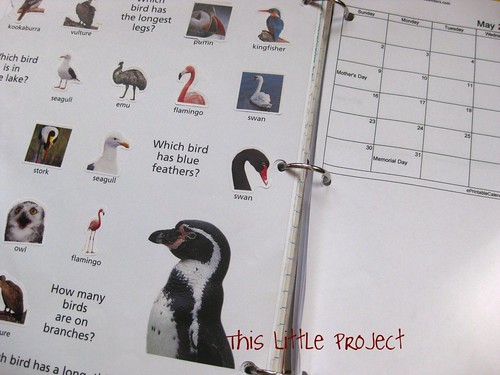
{This little project} has worked really well in our family for keeping us organized and for taming the paper monster that comes with school work and kids.
Into a book:
Let me tell you why I love {this little project}:
* And looking back is also a fun way to review what they have already learned.
* There is a lot more satisfaction in creating something great if you know it won't become garbage tomorrow.
* It's fun to see what the kids were learning at their different ages.
* They know that most-especially their favorites-will be displayed as well as treasured.
* Binders are super easy to store. And they don't take a lot of space.
So how do we keep this all organized?
* We like to take a photo of them and let them run as the screen-saver on the computer. That way we can still "see" them even though we can't "keep" them.
* A pizza box (for each child) also works great for storing large art pieces.
Good luck taming the paper monster with {this little project}!
Subscribe to:
Posts (Atom)