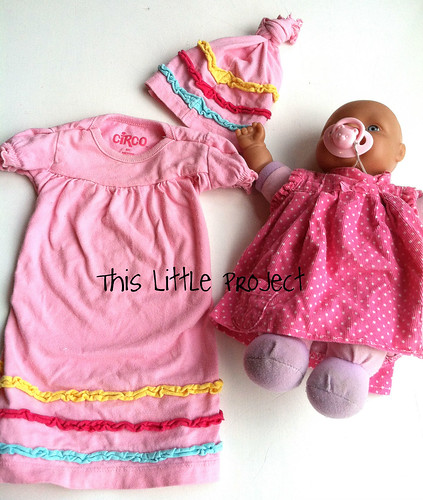
I'll just share a couple of quick {little} ideas:
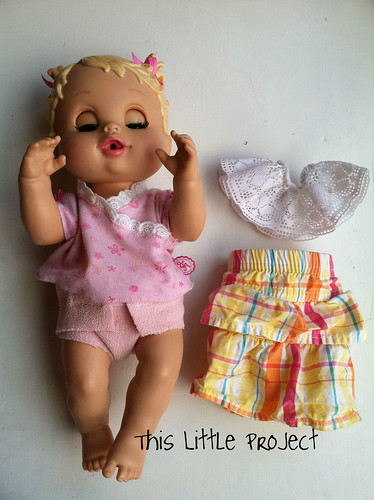
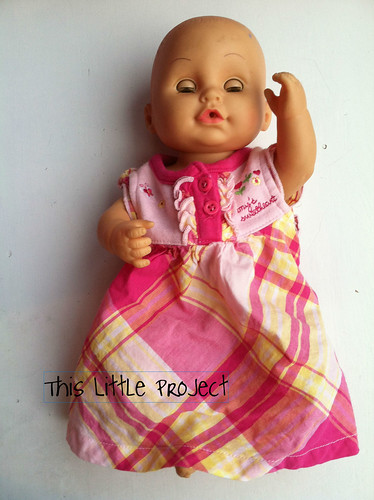
We have two of these dolls--so I took a baby skirt (3-6 months) and cut it in half and sewed the new edges together.
Ta Da! Matching skirts!
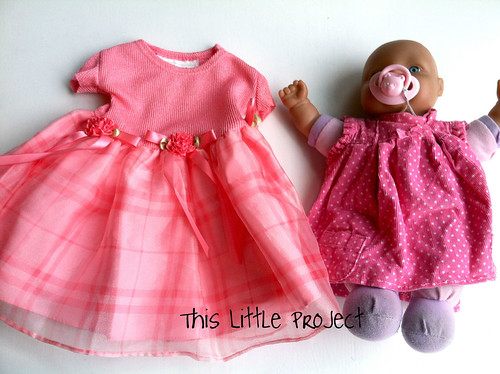
For most re-sizing it helps to start with dresses/shirts that don't have sleeves. It's less work and you end up with sleeves simply because you are starting with something that is too big.
To make the neck smaller and to shortened the top at the same time, I take a new seam across the tops of the shoulders. This also makes the arm holes smaller.
After the top is fixed with those 2 shoulder seams, I take in the side seams. If the arm holes are still too big I start there to take it in. I literally just make a new seam starting at the arm and go all the way down the dress or shirt sides.
So with 2 shoulder seam and 2 side seam changes (with arms as needed) we have a whole new size of outfit!
You can see the seams better in the dress on the left. They may not be totally perfect. But the dolls don't seem to mind :)
The hat above was made by taking the extra from both sides and stitching it together and knotting the top--a bonus!
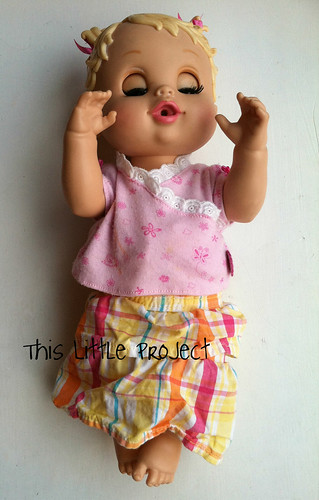
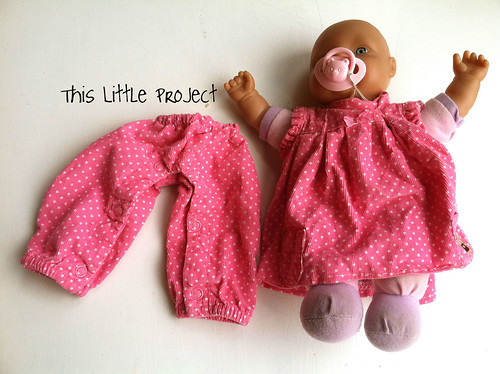
This dress and pants were made from a romper. I cut it in half!
I hemmed the dress at the bottom of the pocket and added elastic to the top of the new pants!
Another bonus!
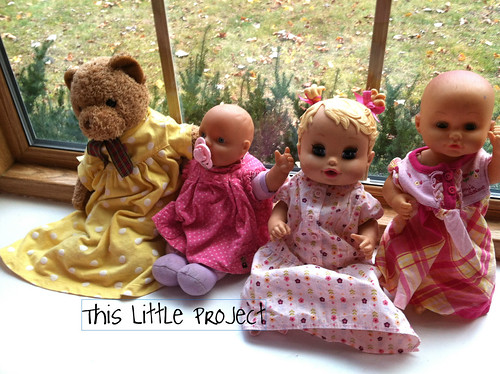
These {little} outfits work perfectly with the {little} doll diapers too (which was another fun upcycling project!)
I love that upcycling means I don't have to spend a penny and we get to use something again!
The girls love it too!
click here for more handmade fun!



3 comments:
Oh! You really had the talent in making doll clothes. These are really cute. I am glad you shared this tutorial. Thanks for sharing.
You've provided some very useful information. I'm glad I came into this article because it provides a lot of important information Baby T Shirts Wholesale Online. Thank you for sharing this storey with us.
Crafts🌞
Post a Comment