I'm excited to share something we've enjoyed a lot in our home. {This Little Project} is perfect for back-to-school music practicing too.
It's magic! really!I call it the Abracadabra Practice Abacus.
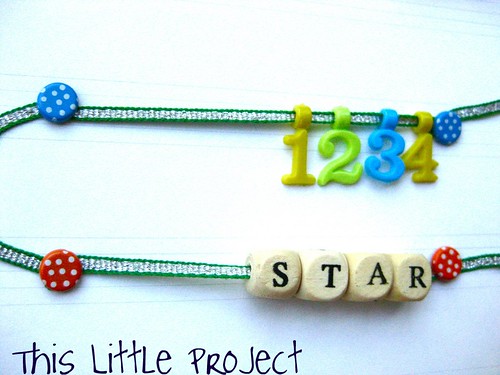
You remember what an abacus is, right? It's kind of an old-school calculator--with the beads you move around to count things.
Well...Sometimes when I'm trying to encourage my kids with their music practice, we need a little magic to make it all happen--otherwise practicing is no {little project}. That's where the Abracadabra Practice Abacus comes in.
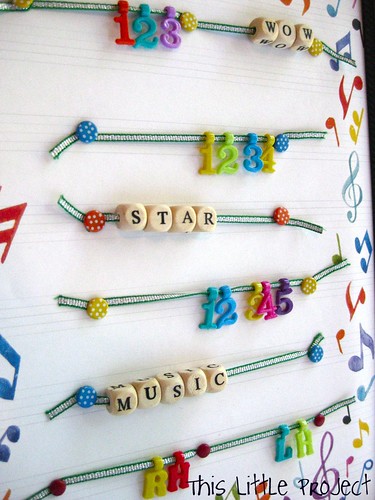
Each string has a number of beads or beads that spell a word. Want to know why?
Because: repetition is magic.
Kids like to do things once. But things don't improve much with one try. But give it a few consecutive tries and you'll get some nice progress! It's kind of like magic.
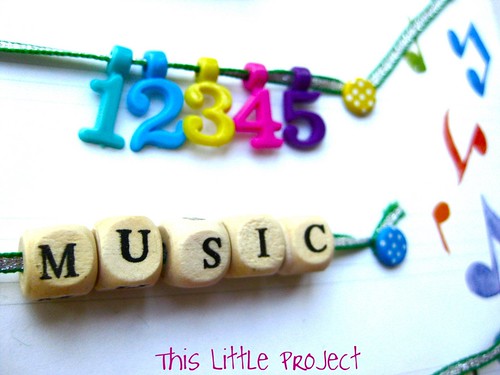
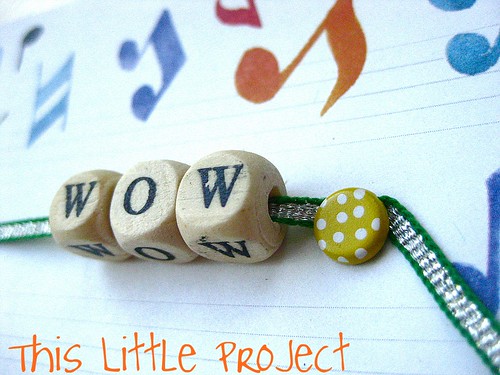
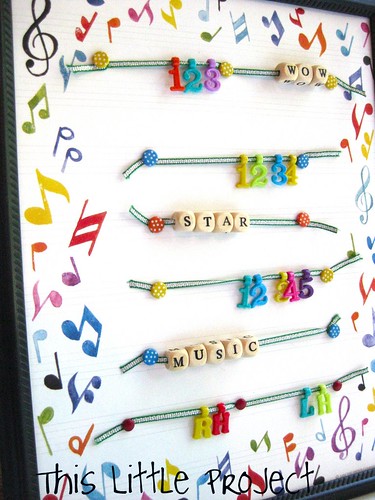
So, on the Abracadabra Practice Abacus you will find places to count 5 repetitions (see above), 4 repetitions, 3 repetitions, and 2 repetitions (rh/lh). That way there is a fun way to keep track of those repetition and make the magic happen!
Need some magic a your house? {This Little Project} might be your magic wand!
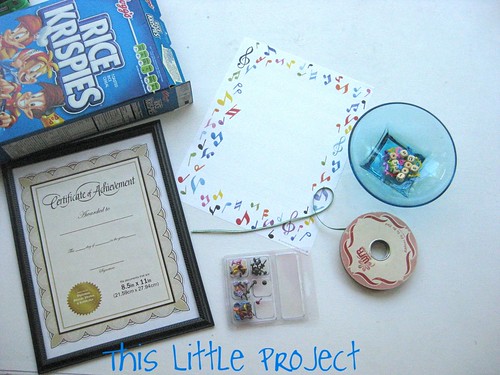
To make {This Little Project} you need:
a cereal box
a frame (matches the size of your mounting paper)
1/8 inch ribbon
Scissors
Brads
a piece of paper to mount it on (that fits your frame)
glue stick
binder clips
optional: overhead projector sheet (plastic)
Directions to make {This Little Project}:(hint: read all the directions before you start--I'm hoping this makes sense!)
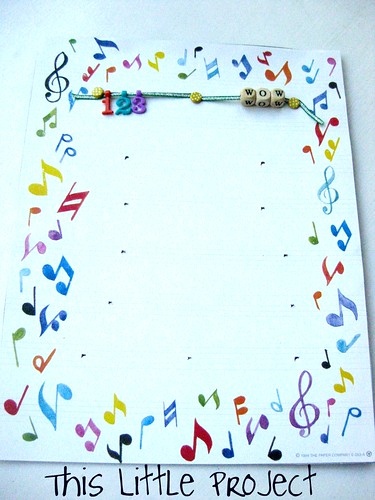
First- cut your cereal box to the size of the paper you are mounting. Glue the paper to the cardboard.
Then decide where your lines of beads will go and mark the paper where the brads will go in.
If you think your Practice Abacus will get a lot of use you may want to put a overhead projector sheet over the top of the paper to mount the beads and brads on. It's kind of like laminating it. Use the binder clips to hold it on while you punch the holes.
I punched the holes with my scissors, but a different tool might be nice.
Cut your ribbon lengths at least 2 inches longer than they need to be to go across the paper because you will wrap the brads. You can trim the extra at the end.
The brad will hold the ribbon in place on the abacus. First thread it through the middle of the brad like this:
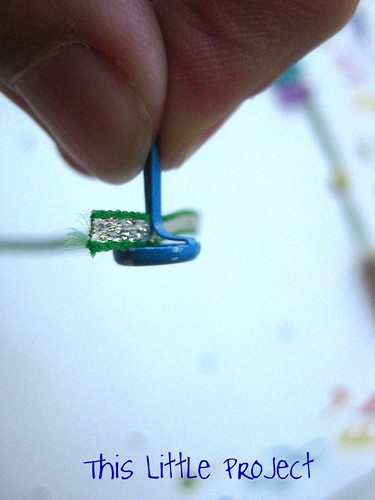
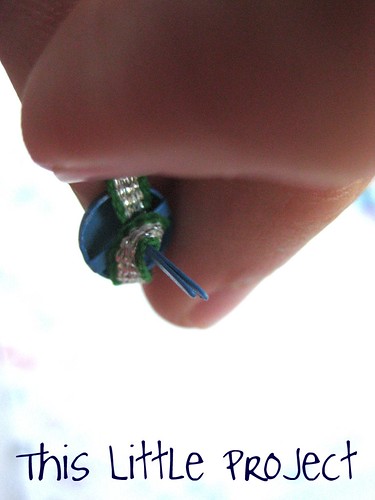
Then wrap it around the brad once like this, before putting it through the hole you created on the left side of the paper. Spread the brad open on the back of the cardboard to secure it.
Now just decide how many beads you want on that line of your abacus. Next thread your beads on the ribbon.
If you have room, you can put a brad in the middle of the paper (not just on the sides) so that you can have two different counters that move on the same ribbon line, like this one.
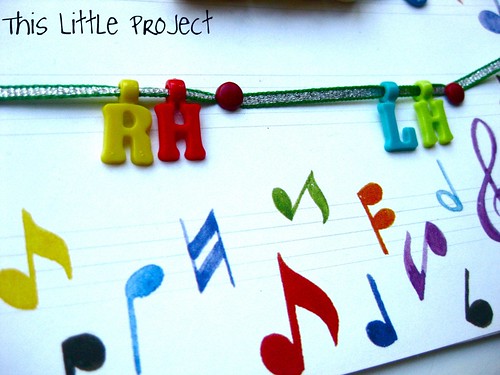
The RH/LH line we use for when Jay needs to do 2 repetitions of something on each hand.
The reason I did 2 different counters of 4 each like the one below is so that Jay can either count the word out or count with the numbers. He can also use it for doing 4 on one hand and 4 on the other hand. It's nice to be able to track how many and it's fun too!
Continue putting brads into the holes you marked until you have the number of counters you would like.
For my Practice Abacus I put the "3's" at the top, then the "4's", then the "5's", followed by the 2 (RH/LH) at the end.
Abracadabra, it's done!
Now watch the magic happen at your house as you use your Practice Abacus!


No comments:
Post a Comment