I Spy Ornaments-Gift for Kids

We have a family tradition of making homemade gifts. There is something special that goes into something you make for a certain someone.

This I Spy Ornament is fun to give for lots of ages!
To make {This Little Project} you will need:
  • A clear plastic ornament that is fillable (ours were from Hobby Lobby)
  • ribbon for hanger
  • miniature ornaments or other small things (like shaped buttons) to put inside
  • "snow" is polypellets (like inside a bean bag chair or try plastic "snow" from the craft store)
  • paper to write the "list" of what you put inside so it can be found
  • super glue (to hold it closed once you are done)
Make your list of what is inside then put the items in one half of the ornament. Cover with "snow" then put a little glue around the outside and attach the other half. Punch a whole in your list and attach it with the ribbon hanger.
Easy and FUN!

Have fun give something YOU made JUST for THEM!

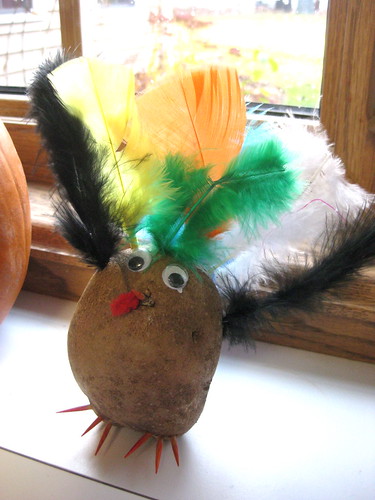
Mr. Potato Head Turkey


Jay came home from his art class with this potato-head styled turkey. It was so cute I had to share.
He's so proud of himself for making it (toothpicks and feathers-including one in the back to help him stand) but doesn't think it's funny when we talk about cooking him up for Thanksgiving!


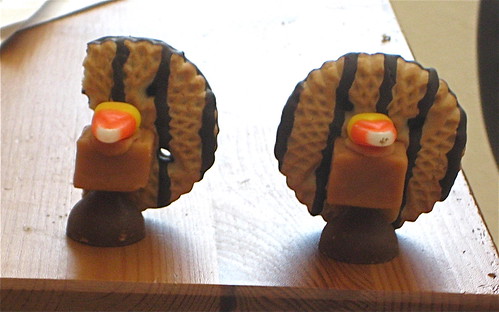
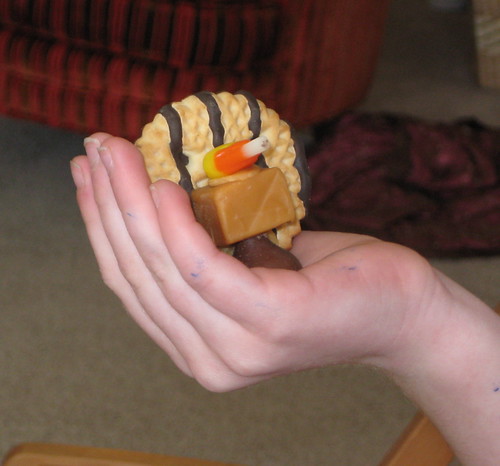
Make a Turkey Cookie


These turkey cookies are made out of a cookie, carmel, chocolate kiss and candy corn glued together with creamy peanut butter. YUM!


Happy Thanksgiving!

e_signature

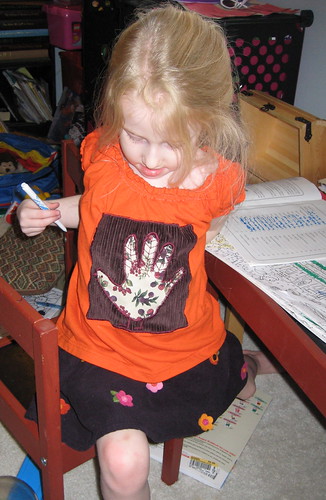
Hand Turkey Shirts


This post is also from the past as I made these Thanksgiving shirts last year. I think they're going to fit again this year too so we may not get new shirts until next year!

Last year I bought orange shirts planning to make the Halloween pumpkin shirts I made this year. I didn't get to it in time so I made Thanksgiving shirts instead. My little one's shirt was made out of an 6-9 month boys onsie. I cut off the bottom, hemmed it and covered up the logo with the hand turkey.


To make the turkey on their shirts, I traced their hand and cut it out to make the pattern. Then using a scrap of fabric I cut out the hand and a square to back it up. The turkey needed a little contrast to help it stand out. I appliqued the square and hand on with my zigzag stitch and then added the details of feathers, eye, beak, legs and feet. I reversed the fabrics on the second shirt just for fun and to make them a little different.


What are you wearing for Thanksgiving?

e_signature

My Favorite Pie Recipe

Whenever I get the chance to make pie I go for this one:
Sour Cream Apple Pie.
The recipe comes from an old friend of my mother's. Every time I serve it people ask for the recipe. So here we go!
(I'll give you an easy pie crust recipe to go with it too-down at the end.)

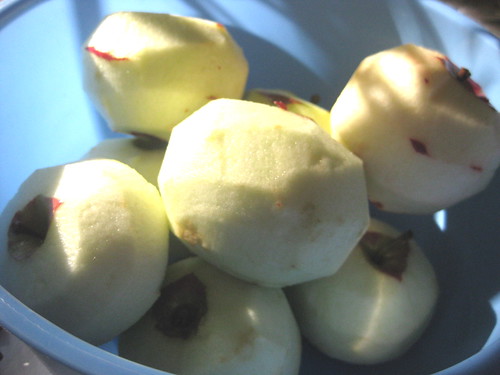
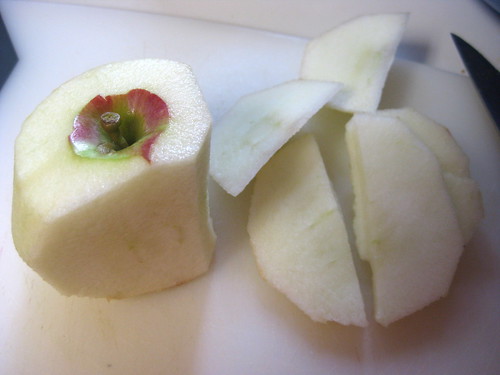
You need 3 cups of apples-peeled and cored. {Little Project Tip:} If you don't have one of those handy little things the slicing and coring for you just cut around as you go-see photo. It's faster than cutting into 4's and slicing the seeds out. Plus you end up with nice small pieces.

{Little Project Tip:} I think it's easier to peel the apple in one long peel going around and around. But that's just me. I love adding such a cheery bit of color to the compost pile-but that's just me too!


Sour Cream Apple Pie Recipe:
2 eggs beaten
1 cup sour cream
1 cup sugar
2 T flour
1 tsp vanilla
1/4 tsp salt
3 cups apples (peeled/cored and sliced)

Crumble for top of pie:
3 T. butter
1/4 cup brown sugar
1/4 cup flour
Directions: Combine eggs and sour cream. Add sugar. Then add flour, vanilla, and salt. Apples go in last.
Pour into an unbaked pie crust (see recipe below) and bake for 15 minutes at 375 degrees. Then sprinkle with the brown sugar crumble and finish baking 20-25 minutes


So many people are afraid of making pie crust. I love this recipe because it always turns out and it's so EASY!

Pie Crust Recipe:
2 1/2 cups flour
1 cup shortening
1/2 tsp salt
1 egg
1 T white vinegar
1/4 cup water
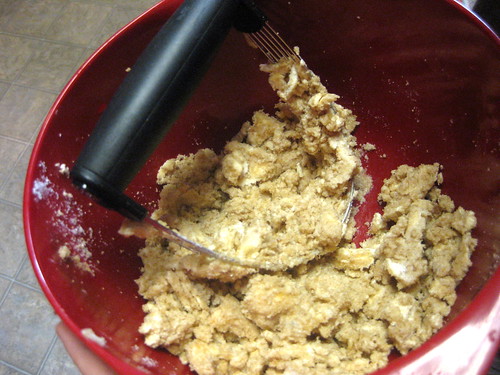
Just throw all the ingredients in your Kitchen Aid or Bosch and it turns out great.
(makes three 9 inch crusts or four 8 inch)

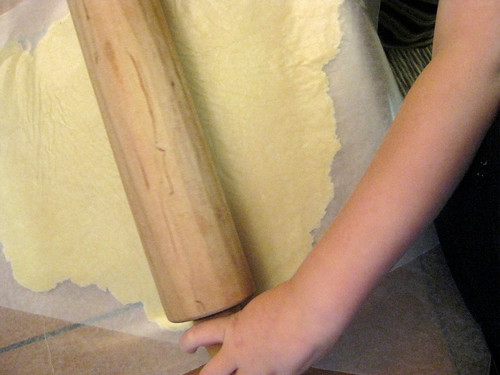
To roll it out, start with a ball of dough and sandwich it between two layers of wax paper. Roll and then release each side of the paper and roll again as needed. If it sticks too much to the wax paper sprinkle a tiny bit of flour. It gets easier each time you do it.
One other {Little Project Tip}: I use enough wax paper that I have some extra hanging over the edge of the table or counter so that I can lean against it to keep it from moving around as I roll.

Enjoy This YUMMY Little Project! It's best served warm, but it's great the next day too :)
Trust me, it's the best!

Thanksgiving Blast from the Past

If you are looking for some ideas for celebrating Thanksgiving, be sure to check out the Thanksgiving Little Project archives here for ideas like this shirt,
game, and more!


Enjoy!
LinkWithin Related Stories Widget for Blogs Add to Technorati Favorites Share/Save/Bookmark