Showing posts with label Reading. Show all posts

Groovy Dr. Seuss MOVES!

(Originally posted at abcand123learning.com)

Today I wanted to share some ideas to MOVE past just reading the  Dr. Seuss books and making a craft.  We're going to be getting off that chair and MOVING to Dr. Seuss!

Each year I get so excited to celebrate Dr. Seuss' birthday (March 2nd).  It's a wonderful way to celebrate reading and the fun world he created that kids love!

As you know, some children are full-body learners.  My daughter is very much this kind of learner.  Everything makes more sense to her when she can touch it or get her whole body involved somehow.  For the other kids, these activities reinforce concepts they've learned in other ways which is also very important!

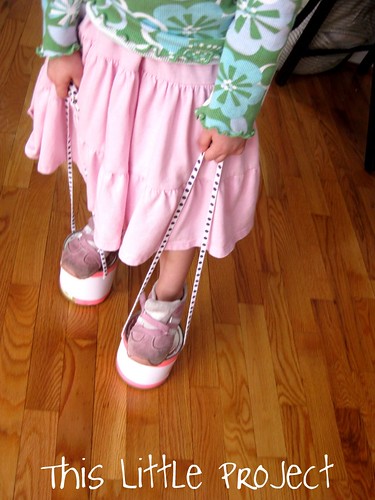
One way to get bodies involved is to dress them up!


Here is our Cat in the Hat dress-up that we use for the game you will see below.
 (Link for details of how to make this dress up the kids are making their own hats.)


Dr. Seuss Rhyme Tag
This game is a fun way to reinforce rhyming practice and get the kids moving!

The person who is "it" is the "cat in the hat."  See photo above-

When the Cat in the Hat tags someone the person is "caught" and has to freeze.  The frozen person thinks of a word and says it when another player runs by.  Once someone rhymes a word with the frozen person and taps them, that person becomes "unfrozen" and is back in the game.

You can switch who is it/the Cat in the Hat with a timer or whenever they catch a certain number of kids.


Music + a Book = FUN!  
A little dance party to Green Eggs and Ham adds fun movement to this classic!

Green Eggs and Ham Song


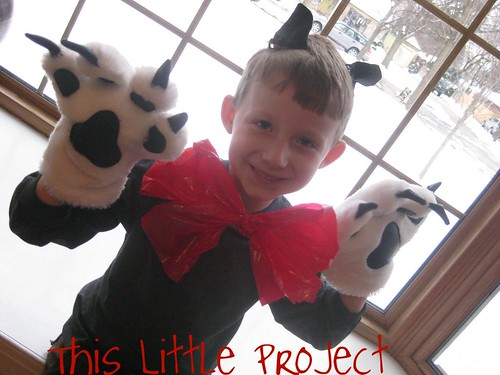
Thing 1/Thing 2 May I? Game 
This is a variation on the classic, "Mother May I?" game.  You could also play this game using the Cat in the Hat dress-up above (so you don't have to make the puppets to play it.)


I wanted to combine the activity we are doing (thing 1 or 2 puppets) with a game to practice our rhyming and this is how we are doing it:

These are the puppets we are using this printable and directions on assembly at obseussed (where you'll find lots more Seuss fun!)

Thing 1 and 2 Game Instructions:
The idea is to use rhyming and Dr. Seuss characters combined with the usual parts of the game.
Hopefully this makes sense!
One child (the mother) stands a the front of the group with their puppet (either Thing 1 or 2).
Each child can ask (the mother) to do something (hop, steps, etc.) while holding their puppet and making it "talk."
The child who is the "mother" at the front uses their puppet to "talk" back to the the child that asked the question.  
The children takes turns asking ways to get to the front, varying the number of steps/ hops. 
 The one to get up to the child in the front first wins.  
If someone forgets to say "Thing 1" when they ask their question or cannot think of a rhyming word, they go back to the start.

It goes something like this:
Using their puppet, one child in line says: "Thing 1, may I take 3 hops?"
Thing 1 (standing facing the other children in the line and using their puppet): "If you rhyme with "ball" you may.
etc.


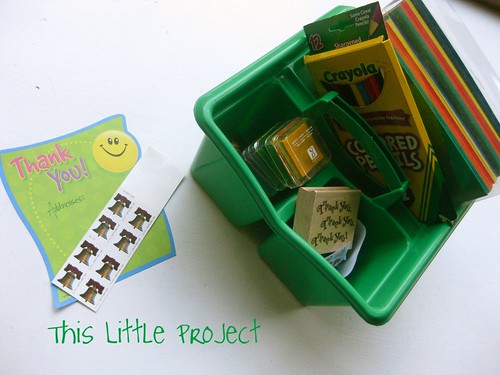
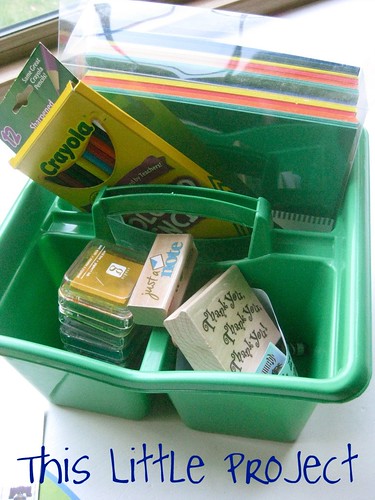
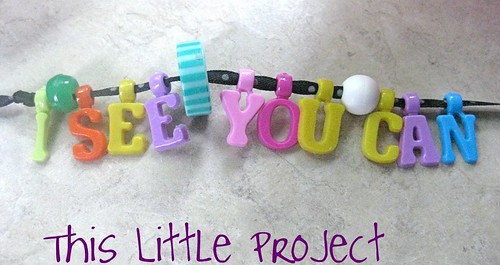
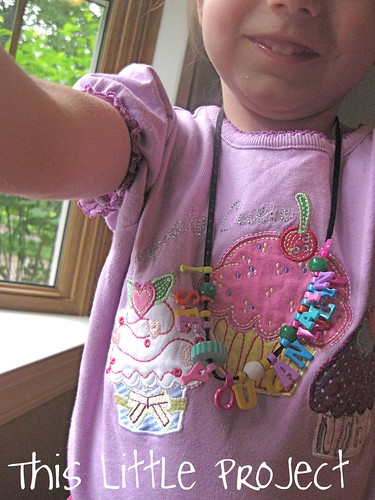
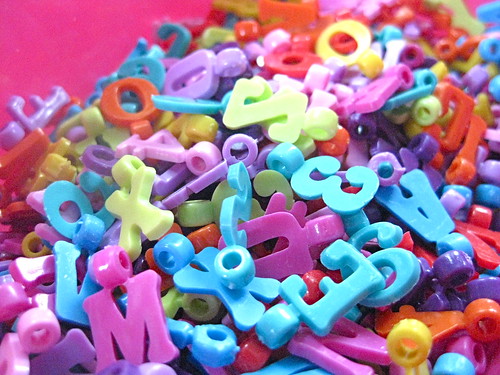
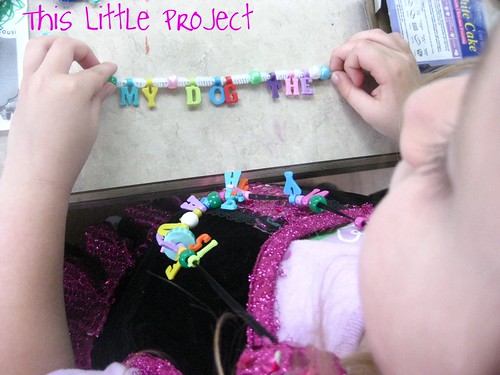
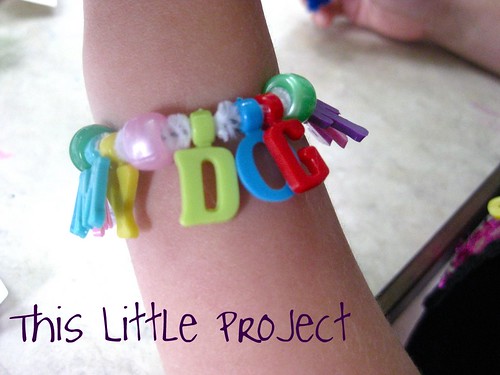
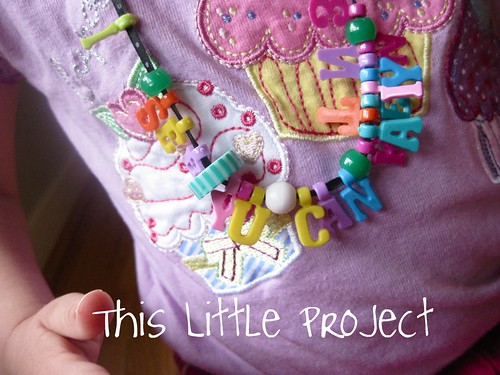
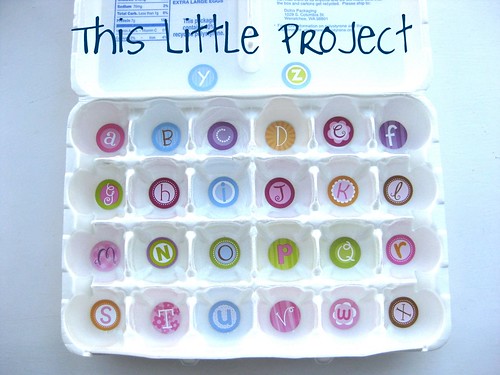
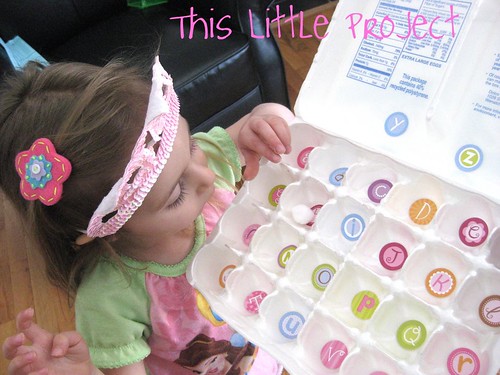
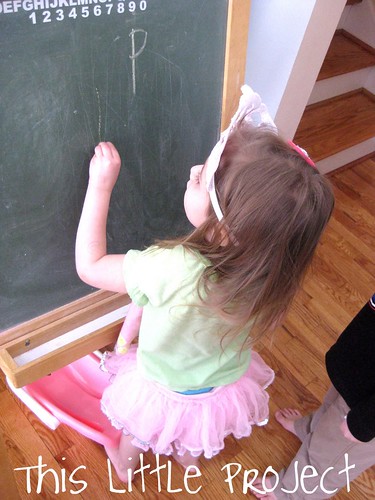
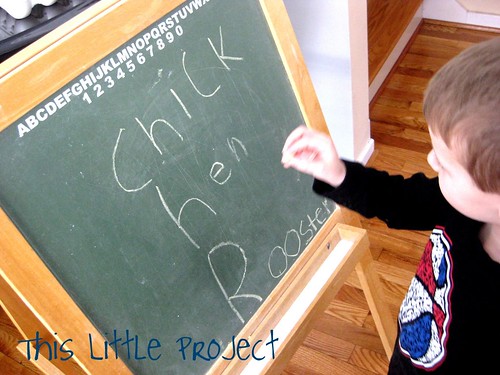
For those who really like to include movement in their learning, you will also like how we've been learning to do alphabetical order with Dr. Seuss at This Little Project
Have fun finding your Dr. Seuss "Groove"!

Note Card Caddy

Sometimes I'm a sneaky mom.  
{This little project} looks like a box of fun stamps, cards, stickers, etc. 

But it is a disguise for teaching my kids how to write thank you notes and practice their handwriting and spelling.
We've been using it for a few months and they don't know it yet!

Even though I made {this little project} for the kids I decided that I had to make one for me too!  

At this time of year we take a little extra time to be grateful.  
{This little project} has made it a little easier 
to say "thank you" all year round.


Just today one of our neighbors gave Jay a plant (he loves plants!) when he came home he said, "Mom I should write her a thank you card."  That's music to a mom's ears.  

To make {this little project} 
I used a cleaning caddy because I love the handle and that it naturally separates all of our supplies.

Our Note Card Caddy has:
blank cards and envelopes (we send a lot of happy birthday cards too)
stamps and ink pads
colored pencils
stickers
addresses
postage stamps
crayons/markers

And just this week I picked these up for $1 each at Michaels.  With these six stamps you pretty much have every occasion covered.

And if you are nervous about kids and stamps/ink, here is a {little project tip}: I keep a couple of my old t-shirts near this box.  The kids can slip it on over their clothes and slip it back off when they are done.  easy.

We also wet a paper towel to stamp the extra ink off of the stamp.  I love watching them learn to take responsibility for their things.


Actually, this Note Card Caddy is an extension of {this little project} from the past.  
There's nothing like a pen pal for making writing fun!


Even with all our technology, there's nothing like getting a hand-written note.

Thanks for stopping by today!

Charming Reading Project

I like to keep my kids interested in all the fun things they were learning during the school year throughout the summer.  


{This Little Project} is for beginning readers.


Kay is starting to read and I wanted to do something to reinforce the sight words she reads.  I came up with {This Little Project} that I knew she would love because: 

1) it involves making something fun
2) She gets to wear her work
3) it shows her progress in reading and she can be proud of herself!


Do you know someone that would enjoy 
doing {This Little Project}?

Here is what you need:

chenille stems or 1/8" ribbon or narrow string

letter beads

"spacer" beads-something to go between your words

These "charm-style" letters I found at Walmart.  They come with numbers too!
Oh the possibilities!  Just looking at them I get excited!

I also got these wood alphabet beads.  There aren't nearly as many in the bag though.  Jay was disappointed by that.  The charms come with so many colors in the bag though that a boy or girl could have fun stringing them.


To make {This Little Project}:

First decide if you want a bracelet or necklace.

We used half of a chenille stem for each bracelet-size it to your child's wrist though.

Decide what words you are doing and get all the letters out.

String each word onto your bracelet or necklace.  Put a "spacer" bead between each word.  We used regular pony beads as spacers.


Be sure to bend the ends of the chenille stems back after you put all your beads on so the wires don't scratch.

{Little Project Hint} Kay was able to thread the chenille stems on her own.  If you use the ribbon/string your child may need some help.


Wear Your Words!

Kay got compliments wherever she went.  And people wanted to know what her bracelet or necklace said-which gave her even more practice with her new sight words!


Handwriting Helper

{This Little Project} has been a fun game to help us practice good hand writing.  
It turned out pretty cute considering {This Little Project} out of our invention/junk box!

To make {This Little Project} you need:

an egg carton that holds 2 dozen eggs

stickers of the alphabet

a pom pom

To assemble: put an alphabet sticker inside each egg spot.  
You'll be short 2 spots so we put the last two at the top.


To Play the Handwriting Helper Game:
Have the child toss the pom pom into the carton.  
The child writes the letter the pom pom lands on.
You can have them write the uppercase or lowercase letter, or both!
You could also have the child say the sound that goes with the letter.


Game Variation for Older Children:
Instead of writing just the letter, have the child think of a word that starts with that letter.  

This can turn into a spelling game too!


Have fun writing and playing!


abc button


Stilts for Dr. Seuss

We love an excuse for a party!
Dr. Seuss's birthday (March 2nd)
is a great excuse to party and cuddle up and read together too!

We've been busy doing {Little Projects} to get ready for another party: 
Little Ellie is turning one soon! 
 Stay tuned for some fun {Little Projects} I've been doing for her!

 We've enjoyed a new (to us) book of Dr. Suess's called, 
The King's Stilts

 Ellie has been busy getting her own stilts working and she's walking everywhere now! Now that she's a upright and taller she can get into even more messes!


Since Ellie's almost one, another {Little Project} I've been doing is weaning her.  That has meant we have a few formula cans for our Invention Box.

You'll find those in {This Little Project} of Seuss Stilts:

To make {This Little Project} you need:

2 formula cans (13 oz size)  I found that these are nicer than tin cans because their top surface is bigger and they are easier to control and walk on.

a nail

 hammer

shoe laces or yarn (long)

tape

paper to wrap around (and color/decorate if you wish) 

We have wood floors (that we try not to scratch up too much) so I put the plastic lid as the surface that goes on the floor.

Decorate your cans with paper and color.

Then, simply hammer the nail about 1.5 inches from the bottom of the can on each side.  Make the hole big enough for your shoelace or yarn to go through.

Put the string through both sides (see photo)

Tie a knot to hold on to as they walk.

And there you go!  Hours of fun coordination-building clomping around like a King!  

My kiddos also like to hang them around their neck and bang on them like drums.  But I didn't show them that :)

For a fun printable unit on Dr. Seuss to enjoy with your kids 
check this out at What the Teacher Wants.

We are also going to be making some of
these printables from Michaels today!

And we'll be eating {This Little Project} for lunch!

Have a Happy {Little Reading Project}!  


p.s. There's more Dr. Seuss fun in the archives!
Wocket in my Pocket
Dr. Seuss Day

Words

I know it's summer and that means that school is out, but that doesn't mean that learning has to stop, right? So I'll go ahead and share what we're doing with words right now.
This activity works on these skills:
WRITE
READ
CUT
SPELL
CELEBRATE!
(sorry it's sideways-I can't get it to switch!)

Jay has pretty good handwriting, but he likes uppercase better. And let's face it, worksheets are boring! So we're happy to have a place to practice and put his words: in a "Words Can" (a covered oatmeal can and a slit cut in the lid).

This is how {This Little Project} works:
1- First we choose some of his favorite words. I help by suggesting words we're using in other learning. For instance: plant names, insects, friends' names, vacation words, seasons, etc.

2-Then I write a word on each line of this paper

3- Then he copies the word next to it. Sometimes he gets to WRITE it a few times so he has extra practice.

4-Then he puts a sticker next to the words with the best handwriting to CELEBRATE what a good job he did.

5-Then he CUTS OUT the words with the best handwriting.

6-And puts those best words in the "Word Can."

7-Later, while I'm making dinner or feeding the baby, or otherwise sort-of occupied but not totally, I can take one word out at a time and ask him to SPELL it to me. If it's easy to spell he can discard the word to make room for new words to go in the Word Can. To CELEBRATE you could have the child color with his favorite colored pencil over the letters again to reinforce the writing and show that it was mastered.

8-Or I can ask him to take the words out and READ them to me to practice his reading. If it's easy to read he can discard the word to make room for new words to go in the Word Can. Again, to CELEBRATE you could have the child write with his favorite colored pencil over the letters again to reinforce the writing and show that it was mastered.

That way we get a lot of fun with words that mean something personal, which is a lot more motivating and makes a fun {Little Project}!

Valentine Bookmark

I have been working like crazy to get things ready for our new baby, who's due in the next couple of weeks. I've been doing all kinds of fun and needful projects but can't find the minutes to post them! ahh!

I came across this WONDERFUL idea for a Valentine and I had to share it with you-since there's a good chance I'll get some done and not get to post about it in time for you to make some too!

She has created some beautiful bookmarks that you can print and add magnets too-a beautiful non-candy Valentine. They are great for all ages too-so have fun with them!
Here is the link for the tutorial. Enjoy!

p.s. I'm also LOVING this simple LOVE decor-check it out :)

You've Got Mail-for kids

Jay has a cousin who lives a few states away. She is just a three months older and they love to play together. My sister (her Mom) thought of a beautiful idea: The kids could be pen pals!

Who doesn't like to get a letter in the mail?

Plus it would be a great incentive for our kids to practice their writing skills. Today we are sending off the "N" page to Jay's cousin. We often include a card that Jay has made, some stickers, a short letter, or an art project he wants to share with her as well.

Jay has an incentive to finish his work, but I think it also is teaching him to share something he made with someone else. He really looks forward to sending his mail, not just receiving mail from his cousin. Jay also knows what the mailman does because it's personal.
Here are some other things the kids have learned with {This Little Project}:
  1. How to address an envelope
  2. Where the stamp goes
  3. How to write his and his cousin's name on the envelope
  4. To put the flag up on the mailbox when he puts his letter inside
  5. How the mail system works.
  6. To make something to give to someone else
  7. How to write a letter
  8. How to write their letters :)
  9. How to sound out words that they want to write
  10. They are both learning to read and look forward to what the other one writes to them
  11. To be patient while they wait for mail. We send something every week or two.
{This Little Project} is one that any age can enjoy. Handwritten notes are so much more special and the relationship that is developed and strengthened is priceless!

Remarkable Marker Fun

Most people think of dry erase markers on just the white board that they come with.  Did you know that dry erase markers work perfectly well on mirrors too?  

Below are 3 more surfaces and activities that are remarkably more fun with these fun little markers.  If you don't trust your little one with dry erase markers washable markers work too :)

Try doing a self-portrait right in front of the mirror.
Kids can make all kinds of expressions in the mirror and then draw them "on themselves."
Mirror writing is also a fun way to write reminders.  It's a great place to display sight words.  We also use it as a place for Spanish words we are learning.  Most families spend some time in front of the mirror.  You can write messages to each other too!

A dry erase marker on a laminated surface can make reviewing something so exciting!  Jay normally might not want to review how to draw each letter.  But with a dry erase marker it is an adventure he won't miss.  (He's using a placemat from the dollar store in this activity.)
 I draw a little dot on each letter so he remembers where to start and then he's off to draw them all-no complaints!  We've also used this technique with maps, etc.

Dry erase markers also work well on windows.   We use window writing to practice writing words.  It's way more exciting on the window then on "normal" paper!  They are great for rainy days too!
Dry erase markers are temporary on these surfaces but they come off easiest if they don't sit for a long time.  Remember to keep the dry erase markers OUT of REACH except for special occasions and to keep a good eye out while they are in use.  If you opt for washable markers (I do with Kay) then just use water to wash them away.
I hope you have fun with This Little Project!

Tot School #3


I'm late again getting this done, but I think it is worth doing anyway. I love having a picture record of some of the things the kids are doing. And I love seeing what others are up to because it inspires me. So here is a little about our past week.

Jay is still into frogs and spelling.  Here he got to combine both.  We've played with magnetic letters a lot and it's always really effective for him.
Kay and Jay practiced transferring beans from one bowl to another.
Jay wasn't as enthusiastic about this puzzle as he used to be.  We should do it more often (from Target $5)
The kids LOVED this Cake Walk Alphabet Game we played for Dr. Seuss day!
Kay can't get enough of stacking and sorting and collecting.
We made alphabet pancakes and ate words.
I love this book and so does Jay (Border's Bargain book).  It has a dry eraser marker that lets you use it again and again!  You can pull out the tabs to see if you were right!
It's a great way to practice spelling, reading, and writing (with very little work on my part, which I don't mind!)
These are the math equations we did on our abacus.  Writing them as we did them tied the two things together better.
We checked this abacus out from our children's library-what a treat!
We are getting ready to go visit DC, so we have been reading about US presidents.
Kay loves sorting and playing with these pom poms.
Kay is really good at feeding herself.  And when she's not, I love this bib (from IKEA!)
Jay read the newspaper for the first time this week.  It's a habit at our house to have it out, but I didn't think he was paying much attention.  Best Buy might be proud to know that those were the first words he sounded out reading a newspaper :)
We made banana boats for a treat to celebrate the reading we did about Curious George and his ice cream/banana adventures.
Kay has noticed puzzles lately.  And I'm noticing she is pretty good at them.  She must be related to her puzzle-monster brother!  I love these Melissa and Doug chunky ones.  The animals can all stand up on their own so they double as fun toys and are great for little hands to maneuver.
Jay loves to play "Go Fish" and gets a little better each time.  He sorts, counts, and practices taking turns.
As always, Jay is a great helper in the kitchen measuring and stirring. This week we had fun making our waffle sandwiches for dinner!

We've been watching our bean plants grow!


Making these books (from one piece of paper) was also a fun.

For more ideas about Tot School go Here.

LinkWithin Related Stories Widget for Blogs Add to Technorati Favorites Share/Save/Bookmark