Making Homemade Baby Food Project

I remember that I heard a mom tell me once that she made her own baby food. I thought she was crazy ;) Now here I am a few years later making baby food and loving it! So feel free to think of me as a crazy woman!

Since it's been such a fun {Little Project} and so much easier than I thought it would be, I wanted to share how to do it (in case you are as crazy as I am!)


Some of the reasons I love making baby food:
1- I know exactly what baby Elle is eating
2- It's way easy to do your own organic baby food
3- It's easy
4- It really doesn't take much time (4 pears makes 12 3.5 oz meals)
5- WE'RE NOT THROWING OUT (or even recycling) TONS OF LITTLE JARS. Yes, I am a bit of a tree hugger and I'm so glad that this little change for our family is good for our world.
6- You have everything on hand in your kitchen to do it (if you have a blender and ice cube trays.)
7- It's cost effective (a nice bonus)

Want to try {This Little Project}?

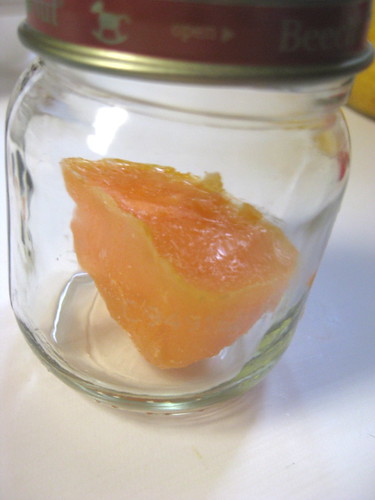
This is a photo of my first batch. I steamed some organic carrots that we grew, then simply put them in the blender and pureed them. I use a tablespoon to scoop the puree from the blender into the ice cube trays. It's about 1.5 tablespoons for each " cube" of the ice tray. I put 2 layers of plastic wrap over the top of each ice cube tray and freeze for several hours (it takes longer than water).

When they are done just pop them all out and put them into a freezer bag. They last 2 months in the freezer and if you're baby eats like mine does, they won't sit there that long! Each "cube" is about an ounce so you know just how much baby is eating. I think this looks so much tastier than those jarred foods!


Then just get 2-3 days worth out at a time and let it thaw in the fridge until baby is ready for it. When we need a meal-on-the-go, I just put a few of them (and some rice cereal) into a clean pre-used baby food jar and we're good to go!

So far little Elle is a fan of peaches, avocado, apples, pears, carrots, and sweet potatoes. If you want to learn more or try it out, I've found all my recipes and how to store, freeze, thaw, etc. here: wholesomebabyfood.com

Enjoy this Yummy {Little Project} ;)

Being UN-Scared and Prepared

I decided that the month of October would be my "un-scared" month. I know that goes against tradition for this month. But the kind of scariness I'm thinking of is the real-life things that can freak you out. I'm talking about things like: a house fire, a natural disaster, a family tragedy, etc.

A lot of the fears that are associated with these kinds of things can disappear if you feel like you are prepared ahead of time.

Here is a sample list of {Little Projects} happening at our house this month to help us be prepared instead of scared:

1- Have a 72 hour kit ready for every person in the family.

2- Have water purifiers on hand.


4- Take time each day to strengthen family spiritually (FHE, family devotional, prayer, scripture study, etc.)

5- Purchase/mount/learn how to use a fire extinguisher. We're doing one in the kitchen and one downstairs too near the laundry/furnace area.

6- Talk to children about what to do in case of a fire and work on stranger safety.

7- Learn more about how to cook on diverse cooking sources (propane, BBQ, fire, dutch oven, thermal, etc.)

8- Replace batteries in fire alarms and carbon monoxide detectors.

9- Have multiple light sources on hand (flashlight, lantern, crank light, candles, etc.)

10- Work on having multiple heat sources available for home (fireplace, newspaper, etc.)

11- Update will and think about insurance needs.

12- Stick to the family spending plan

It only takes watching the news to remember that our world is a bit unstable. Hurricane Katrina-like and terrorist disasters can happen anywhere and it's nice to have a feeling of safety and control for your own family in a world that feels quite out-of-control sometimes. At these times the {Little Projects} you've done to prepare will bring you peace in the midst of uncertainty.

In a month that glorifies the scary I hope you find the time to make your world feel more safe and secure. I would love to hear what {Little Projects} you take on and hope that the links above help!

Funny Bones

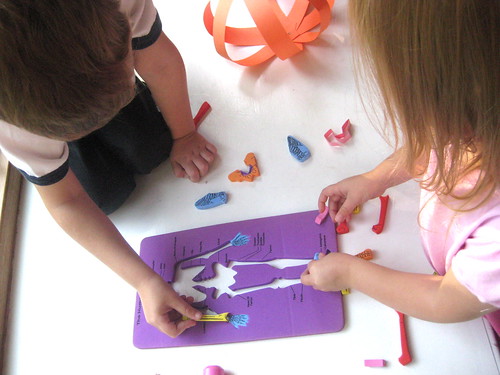
This time of year is perfect for finding all kinds of things to help teach kids about their own skeletons. Here are some ideas:

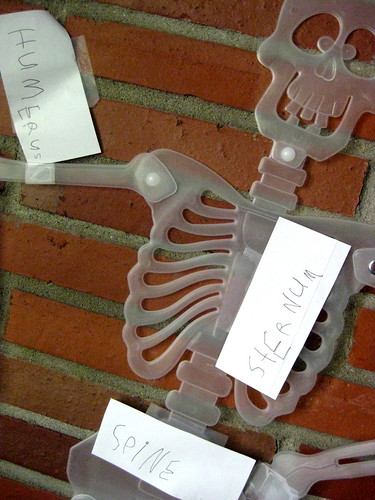
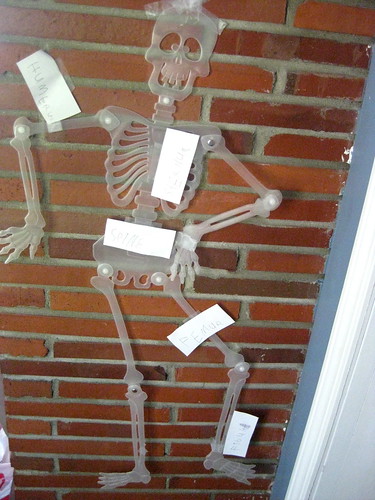
A plastic skeleton that the kids can label:
We call him Mr. Bones. Since he's close to the size of a pre-school child the kids can see where their joints and bones are very easily.

We've also been playing some fun games and songs to memorize them.


Fun song for bones:
Use the hokey pokey with the names of the bone instead.
("You put your right phalanges in...")

Use the "Head, shoulders, knees, and toes" song
(Skull, clavicle, patella, tarsals....)

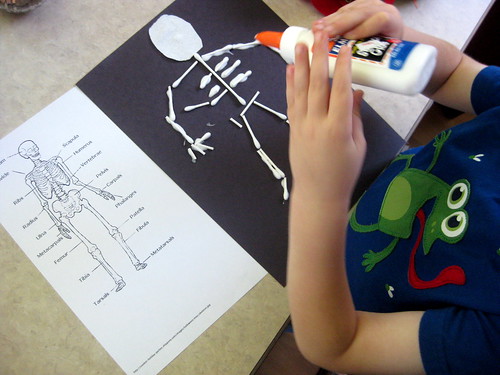
We made skeletons out of q-tips and glue. It was easy and fun to name the bones as we put them on.

Fun treat with bones:


And if you want to make one out of socks, check this out.

And if you have older kids, try this game or this game

Have fun celebrating that you have a skeleton this Halloween ;)

Halloween Outfits


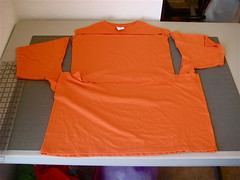
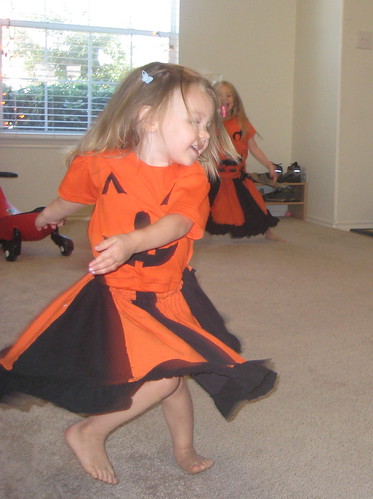
My girls are excited for Halloween, and Halloween outfits are adding to the fun. I bought two small orange shirts and one XL adult orange shirt. We happen to have several old black t-shirts hanging around the house.

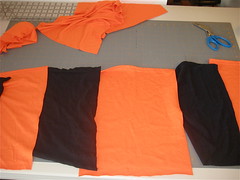
I cut the top third of the XL shirt to make orange stripes for my 2 year old's skirt, and the bottom 2/3 for my 5 year old's skirt.

IMG_1400 IMG_1402

I made the black stripes a little thinner just for looks. I then put a black ruffle on the bottom.
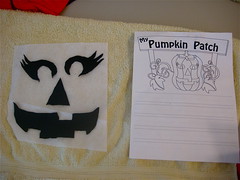
My 5 year old chose the pumpkin faces to put on the shirts. I cut the fabric out for the faces sewed them on by by sewing a zigzag around the different face pieces.

IMG_1403

What are you doing to get ready for Halloween?


e_signature

Buffet to Media Center

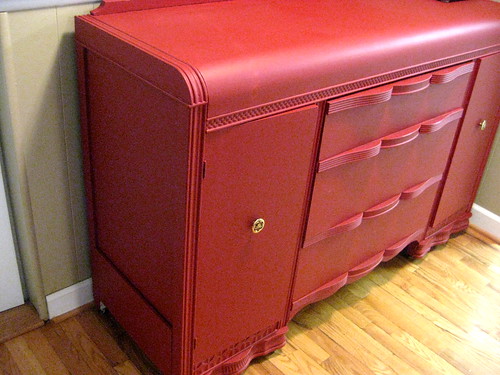
Would you believe that this:

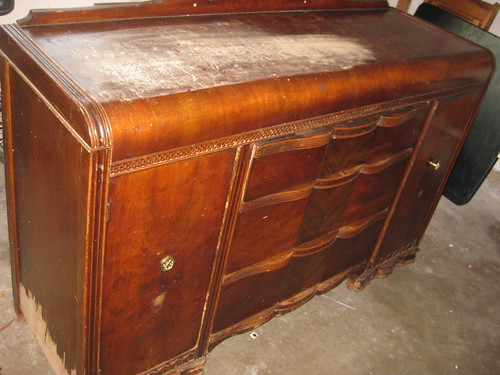
Started out looking like this?


I love before and after photos because you can really see the fruits of your labor!

We have a long and narrow family room and needed a cabinet to hold the dvd player and dvd's. I couldn't find the right size of media center anywhere at the store or online. Then I realized that the size and height of the space was perfect for a "buffet" cabinet. I found this one for $20 on craigslist.

I haven't ever refinished anything before so I was nervous about how "little" this project was going to be. But I was also excited to give it a try. I figured if it didn't work out, I was only out $20, right?

Sanding the top smooth and a coat of primer took one Saturday. Then 2 coats of paint, and a board nailed to the bottom of the sides on the next Saturday brought it to this:
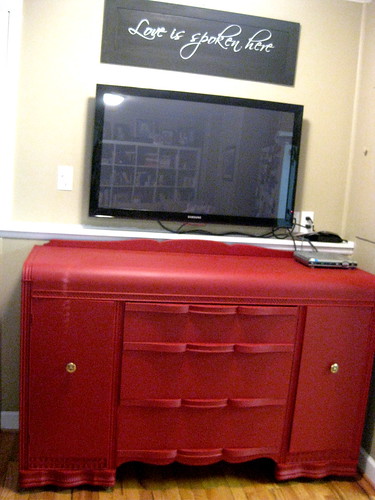
(The funny lines on the left of the cabinet are just a reflection from the tv).

It's just the "pop" of red I was hoping for in that room.

The drawers are perfect for holding dvds and when we need the player, we just crack open the door on the side.

And it goes great with the new pillow slip-covers that I just finished. One {Little Project} at a time...our house is finally coming together!

DollHouse Furniture


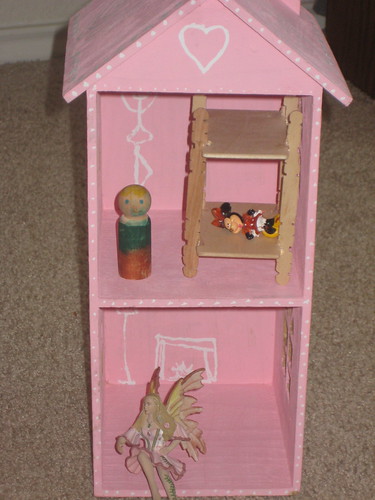
Once the girls had the dollhouse, they needed some furniture to go with it. I bought a package of 6 wooden rectangles at the craft store for a little over a dollar. We already had wooden spools which I glued onto one to make a table. I glued two half spools onto another to make a bed.


My girls have a bunk bed, and so requested one for the doll house as well. I used two of my wooden rectangles and hot glued them into the slots of those slotted popsicle sticks from the craft store.
Our wooden dolls as well as all other small toys enjoy the furniture and doll house
.

What do your dolls play with?
e_signature
LinkWithin Related Stories Widget for Blogs Add to Technorati Favorites Share/Save/Bookmark