Showing posts with label Halloween. Show all posts

After-Halloween Math

This is what it looked like at our house after everyone brought home their trick-or-treating loot.
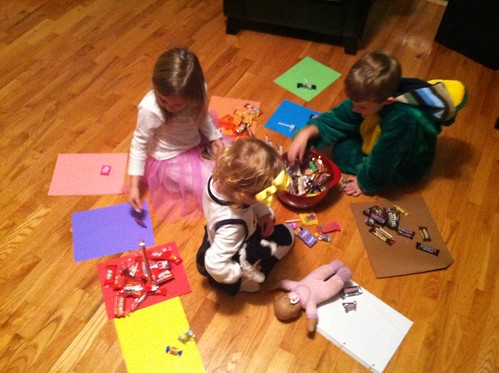
It's waaaay too much candy.  So our tradition is that the first thing we do is take 5 favorites out and dump the rest of everyone's candy into a bowl and sort it by color.
The kids record the number of each color on each colored paper.  My kids had two nights of trick-or-treating so we did this twice-recording the second number on the underside.

Then we compared by graphing all the colors from one night to the graph the kids made of the second night.  The graph happens the day after, of course.  For the record, the first night had more candy overall.
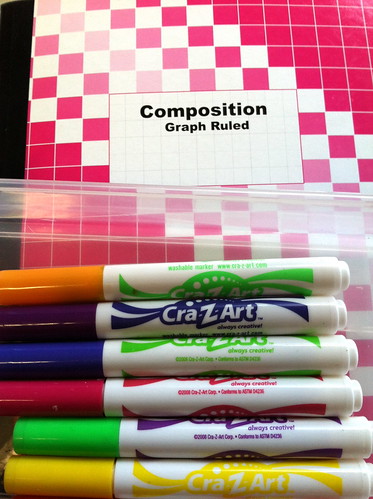
{little} Ellie also sorted the candies by size and shape later on (no photo).  I love using something that they care about to do learning games with.  Finishing with a treat is the part that they love! 
But my favorite part of {this little project} is that since everyone's candy is in one bowl it isn't really anyone's.  So it lasts a lot longer and no one eats too much.  We were just finishing last year's bowl when it was time to refill it for this year!

How to make a Pumpkin Maternity Costume

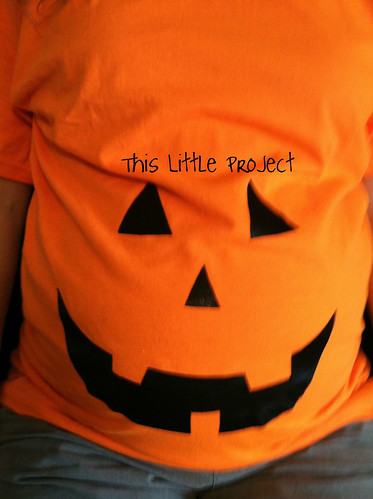
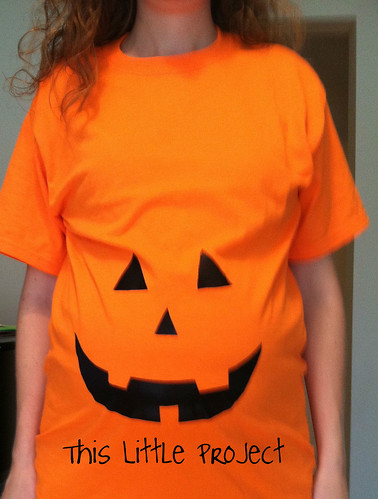
What do you wear for Halloween when your belly is big enough to be a pumpkin? 

 {This}
 

 My Mom is an awesome seamstress and Halloween was always a big deal when we would dream up something to be and she would sew for hours to finish all the costumes and make everyone's dreams come true for my siblings and I.  I don't have her amazing skills, but I love having the excuse to dream up costumes now with my kids too.

I don't dress up every year.  But this year, I knew just what I would do.  {This little project} is the easiest costume I've ever made!  

And Jay liked it so much when I was done that he said I HAD to put it on the website :)  So here I am with the photos he took of me.  In the flavor of Halloween he kept cutting my head off from the photo.  But the pregnant baby belly is obviously what he wanted to show--all dressed up--anyway.

To make {this little project}
I drew a jack-o-lantern and cut it out--make sure to cut 2 of the eyes so they are the same.
 Then I traced it on my iron-on paper, stuck it to the black fabric, and then cut it out.
Then I put on the T-shirt so I could position the face over my big baby belly, 
and then ironed it on the orange T-shirt (not while I was wearing the shirt, obviously :)

{This Little Project} was fast and easy.  
It's the perfect way to dress up the {little} one that will be arriving in a few more weeks!


Happy Halloween!!
 

Learning about YOUR Skeleton


I always like to do some body awareness for my kids at this time of year when skeletons are hanging all over the place.  When my kids realized that they have skeletons and that they are the part of their body that made it so they could move they weren't so scary :)

Below are some movies and activities that I have used in the past to help them to experience and learn about the bones in their bodies

This little movie will get you started at looking at where your bones are:


If you want to learn the "real" names of the bones, my niece sings a song with the different bones ( to the tune of Macarena) that will help you can learn some of the real names of the bones.  Click Here and it will take you to the movie.  She doesn't point to each bone in the movie--but you can while you sing it!

This next music piece (In the Hall of the Mountain King) is fun to dance to at this time of year.  The first part of the music is so quiet that you can hardly hear it.  Start with everyone in a circle and tip toe your skeletons around as close to the ground as you can.  As the music grows louder and faster you can grow taller and walk faster and faster around the circle.
Kids LOVE this game and it's a great way to teach about dynamics and tempo in music as well as a fun way to explore the idea of their bones moving while they dance/run around.

In the Hall of the Mountain King by Edvard Grieg (from Peer Gynt).   

This is a famous classical piece about skeletons dancing around.  What kinds of shapes can you make with your skeletons while you dance around?
Dance Macabre by Saint-Saens, a french composer:
 

Some other Fun songs for learning about bones:
Use the hokey pokey with the names of the bone instead.

("You put your right phalanges in...")

or

Use the "Head, shoulders, knees, and toes" song:

(Skull, clavicle, patella, tarsals, patella tarsals, patella, tarsals....)


This is a fun dress up activity.  What covers your bones?

Have fun using your skeleton ;)

Pumkins For Lunch and a Game!

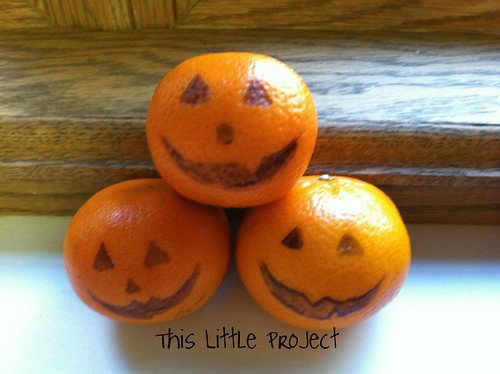
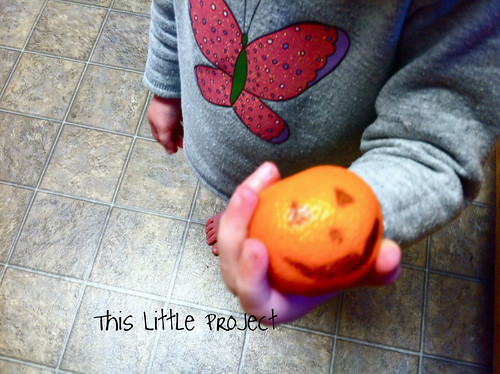
Guess what my {little} pumpkins are having for lunch today?

These {little} clementines make the perfect pumpkin.  And all you need is a little marker magic to do the transformation!
 
 But before we eat them, we'll be playing a game with them!  Come see what I'm sharing at abcand123learning.com today to find out more!

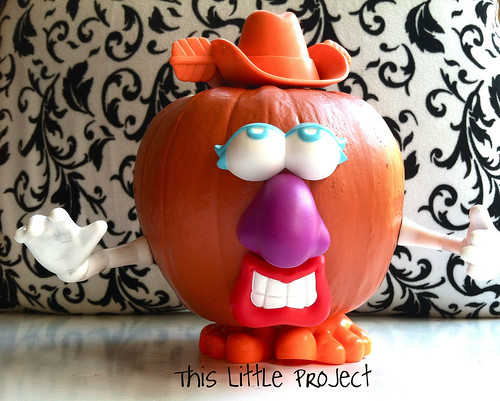
How to Make a Mr. Potato Head {Pumpkin!}


I used a "funkin" and our bucket of parts to do some toy "repurposing." 
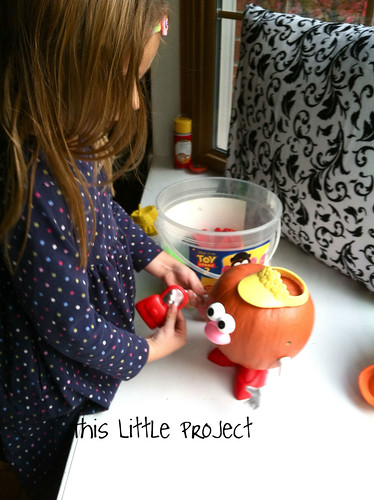
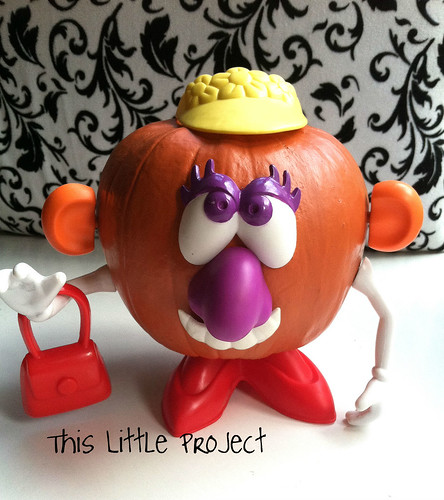
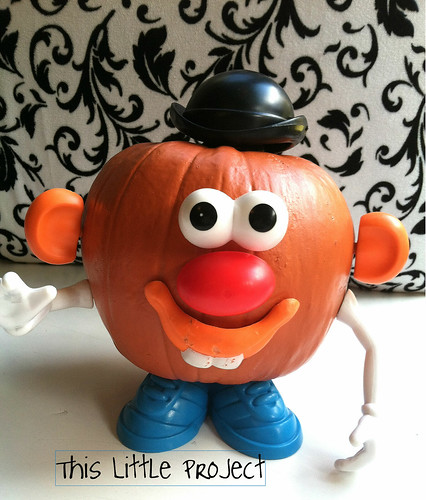
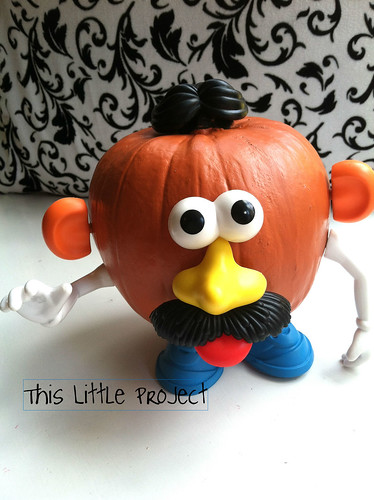
  All three kids are big fans of the results of our "pumpkin head" toy.

 And judging by the fact that the parts are constantly being switched out and there's a pile of "parts" on the floor, {This Little Project} was a success.


Here's a look at our {little} pumpkin fashion show.  
There's something extra fun about dressing up a pumpkin
 "in costume" at this time of year.


All you need to make {this little project} is:
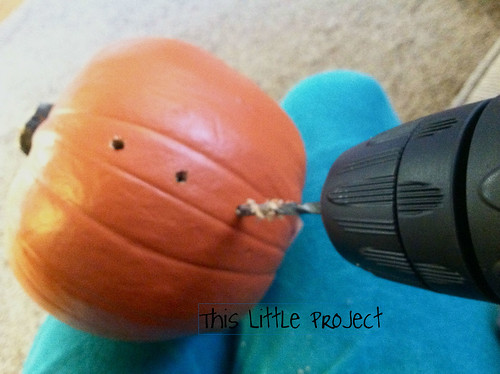
a drill
a funkin (it's a fake foam-like pumpkin from a craft store)
and some parts.

I used the smallest funkin I could find (it's from Joanne's) because it was the closest size to the potatoes that the parts originally went to.  But I think a bigger pumpkin would also work, you would just drill the holes a little farther apart.

1- Drill the holes.  Then check to see if the parts fit in.  I had to wiggle the drill bit to get just a little bigger hole to make it fit just right.  If it's too tight it isn't fun for the kids since they have to work to hard to play with it.

This is the eye, nose, and mouth placement:


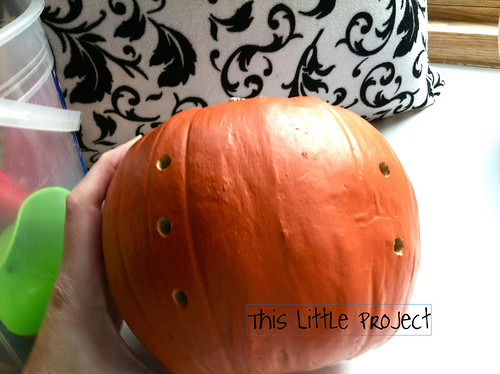
2- Drill a hole in the top as well as the bottom of the pumpkin for hats and feet/shoes:


This photo shoes the ear and arm holes on the right side of the pumpkin.  The three are the front of the pumpkin.

Then let the kids have fun dressing up your {little} pumpkin!


I love all the fine-motor practice Ellie is getting while she plays with {this little project}
It's quick and easy to make.  And now is a great time to get these "funkins" on sale!

If you don't have a bucket of Mr. Potato Head parts sitting around.  You might try using the parts that you can buy that are similar to the ones we used for our kid-friendly pumpkin decorating:

Have fun!

How to make Toilet Paper Roll Pumpkins

Last week I was helping the young women at church learn to made these quick and easy pumpkins.
  
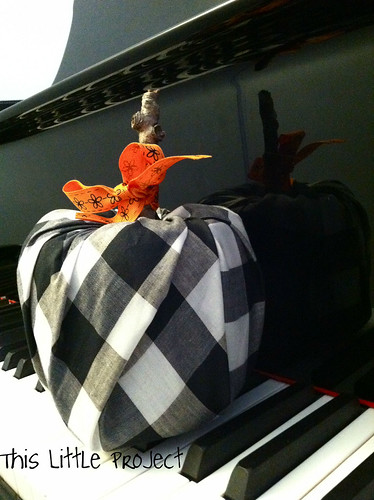
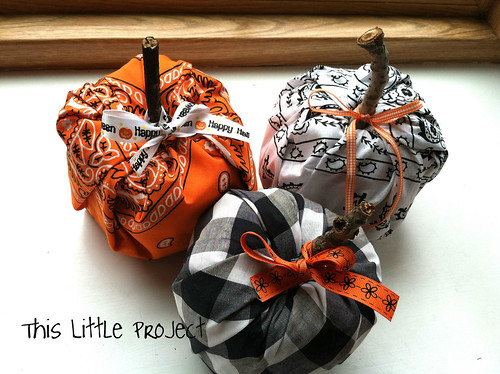
The fun thing about {this little} pumpkin patch is that no one will guess that inside each {little} pumpkin is a roll of toilet paper!
 
 
Since I had so much fun making pillow slipcovers with bandanas I decided that my {little} pumpkins would look cute dressed up in a bandana too!
I made them to go in our music room.  Halloween matches the piano so nicely ;) 


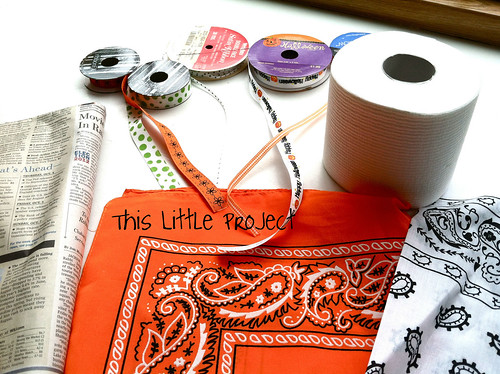
Here's what you need to make {this little project}
a bandana (or fat quarter of fabric) or repurpose-see below
a roll of toilet paper
Ribbon (about 15 inches)
 a sheet of newspaper
a branch/stick


 A bandana is a really great size for these pumpkins.  And a fat quarter works great (18x22") too.  But actually, when I worked with the young women we made these by repurposing shirts.  A t-shirt, an orange sweater, black velvet, etc.  They turned out really fabulous with a lot of different textures!
Just cut your shirt to be about 18"x22".
Now, on to how to make a toilet paper roll pumpkin!
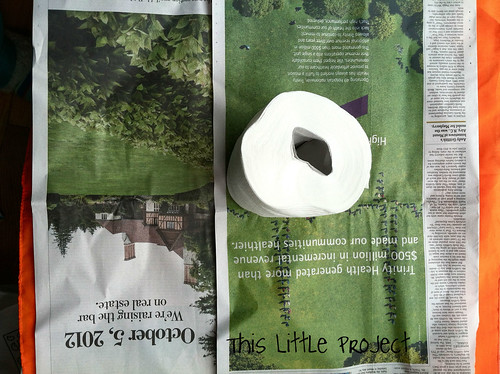
1- We did a little bending of the toilet paper roll to disguise it.  Under the roll is a piece of newspaper.  The bandana is under that.  The side you want to see on the outside is facing down to the table.
  
2- Starting with the shorter sides, pull up parts of the newspaper and fabric and stuff it inside the middle of the toilet paper roll.
 3- After the shorter sides are in, stuff the longer sides in.
 
4- After all the paper and fabric is inside, stuff your stick/branch (or dowel) inside the roll to help hold the fabric in place.
 
5- Then tie a little ribbon around the stick.
That's it!

These also make fun {little} gifts.  I took a bandana one to a friend yesterday and she loved it.  She was so surprised when I told her what was inside  :)

 
Now you can go make your own {little} pumpkin patch!
 

Sneaky Pillow {slipcovers}

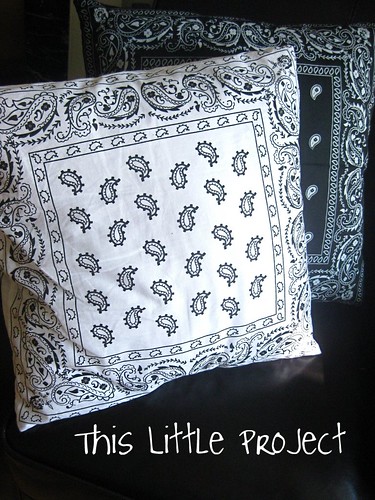
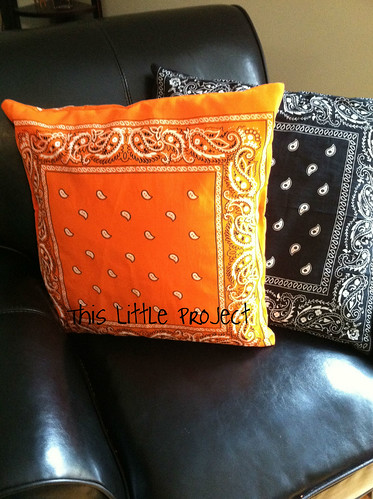
Here's a sneak-peak at my new pillow slip covers.
Can you guess what {this little project} was made from?


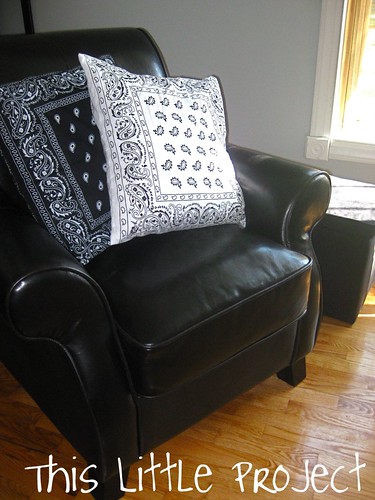
Here's another look.  I made these to go in our music room.  The big black piano takes up a good chunk of the room and it dominates the color scheme too, as you can see...


So, if you didn't guess yet I'll have to tell you....

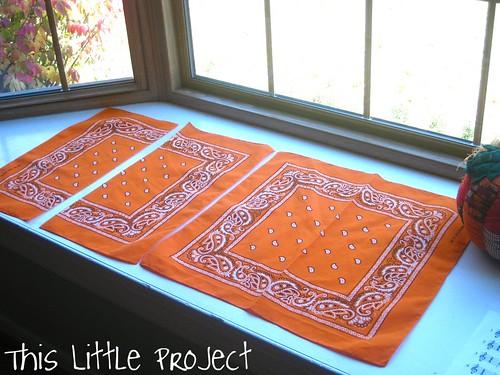
These pillow slipcovers are made from 2 bandanas!

They were a buck each.
ya.  I can hardly believe it either.

Nobody ever guesses they are bandana pillows when they come over either.  
Your secret is safe :)

 
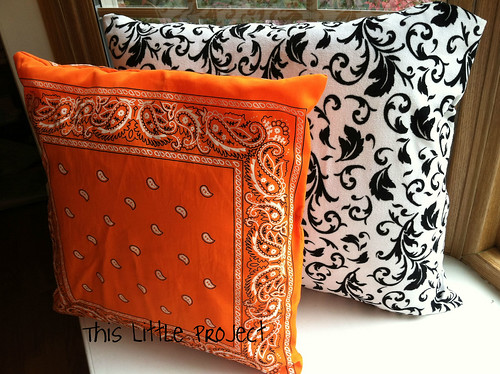
And since they are slipcover pillows I can change the black-and-white scenery of the room whenever.  The orange ones work perfect for Halloween!

The standard bandanas fit the 18"x18" pillow forms.  Perfect!!

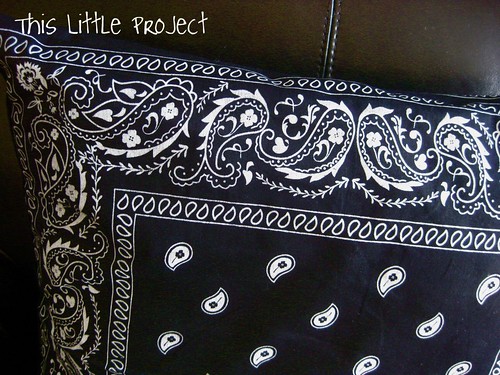
To get you started, here are the 2 bandanas I started with:  


p.s. I didn't take photos of the process, because it really is so easy!
(but if you have questions-just ask!)

To make {this little project}:

1- Cut one bandana in half.
The cut bandana is the one that opens in the back.

2- Simply fold back (1/4") and hem each side of the cut.

3- Then lay the cut pieces on top of the original bandana
The hemmed pieces should be in the middle so it looks like it started out.

4- Turn the cut pieces over so the two bandanas are now right sides together (printed sides are facing each other).

5- Overlap the cut pieces so that the hems overlap by at least 1/2 inch.
(for more pictures of how to make a slipcover see {this little project} from the past)

6- Pin it.

7- Sew around the square.  
The bandana you cut and hemmed is slightly smaller.  
So that's the square you sew around.

8- Turn it inside out and stuff your pillow inside!


Ta Da!  Easy. Fast. Changeable. $2 Bucks.
That's my kind of {little project}.


Upcycling Halloween

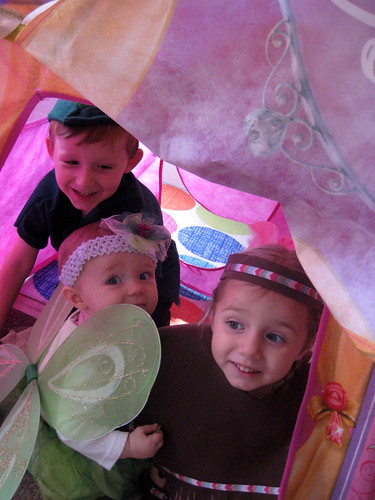
When I was a kid I always looked forward to Halloween. My Mom loved making costumes and it was fun to see what she could dream up! I caught the costume-making bug and love to do it for my kids now! This year by popular demand Jay, Kay, and Elle were Peter Pan movie characters.

But a fun costume to make is one that doesn't totally stress you out, right?


So, how to get from this:

To this?

My secret weapons for {This Little Project} are:
hot glue gun
and not starting a costume from scratch.

Here's what I mean:
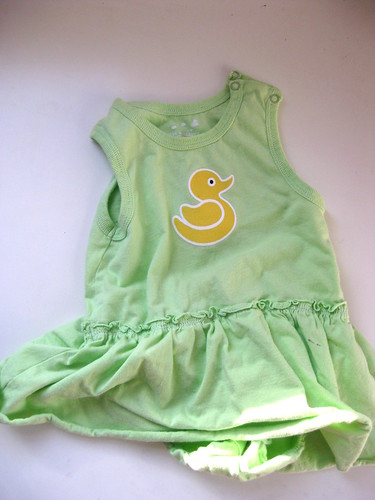
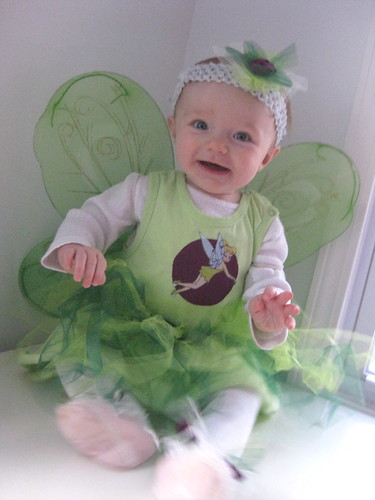
The green jumper was $2 at the thrift store (this way I didn't have to make it)
The purple is upcycled from an unused t-shirt.
The Tinker Bell cut from a piece of fabric is put on with one of my favorite secret weapons: steam-a-seam. It's the easy way to make your own iron-ons.

And, since tutus are so stink'n cute on babies I had to make her one and the wings were from the dollar store.
Total cost was about $5 and time spent was around an 1.5 hours.

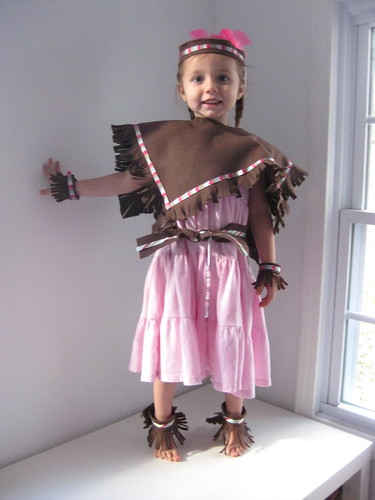
Kay's Tiger Lily Indian costume is felt, ribbon, and hot glue (with a few feathers and beads). Seriously. I didn't sew a single thing!
Safety pins are a good secret weapon too. We started with a pink jumper underneath and just accessorized
(never mind that her collar is crooked for the photo ;)

Now you have a few secrets for adding some fun costumes to your dress-up box, school plays, and yes Halloween! Have fun dreaming them up!

Funny Bones

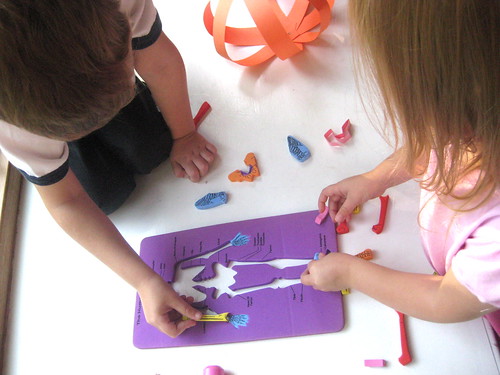
This time of year is perfect for finding all kinds of things to help teach kids about their own skeletons. Here are some ideas:

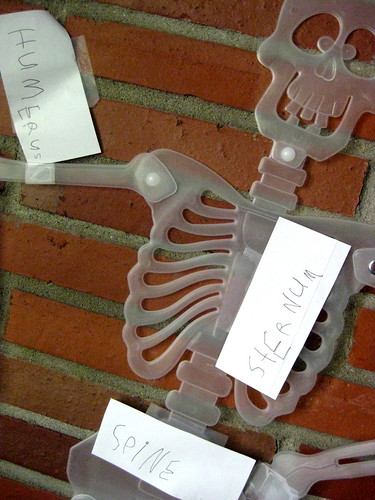
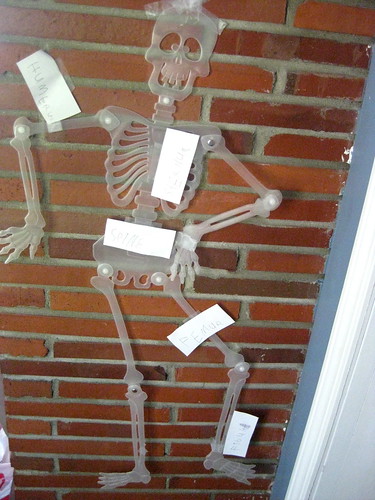
A plastic skeleton that the kids can label:
We call him Mr. Bones. Since he's close to the size of a pre-school child the kids can see where their joints and bones are very easily.

We've also been playing some fun games and songs to memorize them.


Fun song for bones:
Use the hokey pokey with the names of the bone instead.
("You put your right phalanges in...")

Use the "Head, shoulders, knees, and toes" song
(Skull, clavicle, patella, tarsals....)

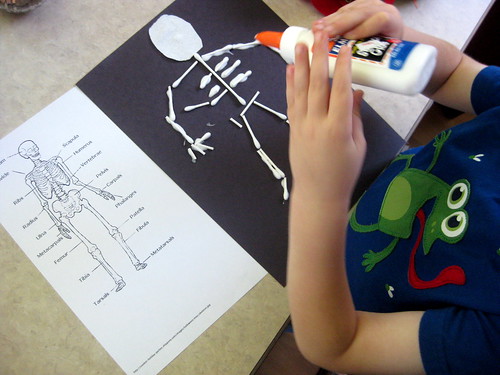
We made skeletons out of q-tips and glue. It was easy and fun to name the bones as we put them on.

Fun treat with bones:


And if you want to make one out of socks, check this out.

And if you have older kids, try this game or this game

Have fun celebrating that you have a skeleton this Halloween ;)

LinkWithin Related Stories Widget for Blogs Add to Technorati Favorites Share/Save/Bookmark