Invention Box: Hair Clip Keeper (Rupunzel Princess)

One of my New Year Resolutions is to do an Invention Box 
{little project} with my kids each week. 

  If you want to make an invention box of your own, 
here's how we did that {little project}. 

  Our motto for {this little project} is:

"To invent you need a good imagination 
and a pile of junk." 
~Thomas Edison.

I love seeing their minds go crazy with all the possibilities of inventing.


One of our favorite invention {projects} has been the Rupunzel Hair Clip Keeper.

My little Miss Kay is really into long hair.  
Many {projects} (like these headbands) have been for her.  


I'm soaking in her little girliness because I know it won't last forever.
Right now she's a little girl that loves princesses.  

So this invention was just her style.

Meet the Rupunzel Hair Clip Keeper:
( in pink!)
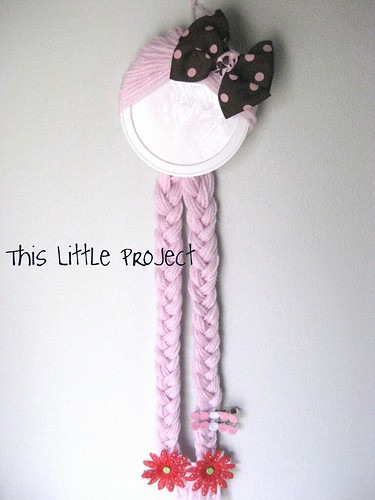

 And here is the yellow-haired version:
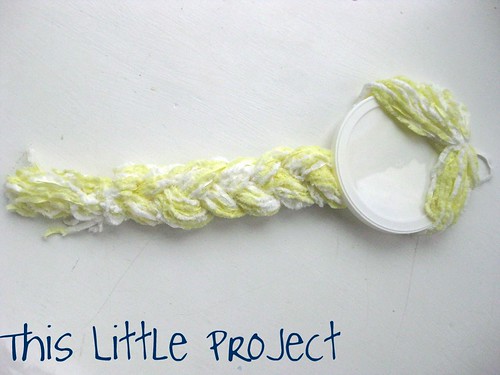


You need 3 things to make {this little project}
scissors
yarn
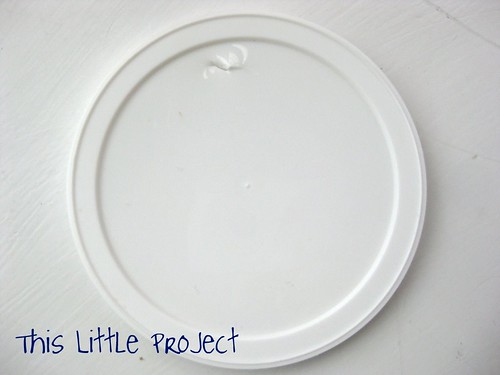
a plastic lid
(optional: a sharpie marker to draw a face on with)


To start off, you need to punch a hole in the top of your plastic lid.  This is a parent job :)
 
 
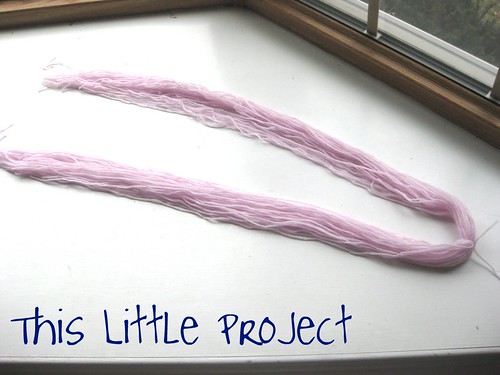
Next you need to decide how long you want the "hair" to be.  Remember that the longer her hair is, the more clippies she can wear (hold).  And also that braiding the hair will shorten it a little.  

The number of pieces of yarn you cut will determine how thick her "hair" is.

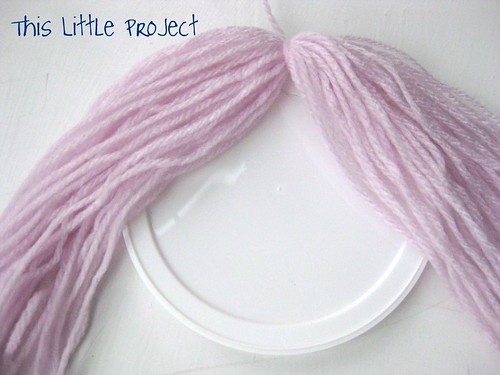
You will lay out her "hair" like this regardless of whether you do one braid or two. 

Two braids uses more yarn because each side becomes a braid.  You will combine the two sides if you want one long braid.
 
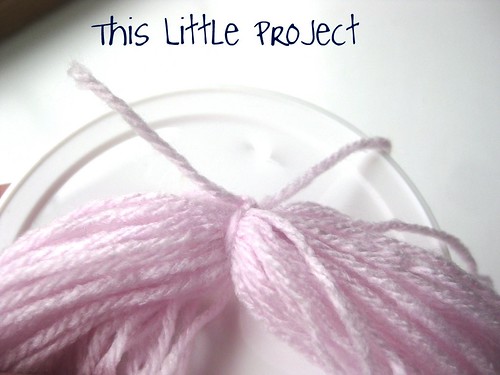
Then cut a LONGish piece of yarn to tie ALL the long pieces together in the middle at the top--see the knotted piece on the right side of the photo.
You can use the rest of this piece of yarn to hang it up when you are done.
 
Then take that knotted piece of yarn and use it to tie the hair to the plastic lid, through the hole you made.


So it looks like this.  
 
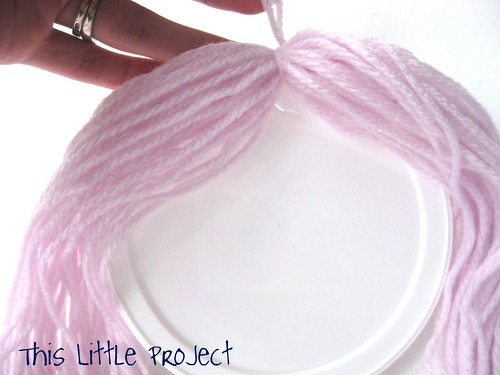
Then pull the hair down around the front of her face like this:


Next pull her hair around the the back.  It will start to look like she really has hair now!

Use a small piece of yarn to tie her hair into a pony tail.
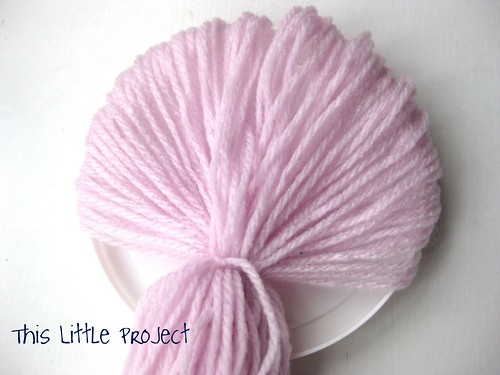


Then just braid the yarn into one or two braids with the yarn. 
If your little girl is old enough, she might like to do the braiding.
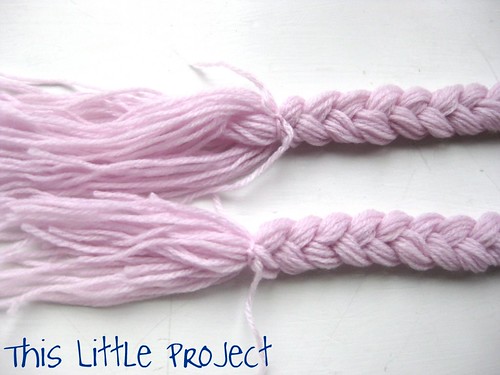


When you get to the end, tie each braid off and give her a little hair cut to trim the ends.
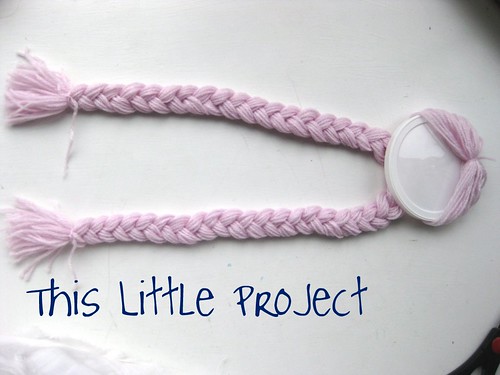

 Remember the first knot you tied?  The rest of that piece of that yarn can be used to hang her up. 


 Now is also the time to add a face (self portrait!) with a sharpie if you want to.


And there you go, a {little} invention to keep your princess's clippies organized.  
She's all ready to be decorated!


p.s. these are fun gifts too!

Friday Favorites and Freebies--Soul Art


If you haven't checked out the Feed Your Soul Art Project at indiefixx.com, you're missing out on some beautiful art.  Did I mention, that this art is  {free to print!}?!

  Seriously sweet! The artists featured donate their talents for the world so we can all see a little more beauty.

Talk about a great {little} project!

Here are some of my favorites as of today...

rachael smith fys


Go ahead and Feed Your Soul and if you're joining me in the 100 acts of Kindness Project, you'll want to share one with a friend too!

Happy Weekend to You!

p.s. there's some super cute {free} printable valentines here 
and here too!

Join me in 100 Acts of Kindness

If you haven't joined in the 100 Acts of Kindness project at Toddler Approved, it's not too late to start! There's plenty of time to complete 100 acts of kindness before Valentine's Day. 

Each week there is a prompt goal to guide you along.   This past week was about being gracious, I found these quotes thought-provoking:

 “Kindness is the essence of greatness and the fundamental characteristic of the noblest men and women I have known. Kindness is a passport that opens doors and fashions friends. It softens hearts and molds relationships that can last lifetimes.” ― Joseph B. Wirthlin 


You can do acts of kindness in any way that works for your family. 

  Photobucket

Let's make the world a kinder place one {little} bit at a time.


Heart-Healthy Learning Games


We've been indoors a LOT this winter.  And that means we have needed a few {little projects} to channel some energy!

So today I'm sharing some Valentine's games have helped us hone some learning skills as well as give us some healthy exercise for our hearts--perfect for a month focused on the heart!


I try to get more than one use out of each game because it's more fun, and so it can be used with more than one age.  Some are variations on the same game too. Hopefully you can find one that's a good fit for you below :)

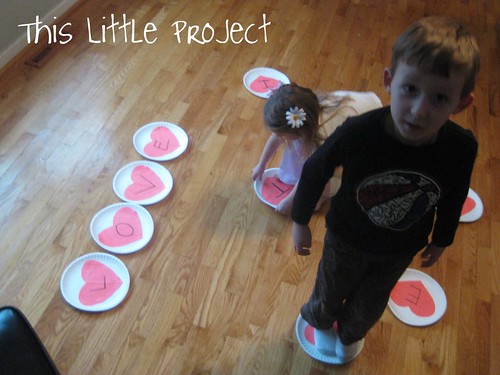
{this little project} was easy to make because all the pieces on the floor are just white paper plates with red paper hearts glued to them (elmer's).  
Then just write the letters on them with a black marker.
These are the letters you need to play:
V A L E N T I N E, and then H R O.  
With those letters you can spell: love, heart, valentine.

Letter Walk: This game is fun to do with music playing.  Music always is good for inspiring movement!  
Each person stands on a letter and then moves to from one letter to another letter (walking, skipping, dancing, jumping) until the music stops.  Then each person tells: the letter they are on, and/or what sound it makes, and/or names something that starts with that letter.  This is a great game for preschoolers.  There aren't winners or losers-everyone likes getting a new letter to think about and getting there quick when the music stops.


This Spell-a-Heart game takes the last game to the next level.  This time you tell the group what word you are going to spell.  When the music stops you say the word and ask what letter the word starts with, or give the sound the next letter in the word makes.  Ask the kids who is on that letter.  


The lucky child gets to bring the letter up to help make the word.  Continue until the word is spelled.

The next game is a Spelling Obstacle Course.  Give them the plates (2 teams if there are many kids) and see if they can help you make an obstacle course with a word.  For instance, for the word "love" you would space the letters out on the floor, and when you get to the L you do 4 push-ups to "lower" yourself to the ground, then go to the O and "open" and close your hands doing jumping jacks 7 times, V could be balance on one foot while holding a "vollyball", etc... A timer checks to see how fast they can do it.

When you are done, give each team all the letters and see how many words they can form out of the plates so their hearts can take a rest :)


Have fun keeping those minds and bodies active!

How to Send a Hug in the Mail

With Valentine's Day coming up I wanted to share one of our favorite {little projects} to mailHUGS!

These mailable Hugs are personal and are 
perfect any time of the year.  

They are great for:
grandparents
friends or family in the military
a traveling friend or relative
cousins and far away friends
or anyone--Really who wouldn't want a hug to come to them in the mail?

To make {this little project} you need:

a person :) (whomever is sending the hug)

paper--I used newsprint--more about that below

crayons, markers, etc.

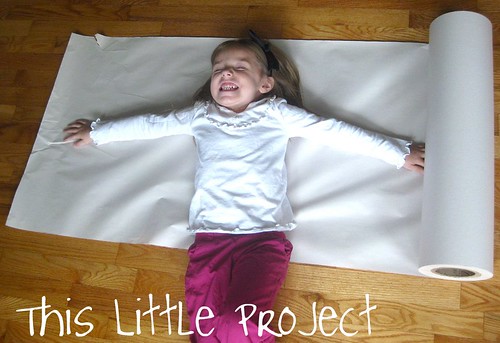
First, trace around the head, arms, and torso on the paper.  


I get the newsprint from the local newspaper shop.  It's the end of the roll from what they print on, but it's a TON of paper.  In the past they've been about $2 or sometimes they donate them for free to teachers.  I've done this in 3 states, so I think it's pretty common.  There are a million {little projects} you can do with a nice big roll of paper!  Butcher paper works too.

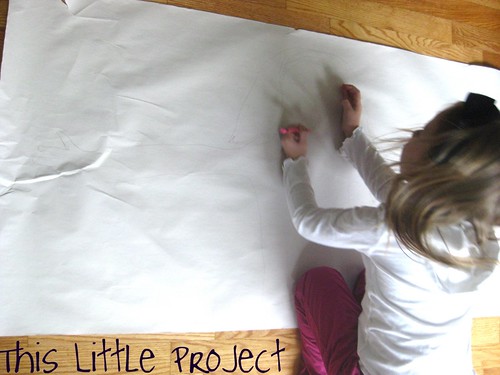
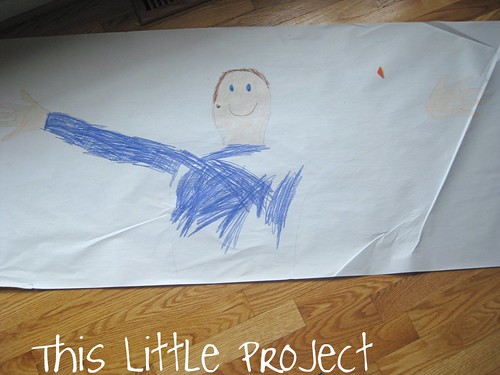
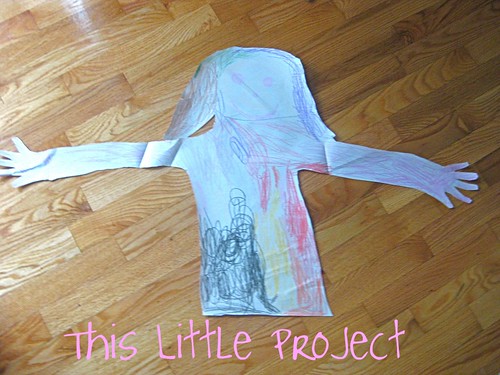
Next, have your in-house artist color what you traced.  It can be a self-portrait, of sorts.


Here is Jay's in progress...

And here is Kay's.  She took a more abstract approach, making sure that every one of her favorite colors was represented: 


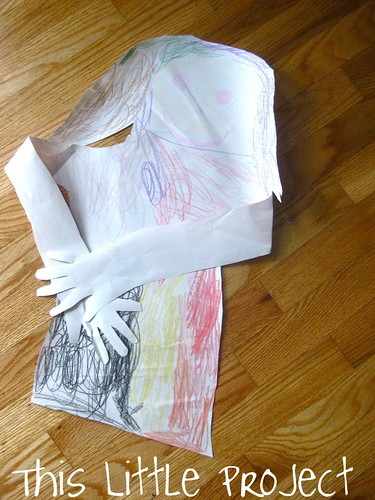
Then wrap the arms up for a big hug!  

You can also add a little note (or valentine) and attach it to the hand.


Now put your HUG in the mail to send a happy surprise!


Pin It
LinkWithin Related Stories Widget for Blogs Add to Technorati Favorites Share/Save/Bookmark