Showing posts with label Valentine's Day. Show all posts

This is Love


There's nothing that says, "I love you" like your name in chenille stems!

I'm one lucky mama!

Wishing you a Happy Valentines Day!

{Heart} Bookcase Garland

 I have a {little} thing for books.  I think they are so fun and I love to have my favorites up on the shelf.  They sit there and are like old friends--it makes me happy just to see them!
 
But I thought it was time to dress them up a {little}.


 These are just simple felt hearts stitched together.  
 
I used the pinking shears on some of them, for a {little} extra fun!


I tried them across the mantel too.  
But I love how they hang down on the shelf so much better.

 
It's fun to have this bookcase garland hang down and go across a shelf and then hang down the next shelf too. 


This bookcase garland is nothing fancy at all, but it fancies those books up just right ;) 


No-Sew Valentine Ruffle Pillow


If you are a regular reader, you know I'm a big fan of {little} projects because I can get them done.  And this no-sew ruffle pillow certainly qualifies!
I love making pillow covers because it's so fun to be able to switch over monthly decor in a snap.
So, I picked a fabric and wrapped it around my throw pillow to determine how much fabric I needed.  
It should overlap at least an inch in the middle on the back.


 Then I found the center of the front and started "drawing" my ruffled heart with this darling gingham ruffled trim from Hobby Lobby.  
I love it because it is ruffled down the center so both sides are ruffled!  I also love it because it was $1.50 for 3 yards and I didn't need nearly all of it.

I just pinned around the original size of the heart to make sure I liked the size and then used hot glue between the pins to hold it in place.

Then I took out the pins and glued under those spots too.

I used the pins to pin the next layer/section of the heart and repeated the hot glue and pinning until I made it to the middle.

It's a stretchy trim so be careful not to stretch as you go.     


 The heart is in the center of the fabric like this:


Now to turn it into a pillow cover you just fold back the 2 side edges to hem (either use hot glue or sew).

Then put the heart facing your pillow (inside out) and wrap it around to determine the size (like at the first) and then pin the overlap.

Remove the pillow. And then either hot glue the top and bottom edges or sew them since it's a nice straight line! :)

Then turn it right-side out and stuff your pillow inside!


Easy.  Done.
I told you it was a {little} project ;)  

Valentine Math {part 2}


Our question today? Can candy make you smarter??
 
hmmm.  I know it's certainly motivating some math learning around here!

How much math fun can you have with a bag of chocolate kisses?

Here are a few {little} ideas we had fun with:

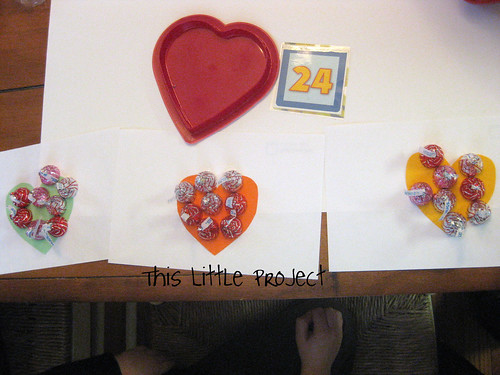
Division Practice Example: 24 kisses started in the heart. 
Then Jay separated them into 3 groups to see how many 24 divides into.

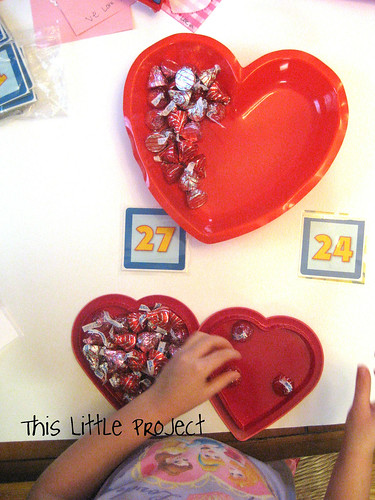
Greater/Less Than Game:  Of course we used the alligator mouth/heart again!


Estimating: 3 colors of kisses.  How many of each?
We always count in spanish too :)


Grouping (division/multiplication): How many groups of five?
Practice counting by 5's (sing to tune of 10 Little Indians)
Adding/Subtracting in groups of 5 (and 2)

 
Since these are our games from last year, I'm looking forward to playing more advanced math games this year.  
 
The kids are always moving forward in math and that keeps it exciting!


Valentine Candy Math {part 1}

The secret to learning at our house is to keep the kiddos excited.  And they always get excited when there is candy involved!  Their Valentine's Day loot is perfect for lots of math learning.

With Valentine's Day coming up I've been thinking about what games we will play this year.  I never take photos ahead of time, just during the real deal so these are some of our games from last year (in 2 separate posts)!

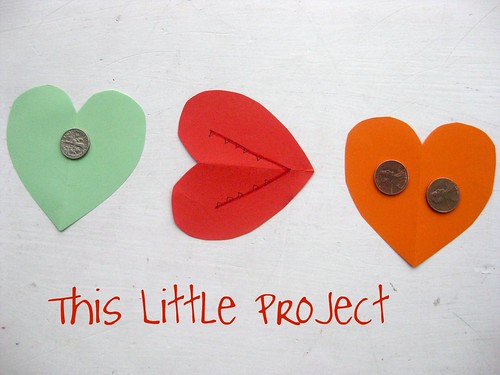
Greater than/Less than with Hearts: (an example with coins)

I love the idea of an alligator mouth wanting to eat the biggest number to show greatest.
It's the way I learned when I was {little} and so I play these kinds of games with my {littles} now.  And a heart is the perfect shape for it!

Depending on the age you are working with, you can change the greater/less than game up.  I did simple coins with Kay, more complex with Jay, and used groups of candy as well.  The kids turned the heart with the jaws to eat the one with more.  They loved it!


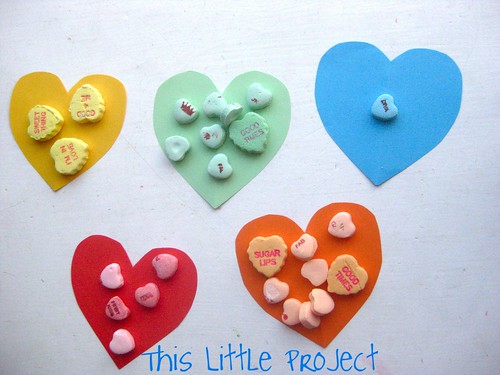
 Color matching/sorting with candy hearts.  We always graph these as well.


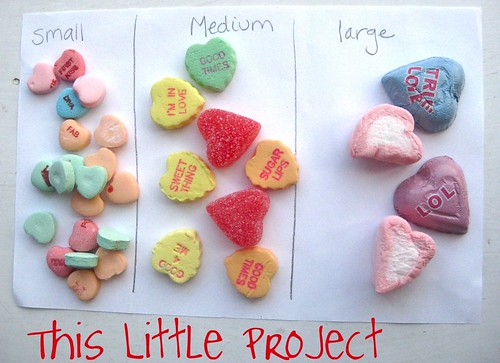
Sizing: small, medium, large:
This is great for toddlers and preschoolers. 
After you sort all the candy you can graph it too!


Any {little} project with a treat is extra fun!

Here are some of our other {little} candy math projects:
Valentine Math 2010
Halloween Math 2012
100th Day of the Year /Easter 2009

Look for part 2 of our Valentine Math soon!
 

Chocolate Cranberry Crunch Cookies

Ok, I have a new favorite treat.  It's kinda like a cookie.  But it's more like chocolate yumminess!

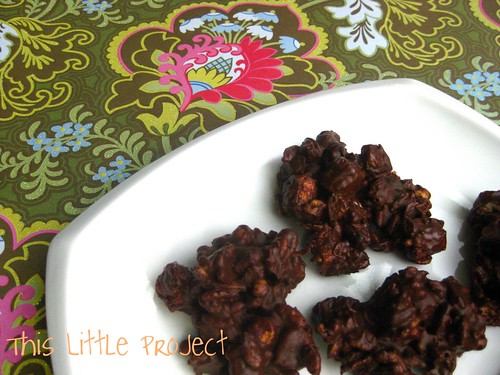
Meet the Chocolate Cranberry Crunch Cookies
(say that 3 times fast!)


My meeting this treat was born of trouble: I had no eggs on hand and needed to make cookies.  I hadn't really noticed before, but every cookie recipe has eggs in it!

But not this recipe!  And it doesn't have any oven time either, which can also be a bonus.

I can hardly tell you about {this little project} without needing to go eat it right now!

ok...self-control...

so here is what you need for {this little project}
(if there are ingredients you don't like, just leave those out and increase the others a little--it's all good!)


Chocolate Cranberry Crunch Cookies:
1 lb package of milk chocolate chips
1 cup of peanut butter (crunchy is yummier)
3/4 cup shredded coconut
1 1/2 cup mini marshmallows
1 cup dried cranberries
1/2 cup chopped nuts (pecans or slivered almonds)
3 1/2 cups rice crispies cereal
(you need wax paper, and cookie sheets too)


How to make {this little project}
First, I like to measure out my ingredients.  Because once the chocolate is melted the recipe goes fast and I don't want to worry about the chocolate cooling before I'm done combining all the ingredients.

Start by melting the chocolate chips (microwave or stove).  Stir periodically until all melted.

Then mix in the peanut butter, coconut, cranberries, nuts, marshmallows.  Then add the cereal.  Sometimes I add more  or sometimes less, depending on how chocolaty I want it to be.  But the crunchiness of the cereal is so yummy!


Then cover your cookie sheet(s) in wax paper and drop the chocolate yumminess into little mounds on it.

Move the cookie sheets to the refrigerator for 20 minutes to cool and set before eating (you really do need to do this for the cookies to set~but it tastes good without it too!)


It's best to keep them cool until just before it's time to serve them.  That way they don't melt too fast in your hand. 

If you store the cookies between wax paper in an air-tight container in the fridge they still taste perfect up to a week later.  You can freeze them that way for about 3 months.

These are great to have on hand in the freezer for surprise company!  I get compliments every time I serve them...and they are so easy 
(and you don't even need eggs to make them!)
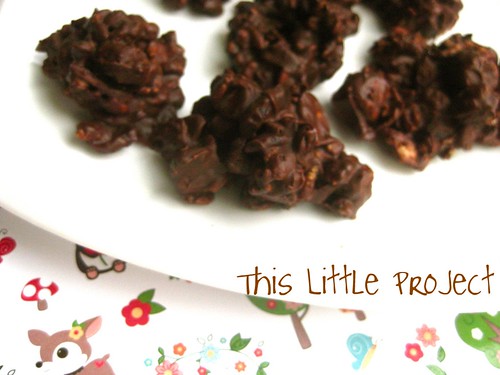


Seriously, a super yummy {little project} and perfect to share with your valentine 
or as part of the Kindness Project!


Heart-Healthy Learning Games


We've been indoors a LOT this winter.  And that means we have needed a few {little projects} to channel some energy!

So today I'm sharing some Valentine's games have helped us hone some learning skills as well as give us some healthy exercise for our hearts--perfect for a month focused on the heart!


I try to get more than one use out of each game because it's more fun, and so it can be used with more than one age.  Some are variations on the same game too. Hopefully you can find one that's a good fit for you below :)

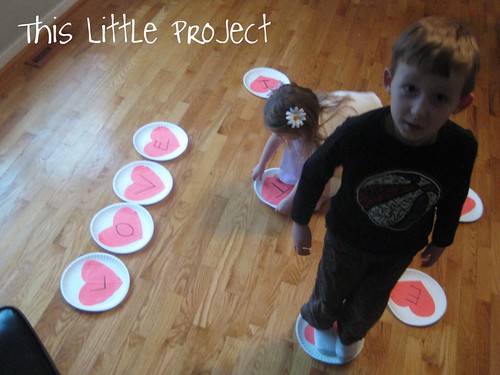
{this little project} was easy to make because all the pieces on the floor are just white paper plates with red paper hearts glued to them (elmer's).  
Then just write the letters on them with a black marker.
These are the letters you need to play:
V A L E N T I N E, and then H R O.  
With those letters you can spell: love, heart, valentine.

Letter Walk: This game is fun to do with music playing.  Music always is good for inspiring movement!  
Each person stands on a letter and then moves to from one letter to another letter (walking, skipping, dancing, jumping) until the music stops.  Then each person tells: the letter they are on, and/or what sound it makes, and/or names something that starts with that letter.  This is a great game for preschoolers.  There aren't winners or losers-everyone likes getting a new letter to think about and getting there quick when the music stops.


This Spell-a-Heart game takes the last game to the next level.  This time you tell the group what word you are going to spell.  When the music stops you say the word and ask what letter the word starts with, or give the sound the next letter in the word makes.  Ask the kids who is on that letter.  


The lucky child gets to bring the letter up to help make the word.  Continue until the word is spelled.

The next game is a Spelling Obstacle Course.  Give them the plates (2 teams if there are many kids) and see if they can help you make an obstacle course with a word.  For instance, for the word "love" you would space the letters out on the floor, and when you get to the L you do 4 push-ups to "lower" yourself to the ground, then go to the O and "open" and close your hands doing jumping jacks 7 times, V could be balance on one foot while holding a "vollyball", etc... A timer checks to see how fast they can do it.

When you are done, give each team all the letters and see how many words they can form out of the plates so their hearts can take a rest :)


Have fun keeping those minds and bodies active!

Happy Valentine's Day

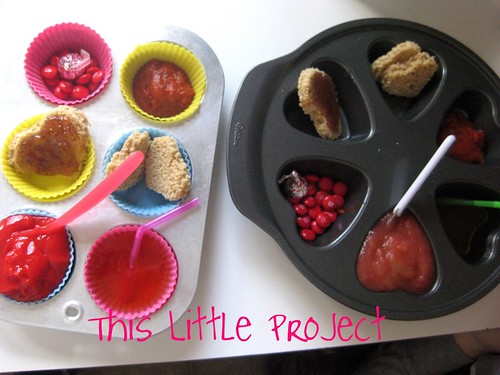
A fun way to celebrate any holiday is with a special meal.  {This Little Project} was a yummy one!  We like joining in with the fun at Muffin Tin Monday.  

If you haven't tried a muffin tin meal you are in for a treat! Today's theme was pink and red for Valentine's Day.  


Our muffin tin meal was heart toast to dip in pizza sauce, red jello and applesauce, strawberry jam heart breads, a juice, and m&m's with a candy kiss.  

We left these with the kids and the babysitter and my husband and I went for a quick lunch-just the two of us!  The kiddos didn't even feel left out :)


Muffin Tin Monday at Her Cup Overfloweth


Wishing you a Happy Valentine's Day!


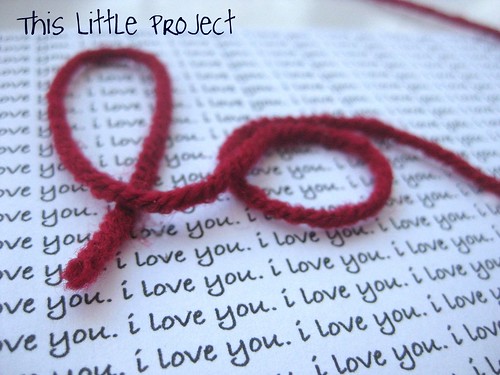
Love-ly yarn art

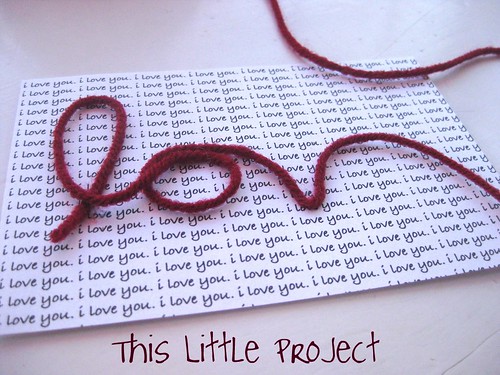
{This Little Project} is about texture, simply. 


To make {This Little Project} you need:

Yarn

Frame (no glass needed)

glue (elmer's or hot glue)
Here's the background "i love you" that you can print out on cardstock. i love you.thislittleproject


Lay the yarn out a little at a time for each letter and put a few dots of glue to hold it as you go.  

Use your fingers to hold it in place while you form the next letter. 

I like the elmers glue because you can reposition it if you need to.  But the hot glue will hold it in place without it needing time to dry.


Let it dry.

And now it's ready to be framed or made into a card.


Enjoy your love-ly texture art!

For some ideas of how you can use yarn to make cards and 
{Little Projects} with your kids,

Valentine Candy Math

Want to know how to make a {Little Project} more fun? 
Add the treat part to it!

 Lately, we've been "playing with our food."  I figure we may as well learn something while we're getting cavities, lol.

We like to play these games for Halloween, and Easter too.  
This time we added speaking in Spanish to the games.  Obviously, that's optional :)
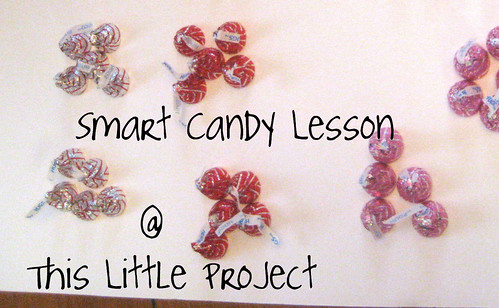
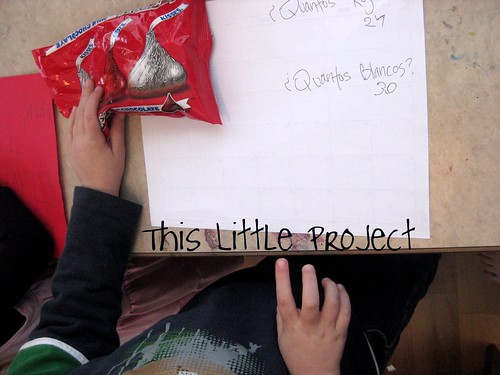
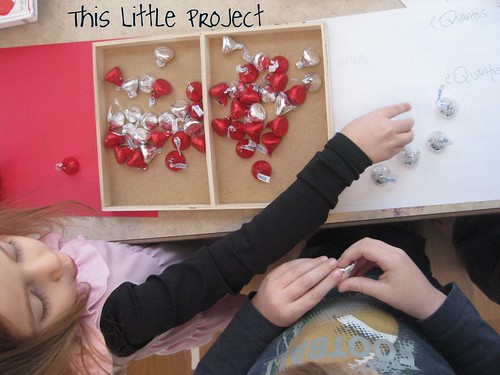
For the first {Little Project} Jay and Kay estimated how many red (rojo) and silver (blanco) kisses were in the bag and wrote it down. 
 

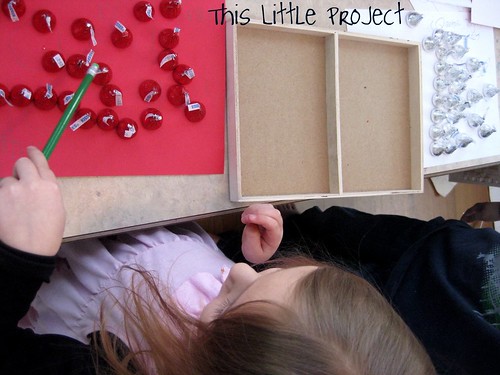
Then they sorted them (I made two piles-one for each of them to sort so there weren't any tears involved) and as they sorted them the said the color in Spanish they were holding.


When they were all sorted we counted them (in Spanish) and wrote down the numbers.


Then we compared the count to our first estimation.  
There were actually 26 of each color!  
Jay was very close!

 This other {Little Project} is a game we like to play with  
conversation hearts.  
I use a cookie cutter to trace hearts of each color of candy onto paper.  Then the kids sort them by color (we said the colors in Spanish this time) and then count them to see which color has the most!

https://blogger.googleusercontent.com/img/b/R29vZ2xl/AVvXsEjBO-EjDpU1KCmsrke56Pe8v2DVDVTygDZFD60g9d8YlhoZ7PTOt8eveesEffu1hyt73Vw9UEQjM3EZNRJwoPK8pooEGBEL7oj7KBX_j0HzBnmO6TIRaCxYP5sfpzHSZwPyR-wl8FP9iII/s1600/IMG_5003.JPG

 It's also fun to graph them by color to "see" which color has the most 
(this photo is from our jellybean graphs)

 
When we finished playing math games they both asked,  
"Can we do this all again tomorrow?"
I guess that means it was a fun {Little Project}!


Sweetheart Hair clips


I made {This Little Project} in 2 minutes.  
Yes, really!

And what little girl wouldn't want to dress up her hair with heart clippies 
this time of year?


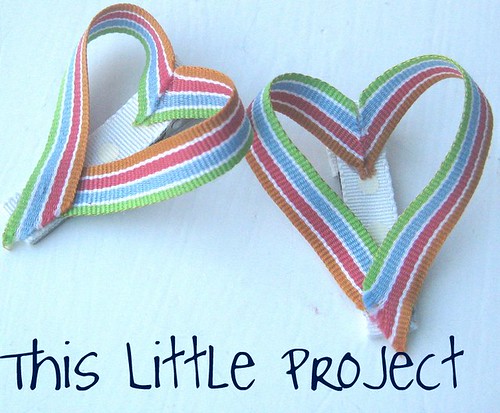
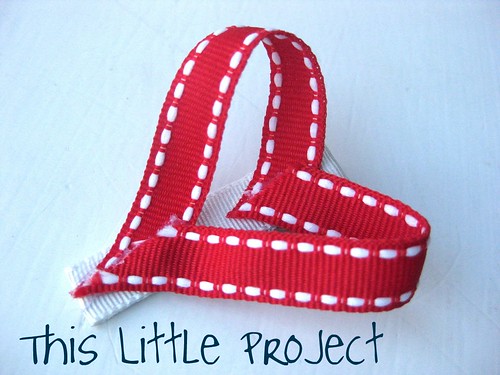
Kay wore these little red "sweetheart clippies" to church on Sunday.  I would have loved to take a picture of her in them, but I made the mistake of waiting until after church to take a photo.  The first thing she did when we walked in the door was undo her hair!  That girl doesn't appreciate them, but yours might :) 

 I'm making a few more to go with a little outfit I'm making for Kay and Ellie for Valentine's Day.  So I thought I would show you how I did them.

To make {This Little Project} you need:


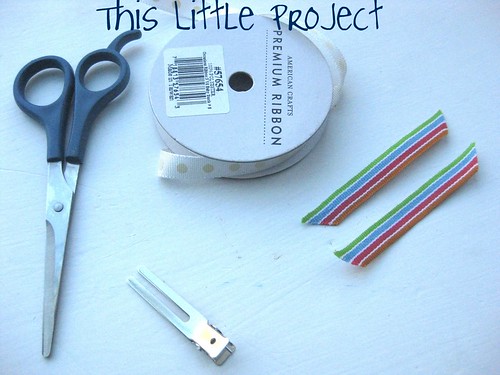
Ribbon of your choice for hearts
scissors
alligator clip
Ribbon of your choice to cover clip
hot glue gun

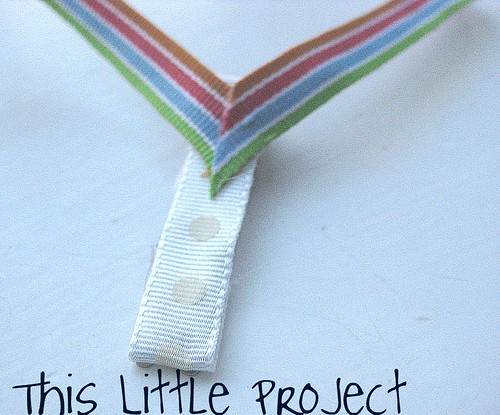
First, cut your 2 "heart" ribbons to the shape seen in the photo above.  Mine are about 3.5 inches long.  You need to trim them at the end to make the bottom of the heart.

Next, cover your alligator clip with ribbon using your hot glue gun.   I like to wrap the ribbon down and around the high part of the clip and secure it underneath with glue so the part you pinch is also covered.  You will want to heat seal the ends of your ribbon so they don't fray.

Then, glue two corners of the "heart" ribbon together like this, at the end of the alligator clip.  I put this part on the tall end of the clip that you pinch to open it.


Now fold the two ends down to the other end of the alligator clip and overlap them a little.   Play with it a little to see how it looks best and then trim any extra ribbon off.


You may want to heat seal the ends with a match.  I played with these a little too much and they frayed a little before I heat sealed them.  Your hot glue gun is actually pretty good for heat sealing too, if you just run it along the edge.  

Now you've got some cute sweetheart clippies!


See, that was a quick {Little Project}!  


LinkWithin Related Stories Widget for Blogs Add to Technorati Favorites Share/Save/Bookmark