Showing posts with label Yarn. Show all posts

How to make a Solar System


We have been studying the planets for the last little while at our house.  And we decided to make a {little} solar system of our own.
 
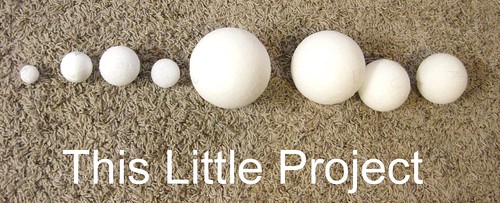
Here's the "before" photo of our planets:
 
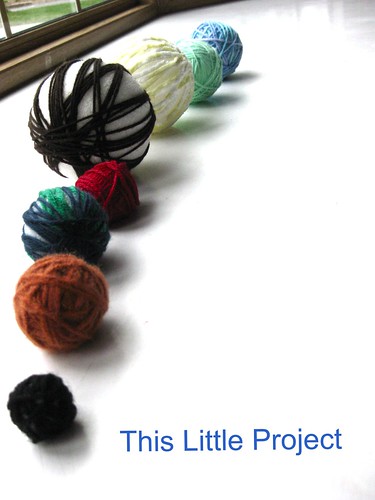
And the "after" version.
 
I decided to keep things simple and just pulled out the yarn bag for {this little project}.  I don't knit or crochet, but somehow I have a yarn bag.  There's a lot of fun to be had with yarn, as you can see :)
 We gave special treatment to the four "gas giants" and they got their sparkly rings via some chenille stems.
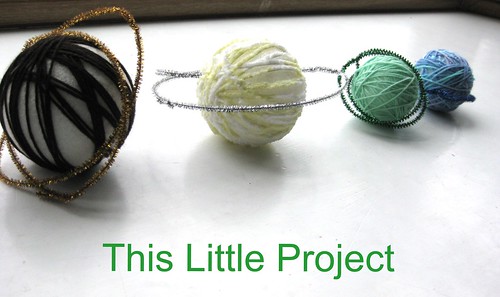
Jay knows his planets well and was very specific in how it all turned out.
So we made the variety of the sizes and colors are as close as we could come to "real life."
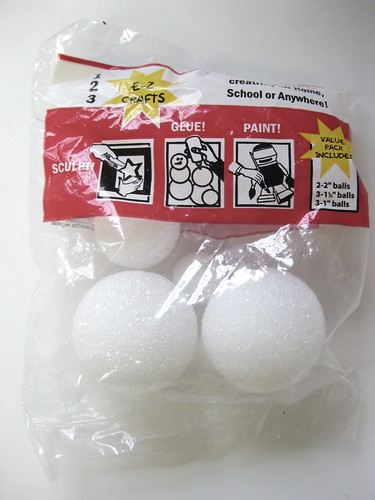
If you want to make {this little project} I recommend picking up this set of 8 foam balls at the Dollar Tree store.  It along with a few others gave us a nice variety of sizes to work with.  I used a straight pin poked through the end of the yarn to finish off the wrapping of each "planet".
 
The sun needed to be quite a bit bigger, so we followed the directions from {this little project} and used a balloon to make it.

I'm using nylon thread (from the fabric store--it's like fishing line) to hang them.  One great thing about these foam balls, as well as the covered balloon, is they are nice and light to hang.

 They will look great in Jay's room along with all the glow-in-the-dark stars we've been collecting. 
There may be a {little project} about constellations coming!

Invention Box: Hair Clip Keeper (Rupunzel Princess)

One of my New Year Resolutions is to do an Invention Box 
{little project} with my kids each week. 

  If you want to make an invention box of your own, 
here's how we did that {little project}. 

  Our motto for {this little project} is:

"To invent you need a good imagination 
and a pile of junk." 
~Thomas Edison.

I love seeing their minds go crazy with all the possibilities of inventing.


One of our favorite invention {projects} has been the Rupunzel Hair Clip Keeper.

My little Miss Kay is really into long hair.  
Many {projects} (like these headbands) have been for her.  


I'm soaking in her little girliness because I know it won't last forever.
Right now she's a little girl that loves princesses.  

So this invention was just her style.

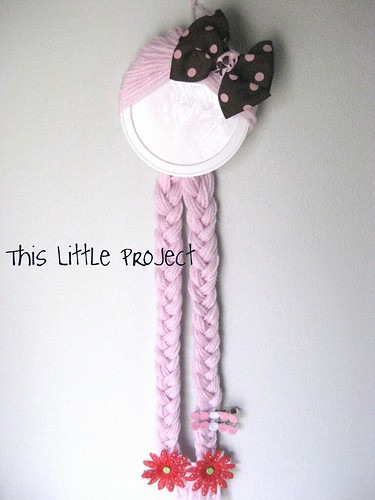
Meet the Rupunzel Hair Clip Keeper:
( in pink!)


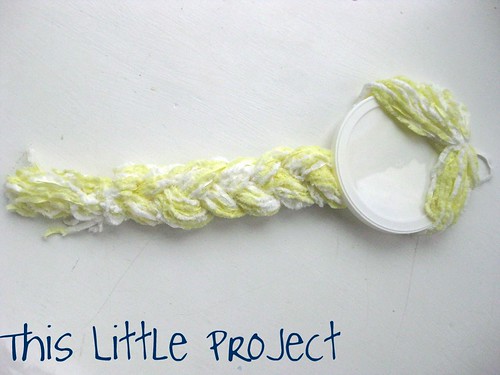
 And here is the yellow-haired version:


You need 3 things to make {this little project}
scissors
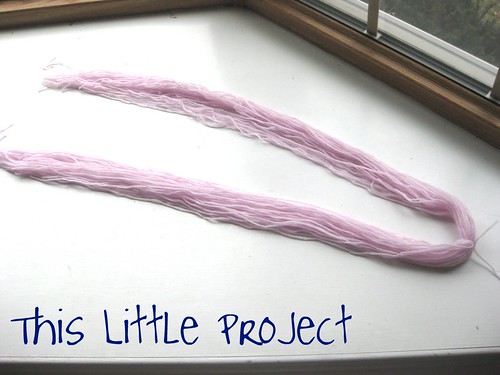
yarn
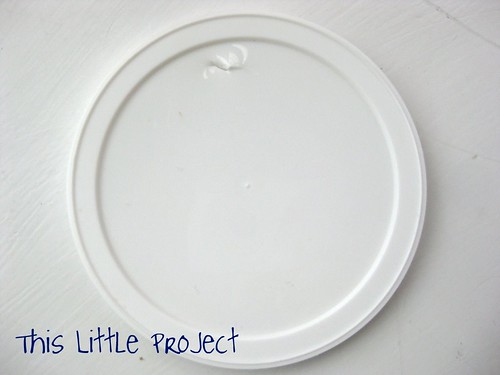
a plastic lid
(optional: a sharpie marker to draw a face on with)


To start off, you need to punch a hole in the top of your plastic lid.  This is a parent job :)
 
 
Next you need to decide how long you want the "hair" to be.  Remember that the longer her hair is, the more clippies she can wear (hold).  And also that braiding the hair will shorten it a little.  

The number of pieces of yarn you cut will determine how thick her "hair" is.

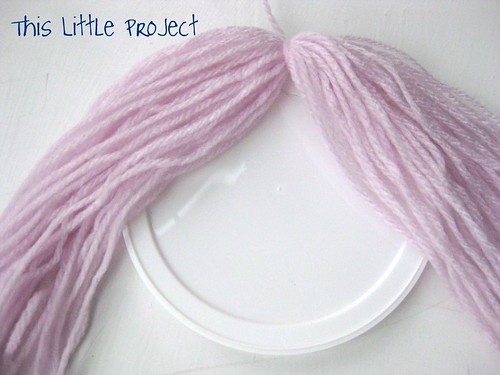
You will lay out her "hair" like this regardless of whether you do one braid or two. 

Two braids uses more yarn because each side becomes a braid.  You will combine the two sides if you want one long braid.
 
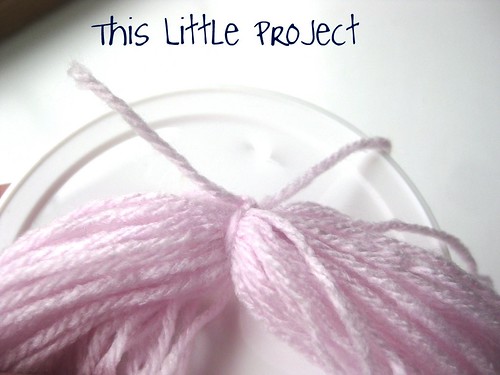
Then cut a LONGish piece of yarn to tie ALL the long pieces together in the middle at the top--see the knotted piece on the right side of the photo.
You can use the rest of this piece of yarn to hang it up when you are done.
 
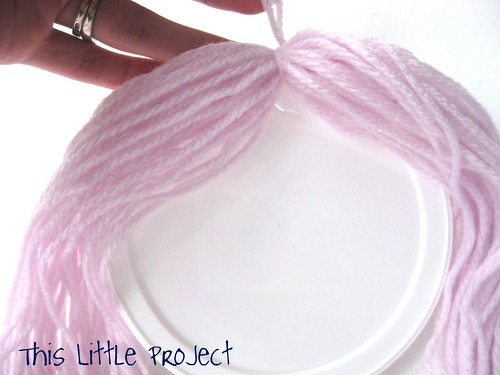
Then take that knotted piece of yarn and use it to tie the hair to the plastic lid, through the hole you made.


So it looks like this.  
 
Then pull the hair down around the front of her face like this:


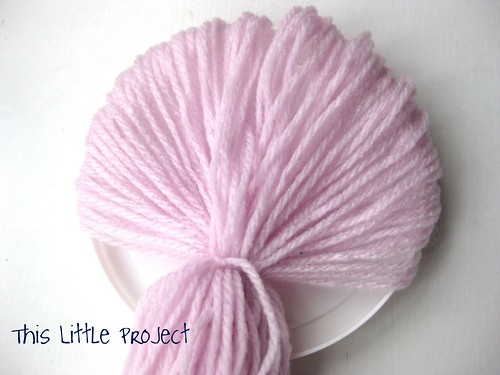
Next pull her hair around the the back.  It will start to look like she really has hair now!

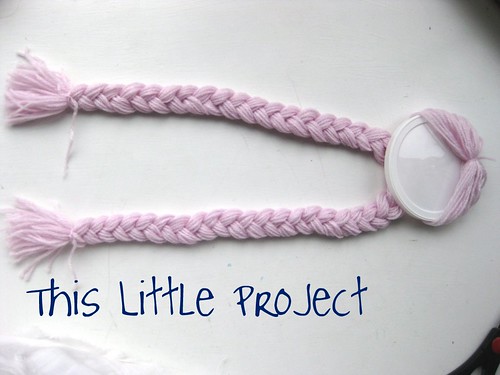
Use a small piece of yarn to tie her hair into a pony tail.


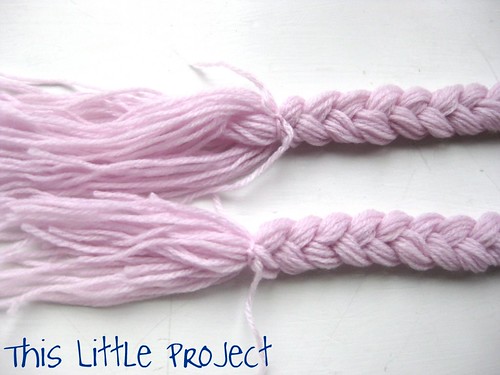
Then just braid the yarn into one or two braids with the yarn. 
If your little girl is old enough, she might like to do the braiding.


When you get to the end, tie each braid off and give her a little hair cut to trim the ends.


 Remember the first knot you tied?  The rest of that piece of that yarn can be used to hang her up. 


 Now is also the time to add a face (self portrait!) with a sharpie if you want to.


And there you go, a {little} invention to keep your princess's clippies organized.  
She's all ready to be decorated!


p.s. these are fun gifts too!

Love-ly yarn art

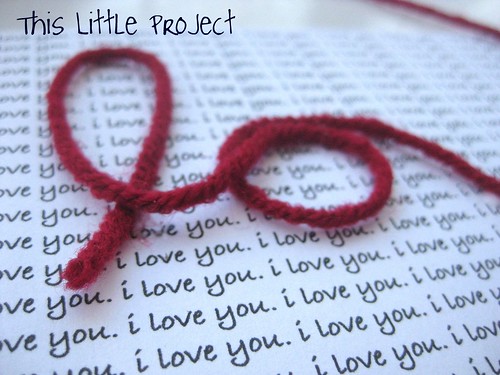
{This Little Project} is about texture, simply. 


To make {This Little Project} you need:

Yarn

Frame (no glass needed)

glue (elmer's or hot glue)
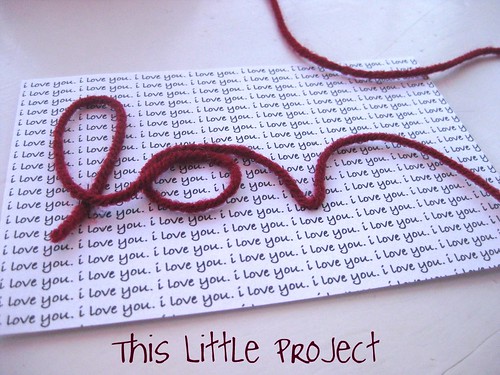
Here's the background "i love you" that you can print out on cardstock. i love you.thislittleproject


Lay the yarn out a little at a time for each letter and put a few dots of glue to hold it as you go.  

Use your fingers to hold it in place while you form the next letter. 

I like the elmers glue because you can reposition it if you need to.  But the hot glue will hold it in place without it needing time to dry.


Let it dry.

And now it's ready to be framed or made into a card.


Enjoy your love-ly texture art!

For some ideas of how you can use yarn to make cards and 
{Little Projects} with your kids,

Happy Spring!


Today is the first day of spring and we had to celebrate by making these little friends along with a little nest for them. Jay has been WAY into nests lately and Kay LOVES bird watching, so it was the perfect activity for our FIRST spring day (and the weather even cooperated!)

To make your own nest you need: yarn, a balloon, a cup to hold the balloon, elmers glue, and a bowl. {Little Project Tip:}This is an activity for older preschoolers on UP. Kay just wanted to pull it all apart (but she loved playing with the birdies-see below).
Cut the yarn into pieces-ours varied thanks to Jay's help-4-7 inches works :)

Blow up a balloon and put it inside a cup to hold it still. Then dip the yarn pieces in the glue and lay them across the balloon like this:

We made some yarn birdie eggs to go inside by dipping the yarn in the glue and then wrapping it around a finger. This works best with LONG pieces of yarn.

The nest takes about 24 hours to dry completely. My camera ran out of battery before the final product was done. I'll put a photo up later...sorry! HERE IT IS!


To make some birdie friends you need: pom poms (different sizes are fun-the big ones were our favorite), googily eyes, a few colors of felt, a pipe cleaner, and hot glue gun. {Little Project Tip:} This is not an activity for young kids to make, due to the hot glue.  But if they aren't so little that they will eat these little friends, they will love to play with them-mine did for days!
  This is our birdie family:

This photo was before Jay insisted that they have feet, "so they can fly." We had a little bird anatomy lesson after that comment.
I used hot glue to put the googily eyes on.  The wings are just small pieces of felt.  The beak works best if you cut out a diamond piece and put a little hot glue in the middle and close it to look like a beak before you hot glue it on.
To make the feet (see above) you just bend part of the pipe cleaner into an "M" shape to look like 2 feet and then cut the remainder off.  Hot glue under the pom poms.  The pipe cleaners help the birdies stand up better.

Playtime with the birdies-a total success! Watch them fly!


If you don't have a need for a little birds nest at your place, check out this link for how to do the same technique and turn them into baskets.


I also saw these photos on Jordan Ferney and LOVED them and thought of my Dad, Mr. Master Gardner. Our daffodils just bloomed and now I'm looking for tulips! Aren't these fields breathtaking!?


Happy Spring with a Happy Little Project!

LinkWithin Related Stories Widget for Blogs Add to Technorati Favorites Share/Save/Bookmark