Showing posts with label Yarn Cards. Show all posts

Love-ly yarn art

{This Little Project} is about texture, simply. 


To make {This Little Project} you need:

Yarn

Frame (no glass needed)

glue (elmer's or hot glue)
Here's the background "i love you" that you can print out on cardstock. i love you.thislittleproject
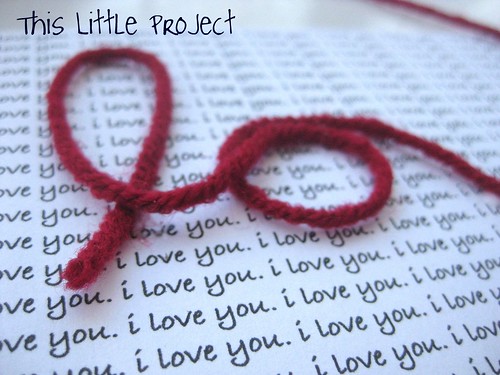


Lay the yarn out a little at a time for each letter and put a few dots of glue to hold it as you go.  

Use your fingers to hold it in place while you form the next letter. 

I like the elmers glue because you can reposition it if you need to.  But the hot glue will hold it in place without it needing time to dry.
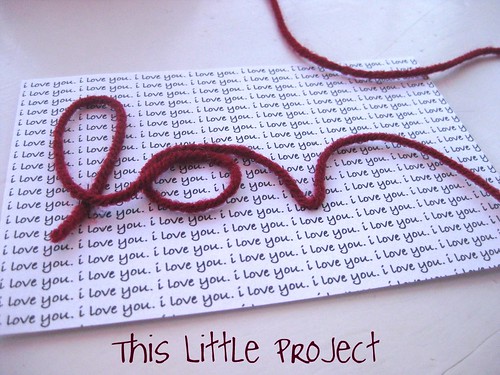

Let it dry.

And now it's ready to be framed or made into a card.


Enjoy your love-ly texture art!

For some ideas of how you can use yarn to make cards and 
{Little Projects} with your kids,

A (finger) Pocketful of LOVE!


We had a ton of fun making these and then did a photo session afterwards, which was a blast too. The idea: to make a memorable valentine for our DADDY. But YOU can make it for whomever you want to send a POCKETFUL of LOVE to :)

If you haven't seen my previous post about YARN CARDS, you will want to check it out. It has more explanation about how to do the yarn lettering that you will use for your finger pockets.

You can make 2 hands worth (10 finger pockets) with just one piece of card stock, some yarn, and elmer's glue.

1-Start by cutting your piece of paper in half so that each half is 5.5 x 8.5 inches.  

2-Then cut 5 strips of paper from each half.  You will want to cut them from the 8.5 inch across side.  So you have 5 strips that are about 1.7 x 5.5 inches (see the one on the far left).   


3- Then just fold them in half.
4- Pencil on the letter you want for each finger pocket.
5- Cut yarn for each letter (see YARN CARDS instructions)
6- Elmer's glue over your pencil letters.

7- Add your yarn over the glue to form letters
Here are 5 for one hand:

8-Then just glue each side (not the bottom) to make little finger pockets.
Tahdah!  Pocketful, by pocketful, you have a hand full of LOVE!
These are for the other hand:
Then the photo shoot :)


Enjoy your Little Project of Love.

Valentine Yarn Cards


I will be doing a handful of posts on 2 themes for the next little bit: Love Letters and Yarn Cards.

This Post combines them both!
I love using yarn for letters. It gives them a 3D feel and it is SO easy! It also lets you personalize with a name without lots of stickers. We will use YARN instead!

1st, determine what you want your card to say. Then cut your paper in half and fold the ends in to make "doors" to the card.
2-Pencil the letters of the saying. The bigger the letters, the easier it is to add the yarn.


3-Write who the card is too on the back. This is harder later because the yarn makes it bumpy.


4-Next, hold the yarn over each letter and cut the yarn to the right sizes for each letter.


I like to put them over each letter like this, so I don't forget which pieces go to which letter.


5-After all of your pieces of yarn for your letters are cut (this really doesn't take long:) Then add Elmer's glue over each letter. Don't be stingy with the glue, you need a full line.

I like to do one letter at a time if my kids are helping. Otherwise they get their other fingers in the glue of the other letters.


6- Continue to add the yarn for each letter:


Here is what it looks like when it is done!


Now just add a sticker to close the heart and give it to your valentine!

You can personalize with their name too!


Have Fun with your Little Love Letter Projects. More Yarn Cards ideas to come for Valentine's Day! Stay tuned :)

LinkWithin Related Stories Widget for Blogs Add to Technorati Favorites Share/Save/Bookmark