Showing posts with label recipe. Show all posts

Spiked Granola, ipad apps, and T-rex's Sleigh

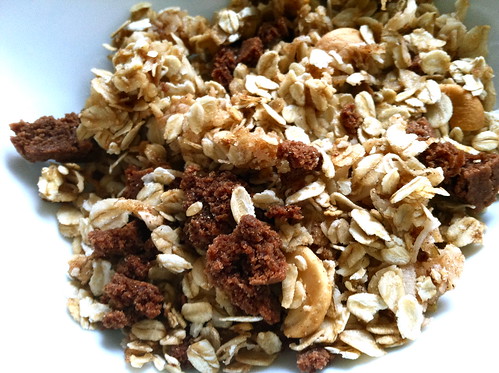
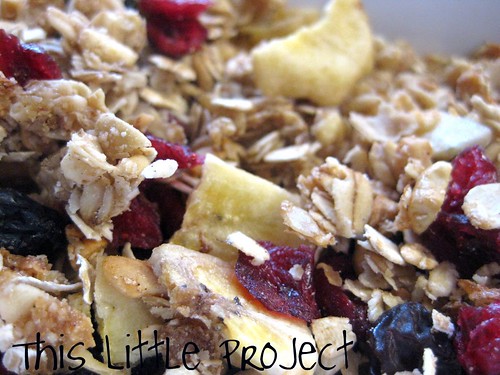
  Remember my favorite granola recipe?  Well, Hubby found a way to make it even yummier.  
He spiked it.....with brownies!!
 

I didn't know that this granola could get any better.  But chocolate is just the thing!

 With baby M making his debut recently, the kids seem to be finding more time on the ipad.  
I would love to share all of our favorite educational apps sometime (but I'm currently snuggling with baby M and typing one-handed, so not today.)

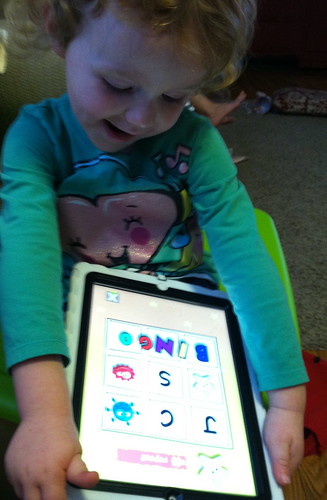
Ellie is playing Junior Bingo.  
I also love the Math Bingo and Word Bingo by the same company for Jay and Kay.


For android users: Math BINGO


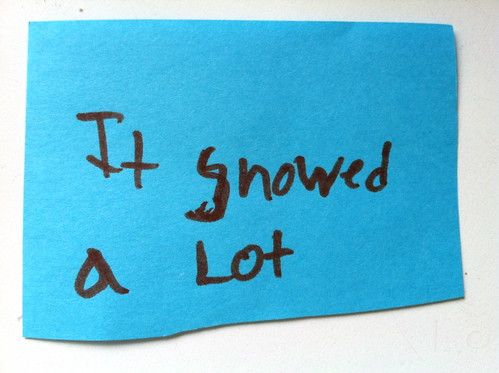
I woke up one morning to find this note slipped under my door from Jay.
He's determined to make snow ice cream.   Have you ever tried it?  I promised we would...


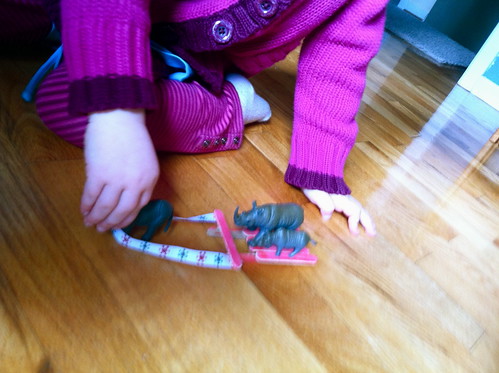
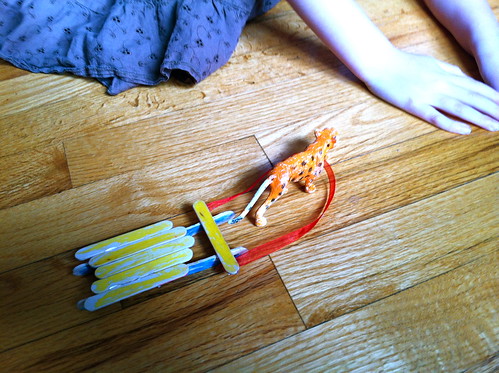
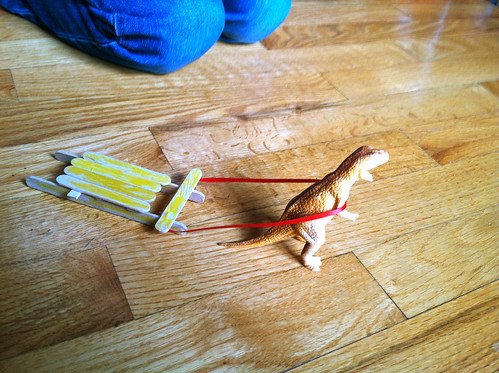
 My kids came home from a friend's house with these cute sled ornaments they made from popsicle sticks.  Ours never made it on the tree....


I must say that watching children play is one the greatest privileges I have as a mother.


And so is this!


*Disclosure: I am an Amazon Affiliate, which means if you purchase the android app I get a couple of pennies to put towards future app fun at our house.  My kids love you for that :)  All opinions are my own.

Updated! The Best Granola (yum!!)

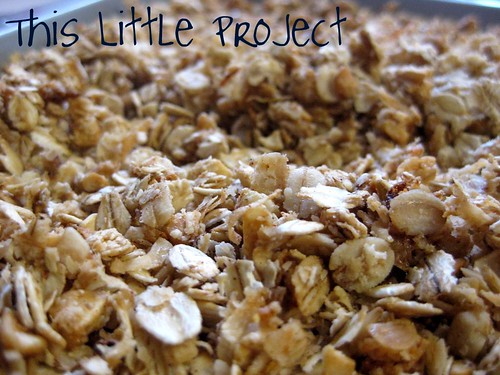
Making granola is a weekly {little} project at our house.  I have tried quite a few granola recipes and my husband LOVES this one the best.
Today was the day to make a new batch, and oh how I love the smell of baking granola!
I've shared this {little} granola project before with the details of how I store it and such.
 If you decide to try out the best granola ever, be sure to check that one out.
But I have updated my recipe and wanted to repost it with the changes I've tried.
 

One thing that I love about granola is that it lasts in your belly.  When I feed my kids cold cereal they are hungry again in about an hour.  But when they eat granola, it lasts until lunch time. 

In the winter, we add some dried fruits (it's very yummy on it's own too!)
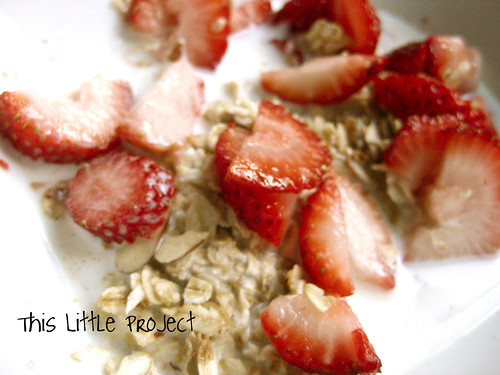
But in the summer cutting fresh strawberries, peaches, or blueberries into this granola is divine!  Sometimes we eat it with yogurt, sometimes with milk.  It's yummy to snack on dry too!
 One of the main revisions to my recipe is the number of cups of old-fashioned oats.  I have increased them 3 cups since the last time I shared it.  And we can't tell.  There is still plenty of sweet and lots of taste.   Of course, adding more oats makes it go further, reducing the fat content too, a nice bonus :)
 You can use sweetened or unsweetened coconut, depending on your taste. 

Granola is one of my favorite "go-to meals" to share.  It's perfect for a new mom, a thank you gift, birthday treat, etc.  It isn't a hot meal so it can be enjoyed anytime.
Once again, I have put two on a page because I promise that once you try it and share it with anyone, they will want it too!
Jedda’s Granola 
It's yummy!  Enjoy!
 

DIY Laundry Detergent

I'm a bit of a hippie. 
It's partly an excuse to do my own thing. 
And it's partly true because I go ahead and do my own thing.

But if you're a hippie, that's expected.  Right?

For mother's day I made my own laundry detergent. 

In all my hippie-ness I am a bit of a tree hugger and am ever aware of my stewardship of our earth.  I've blogged quite a bit about that.

So I decided to give mother earth a gift for mothers day. 

Not only does making your own detergent save you $$, it's also really great for the environment.  More and more companies are becoming greener, but sadly, many of our cleaners are not very earth friendly for our drinking water.

I've been using my DIY Laundry Detergent for a few months now.  And  love it!

Here is the recipe I used:
1 cup Borax
1 cup Super Washing Soda
1 bar Fels Naptha Soap
(ZOTE would also work--see note about ivory below)


I used my food processor to make it.

I have one of those Ninja machines.  It basically turns everything to either a soup or smoothie so I don't use it for much food prep.
I thought it would be perfect for whipping some bars of soap into powder though.


It was! 

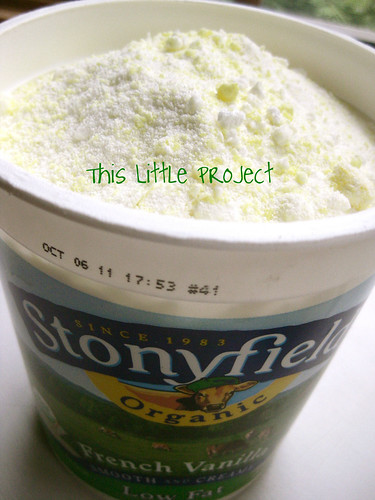
I doubled the recipe above and decided to use a bar of ivory soap instead for the second batch.  That's part of the white you see.  The Fels Naptha is yellow.  Ivory worked ok, but it didn't make the same light powder.  I could see it potentially not dissolving as quickly. So I wouldn't use it alone, but mixed in it's nice.  And the scent is too!

Just mix it together with a spoon and you get
 this powder goodness!


For the record, my sister also uses her food processor to make her detergent and it's not a ninja.  You can use a regular hand grater as well if you are worried about putting a bar of soap in your food processor.  But if it can handle ice...you're probably fine...

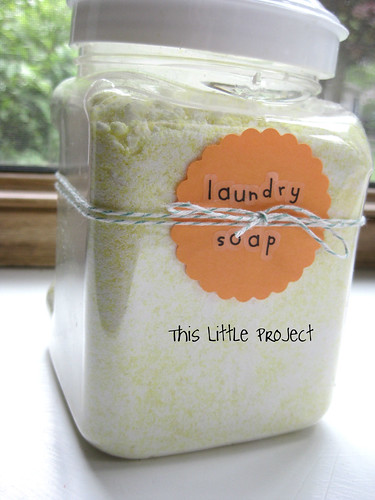
If you are feeling like a hippie (I mean earth friendly), a double batch fits great in two reused large yogurt containers.

 
I use 1-2 tablespoons depending on the size of the batch and how soiled the laundry is.

Each yogurt container holds enough for 32-64 loads of laundry! 

And it cost about 5 cents a load to make--big time savings there!


And if you are going for cute, I keep mine in this too.


As a bonus, I haven't needed to use a dryer sheet either.

The {little} stuff matters :)

Warning: if you make this soap, you may feel a bit like a hippie.

Enjoy it!


For another laundry secret weapon, check out this post from the archives.

Blueberry Deluxe Pancakes

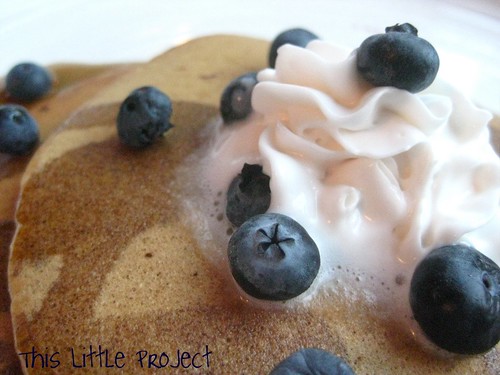
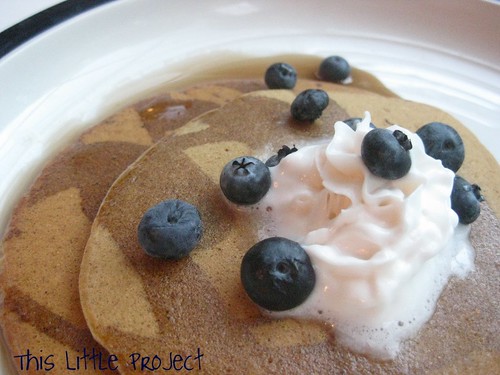
Our new favorite pancake recipe is deluxe goodness:
Whole Wheat Blueberry Cornmeal Pancakes


 So why is it so deluxe?

Because {this little project} is easy to make
tastes super yummy
and it's healthy goodness for you too!

So don't let that healthy recipe title scary you away.  
{this little project} makes a yummy dinner too!

This recipe works with regular white flour too if you don't have whole wheat flour on hand.


I like to grind my own wheat with this sweat little monster.  If you are looking for a good wheat grinder I can recommend this one:


This grinder was a Christmas gift.  I love using it to make my own breads.  It can grind corn too if you want to make your own cornmeal.

Whole wheat Blueberry Cornmeal Pancakes Recipe:

2 cups whole wheat flour
4 TBL cornmeal 
2 TBL sugar
2 tsp baking powder
1 tsp baking soda
1/2 tsp salt
1 TBL cinnamon
2 beaten eggs
2 cups milk
4 TBL cooking oil
1-2 cups blueberries


Top with yogurt, maple syrup, whipped cream, blueberries, etc!


Combine ingredients together (except for blueberries) and stir until just moistened.  Fold in blueberries.
Cook on lightly greased griddle or skillet on medium heat until golden brown.
Makes 16-20 6 inch pancakes.


{little project tip} if you don't use cornmeal very often, keep it in the freezer and just pull out what you need for recipes like this one.


Savor the healthy yumminess!


Blueberry Lemonade

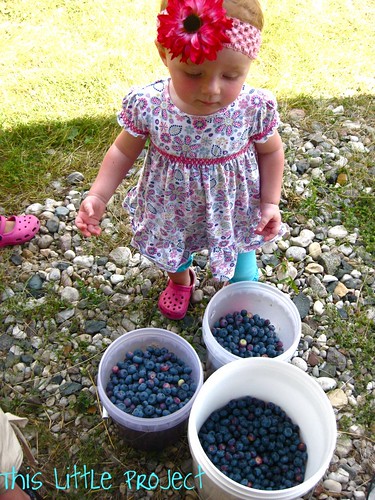
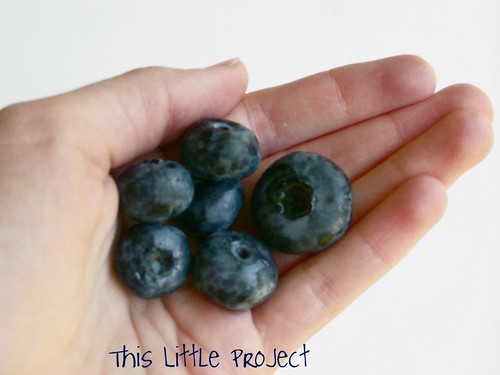
So, remember how we went blueberry picking last weekend?  Well we picked 11 pounds of those beauties!

Little miss Ellie is showing off our loot:

There is something so fun about picking your own fruit.  I think watching the kids gorge themselves on blueberries while they pick is definitely a highlight of picking them! Picking blueberries is something we've done as a family for 3 years now.  We also love raspberry and apple farms.  If you are wondering about farms in your area, the pickyourown website may be a good start for locating the kinds of things you like.

Seriously, look at these huge blueberries!  You can't find this goodness at the store!  Oh, and a bonus: often picking your own means it costs less than the store too.  Our 11 pounds of blueberries were about $18.


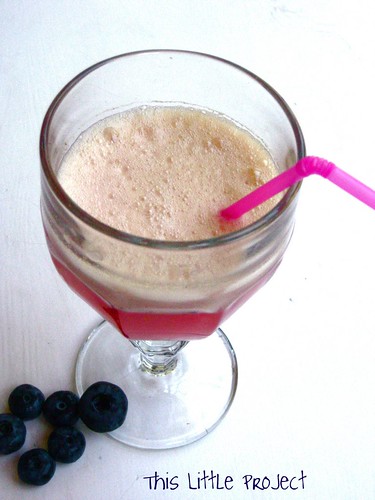
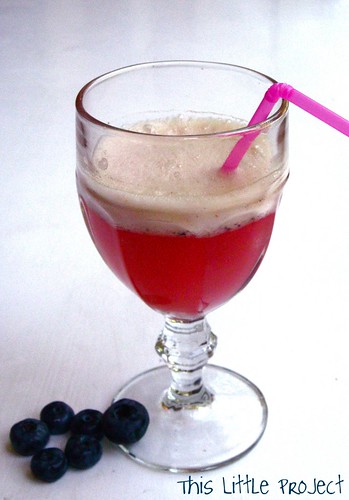
One of our favorite summer drinks is Blueberry Lemonade!

If you want to try this yummy {little project} here's the how-to:


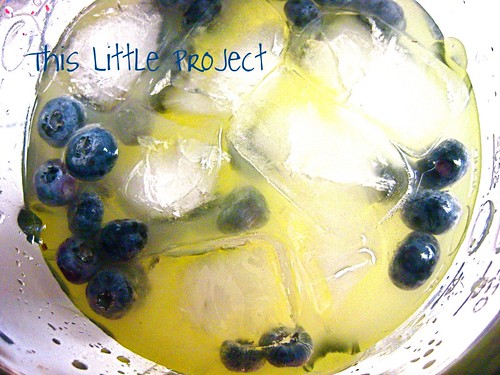
1- Start with 3 cups of lemonade in (in your blender)
2-  Add 3 cups of ice cubes
3- Add as much fruit as you can fit in your blender (a cup or two)

Blend it well and you get the summer tastiness of Blueberry Lemonade!


It's not been even a week and that 11 pounds of blueberries is gone.  It's been so hot and we've had a lot of Blueberry lemonade-and blueberry everything else!  Oh, and the blueberries are also perfect with my favorite granola (recipe here).

I guess we're going to have to fit some more blueberry picking into hanging out at the beach this weekend...


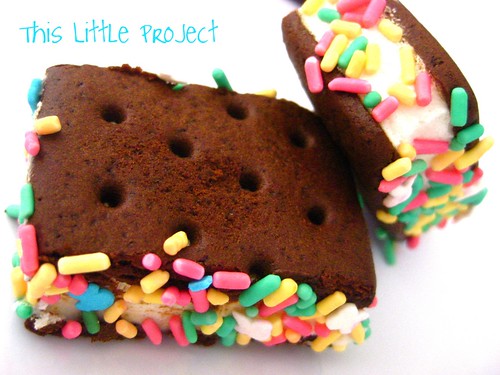
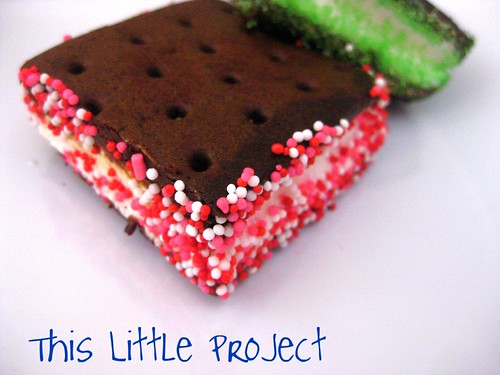
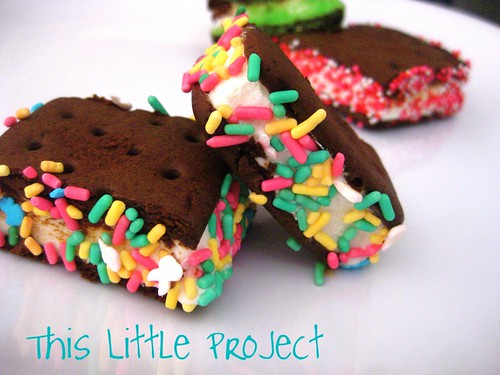
Sprinkle Ice Cream Sandwiches!

You may remember that I have a thing for sprinkles. Well, I have a thing for ice cream too. I shouldn't admit this, but my husband and I (without any help from the kids) ate well over 100 ice cream sandwiches last summer.  Now, that was a tasty {little project]!

In celebration of National Ice Cream Day (TODAY!) I'm combining the two to make Sprinkle ice cream sandwiches.  Sprinkles make everything more fun!


To make {This Little Project}

1- cut your ice cream sandwiches into bite-sized pieces

2- pour sprinkles into a shallow dish

3- dip ice cream sandwich into sprinkles
{little project} tip: the edges that you cut are the easiest to dip because they are flat.  So you can decide if you want to just sprinkle 2 sides (the flat sides you cut) or all 4 sides.  It gets a little crunchy if you go for all 4 sides-but it's cute to look at ;)

4- eat them before they melt!  Yum!


The month of July is National Ice Cream month 
so you still have plenty of time to celebrate, lol!


Elspeth (an ice cream expert) and I have shared some ice cream projects in the past. We both have and love this ice cream maker:

Ice cream is done in just 30 minutes in this beauty!

Need some ideas for homemade ice cream flavors? Check out our list here!

Want our basic recipe, check out this post!


I'm hoping to find a winning recipe for homemade ice cream using coconut or another lactose-free milk for my Jay.  It's hard to do his homemade (though I'm grateful I can buy it!)  

If you have any ice cream favorites or secrets, please share with a comment.  So many ice cream flavors to try....I can't wait!

Oh, and we're off to pick blueberries with friends today.  So of course, we'll be making homemade ice cream and a blueberry treat tonight together.  Seriously, summer doesn't get any better than this! 


Jedda's Granola

My house smells divine right now!


Want to know why?


Because I have my granola cooking in the oven-yum!!


 It's one of my favorite {Little Projects}!
You know how it is when you find something you really love,


and you just have to share it?

This granola is that kind of recipe.


I put two on a page so you can share it too!

Jedda’s Granola


Here are a few notes about the recipe:


I purchase the cashew bits from a local food co-op.  The bits are actually less-expensive than the regular cashews.  But if you use the regular ones, you will want to put them in your food processor first to make them a little smaller.  I also get my dried fruit that way.


I've experimented a lot with this recipe.  Everything from trying less oil and sugar to mixing honey in and using less maple syrup.  I've even tried adding a tablespoon of milled flax seed.  It seems to turn out yummy every time!  So don't worry about messing it up if you change it or substitute with what is in your cupboard!


All of the granola fits perfectly in this container(purchased at Meijer)  It lasts our family about a week.  It's the perfect breakfast or snack.  Sometimes we eat it with milk, sometimes yogurt.  I'm pretty sure that you're gonna love {This Little Project}!


Seal'n Saver™ Cereal Keeper by Rubbermaid®

Also, the dried fruit really makes it even better! 


If you're a granola girl and you try {This Little Project} be sure to let me know what you think ;)


Playdough Party Time!

I did a guest post for Kierste at Brown Paper Packages awhile ago and want to share it with you too!

Are you looking for the perfect {Little Project} to chase away winter boredom?

Try a Playdough Party!

Note: this is NOT the regular stuff.  
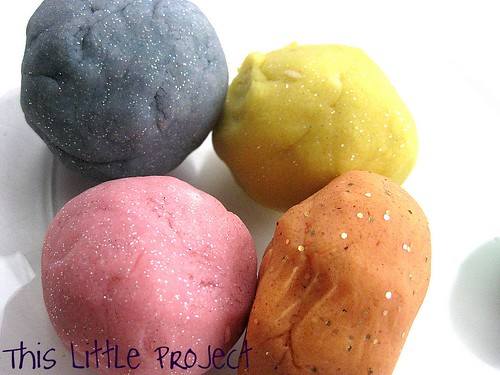
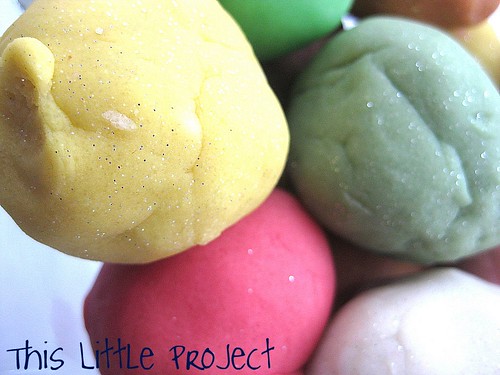
This playdough  
smells  
delicious
and SPARKLES!

{This Little Project} actually started out as a bribe (did I just admit that?) I told my kids that if they finished a (big) chore we would have a playdough party. It took a few days, but it worked! And we've had three parties now. The first time it was just us. The word "party" automatically makes something more fun-right?


But we had so much fun that first time that I knew we needed to share it with friends. Right now it is sooo cold where we live and I thought that a playdough party would be the perfect indoor playdate. But, a bigger group meant we needed A LOT more playdough. 

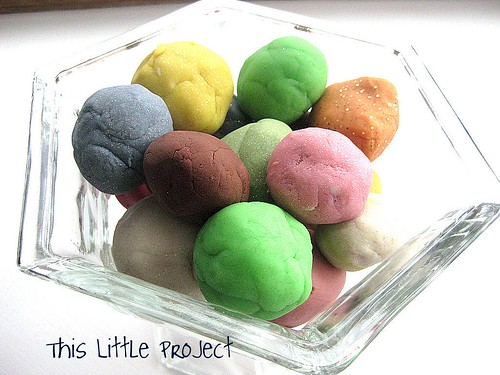
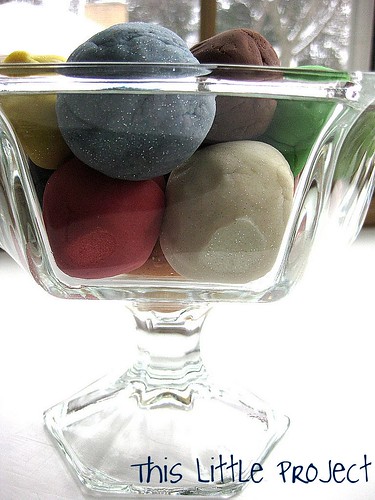
I felt like a kid doing a science project trying a bit of this and that for recipes and made a bunch of different kinds (including chocolate and SPARKLES!) and ended up with some favorites that we used for our playdough party to share with you!


Plus, to go with {This Little Project} I made some easy party favors so the kids could take some playdough home too.

First, the playdough!
To make {This Little Project} you need:
cream of tartar
salt
flour
water
vegetable oil
Plus the "mix-ins" of your choice:
food coloring
glitter
extracts (peppermint, orange, lemon, coconut, almond, etc.)
cocoa powder
kool-aid
and printable recipes below

Here are the details of how to make FOUR different kinds of playdough!

Below, are printable recipes for:
   
Plus, you can combine them and make your sparkle playdough smell like peppermint or oranges!

Chances are you either have little ones at home, grandkids that visit, or little people for neighbors that can appreciate all the squishy goodness of scented and sparkled playdough 
so feel free to share them with a friend!

And here are the Party Favors!!

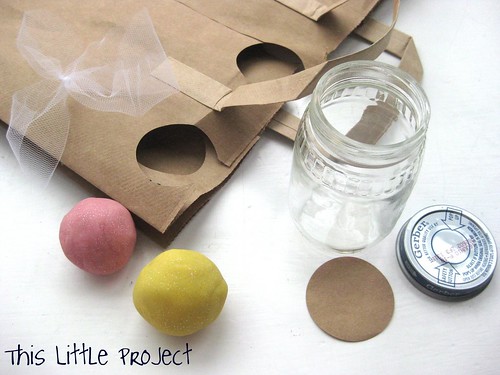
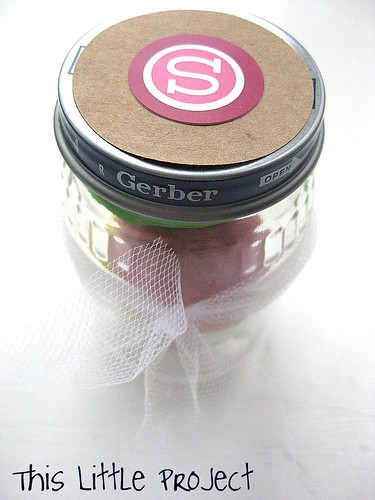
I love to repurpose things and {This Little Project} came right from my "invention box." These party favors are perfect for sending home some of their favorite "flavors" of playdough. 

Plus, the monogram makes it personal. Oh, and I'm in love with tulle right now! Did I mention these are EASY and INEXPENSIVE to make?

To make {This Little Project} you need:
Stickers or Stamps to make the monogram
paper bag (like from the grocery store)
circle punch (size 1.75" or 2")
tulle (3" by 11")
Tape
Baby food jars (I used the larger jars for 2 or 3 "flavors" or dough. But you could use the smaller jars too.)


To assemble the Party Favors:
Punch your circles out of the bag. Then add the monogram letter for each child coming to your playdough party in the centers of the circles.
Use a little tape under the circle to stick it to the baby food jar.
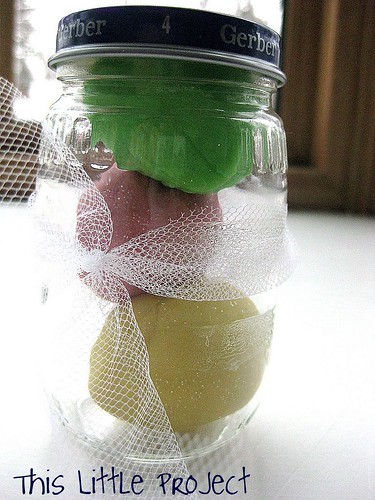
Then roll up a few balls of playdough to fit inside, tie your tulle around the center, and you're done. With these and the printable recipe cards above, you are ready to PARTY!


These baby food jars (the plastic ones would work too)
keep the playdough from drying out but they are
so much cuter than a ziplock bag :)

Let me know if you have a Playdough Party!


Granola Bars Recipe

One of my {Little Projects} for 2011 is:
not to buy any treats
at the store.

We will still eat treats, for sure. It's just that they will be the homemade kind. We have an exception for ice cream though, even though I love making that :)

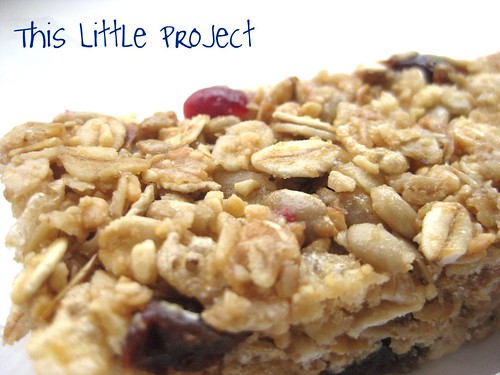
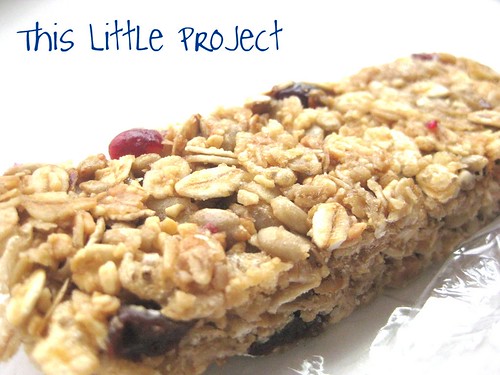
Today I'll share one of our favorite granola bars recipes. It's great in bar form and I make a couple batches and freeze some of them.

They are still wonderful after spending time in the freezer. We also use them in yogurt or milk for breakfast.


Delish!

To make {This Little Project} you need:

2 cups oats
3/4 cup puffed rice cereal
3/4 cup sunflower seeds (salted, roasted)
1 cup crushed peanuts
1 cup raisins or craisins (or 1/2 of each)
2/3 cup brown sugar
1/4 cup honey
4 Tbsp. butter
2 tsp vanilla extract


To toast the oats:
spread them on a baking sheet and toast at 400 degrees for about 10 minutes total. You will want to stir them every few minutes so they don't burn. Once they are done you are done with the oven.

To make the bars:
Mix the other dry ingredients together and add the oats to it in a large bowl.

In a separate sauce pan, mix the brown sugar, butter, honey, and vanilla over medium heat. Stir until butter is melted and brown sugar is dissolved. Then add it to the dry ingredients in the large bowl.

{Little Project Tip:} if you want to add mini chocolate chips do it right as you are dumping the granola into the pan. The mixture is hot and they melt! My experience is that melted chocolate in this recipe makes it so the bars don't hold together as well. So, you may want to drizzle chocolate over the top.

Line a 9x 13 glass baking pan with wax paper-leave extra on the ends so you can lift the granola bars out.

Spread the granola out in the dish and then pack it down firmly using the back of a spoon or your hand using a piece of wax paper. Wait for it to cool about 3 min. Then score lines across the top. Wait at least 2 hours for them to firm up. (I had to wait MANY hours once-don't know why it took longer that time.)

{Little Project Tip:} If you make multiple pans at the same time, like I do, you can stack the dishes on top of each other while they are firming-it saves counter space!

When ready to cut into bars:
Transfer the granola bars to a large cutting bard and use a sharp knife to get a nice clean cut.

To Store them:
I wrap each bar in cling wrap. Each piece of wrap is about 4-5 inches wide. Fold the short sides in first. Then fold the long sides down over the side pieces. Store them in an airtight container.

To freeze:
Wrap them like above and place the wrapped bars into a zip lock bag and store in the freezer. Mine kept for about a month because by then they were all eaten!

One of the things I love about this recipe is the hint of peanut butter taste from the nuts-luckily we don't have peanut allergy at our house. I use my food processor to crush them nice and tiny-but if you leave it on too long you will have peanut butter!
Yummy goodness! Enjoy!
Easy Breadsticks Recipe

I'm making some of these yummy breadsticks for dinner tonight. We eat these almost once a week! I'll be forever grateful for my good friend Chrispy who taught me how to make them!
I love them because they are easy and work well with white or whole wheat flour (or a mix of the two).
To make {This Little Project} you need:
1.5 cups warm water
1 T. yeast
3 T. sugar
4 cups flour (white or whole wheat)
3/4 T salt
1/2 cup of butter OR margarine OR olive oil
1/2 cup parmesan cheese
garlic salt

{Project Note:} If you want to time these to come out when your dinner is ready, plan for about an hour-start to finish. They are easy, but there is 25 minutes of "wait" time involved before you cook them :)

FIRST: combine these and let them sit together while you do the next mixture:
1.5 cups warm water
1 T. yeast
3 T. sugar

SECOND- Make flour mixture: (combine in your mixing bowl)
4 cups flour (white or whole wheat)
3/4 T salt

3- Add yeast mixture to flour mixture in your kitchen aid. Mix together and let sit for 10 minutes.

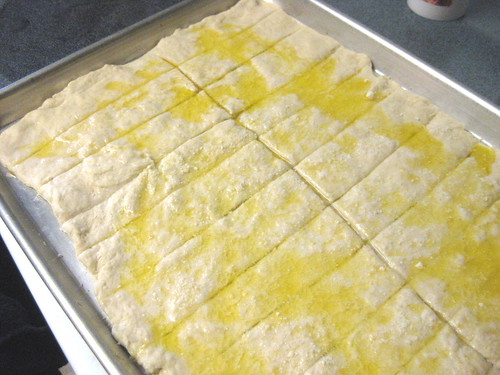
4- Roll the dough out into a greased jellyroll pan (or cookie sheet with 4 sides). {Project Note:} I think it is difficult to use a rolling pin inside the pan so I mostly just use my hands to spread the dough out- but it gives them a bumpy look-as you can tell :)

5- Spread 1/2 cup melted butter (or margarine, or olive oil) over the dough. {Project Note:} Yes, this seems like a lot of butter. You can experiment with less if you would like. Every time I do, my husband notices it's less and asks me to leave it will ALL the butter :)

6- Sprinkle with 1/2 cup parmesan cheese and then sprinkle with garlic salt

7- Cut into strips with a pizza cutter.

8- Let rise for 15 minutes.

9- Bake at 350 for 15-20 minutes.

These are BEST hot but are still yummy the second day, especially if you warm them again.
They are the perfect bread with anything Italian, but we also love them with soup. And breadsticks are also just a great winter treat!
Enjoy!
LinkWithin Related Stories Widget for Blogs Add to Technorati Favorites Share/Save/Bookmark