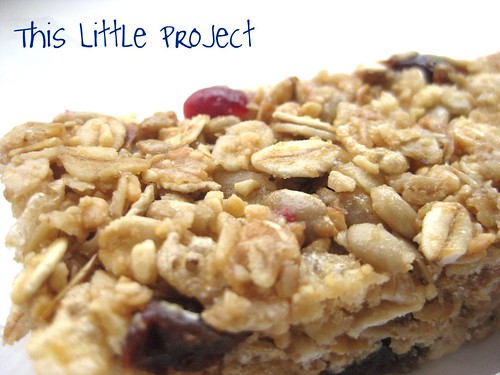
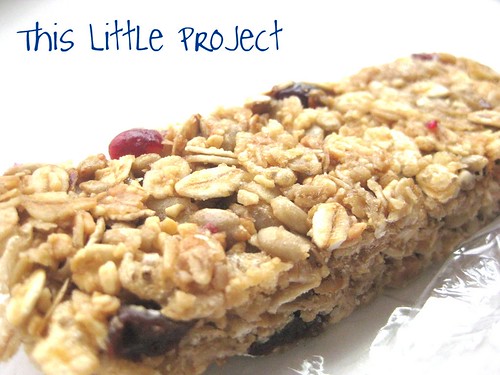
Granola Bars Recipe
One of my {Little Projects} for 2011 is:not to buy any treats at the store.
We will still eat treats, for sure. It's just that they will be the homemade kind. We have an exception for ice cream though, even though I love making that :)
Today I'll share one of our favorite granola bars recipes. It's great in bar form and I make a couple batches and freeze some of them.
They are still wonderful after spending time in the freezer. We also use them in yogurt or milk for breakfast.
 Delish!
To make {This Little Project} you need:
2 cups oats3/4 cup puffed rice cereal3/4 cup sunflower seeds (salted, roasted)1 cup crushed peanuts 1 cup raisins or craisins (or 1/2 of each)2/3 cup brown sugar1/4 cup honey4 Tbsp. butter2 tsp vanilla extract
To toast the oats: spread them on a baking sheet and toast at 400 degrees for about 10 minutes total. You will want to stir them every few minutes so they don't burn. Once they are done you are done with the oven.
To make the bars:Mix the other dry ingredients together and add the oats to it in a large bowl.
In a separate sauce pan, mix the brown sugar, butter, honey, and vanilla over medium heat. Stir until butter is melted and brown sugar is dissolved. Then add it to the dry ingredients in the large bowl.
{Little Project Tip:} if you want to add mini chocolate chips do it right as you are dumping the granola into the pan. The mixture is hot and they melt! My experience is that melted chocolate in this recipe makes it so the bars don't hold together as well. So, you may want to drizzle chocolate over the top.
Line a 9x 13 glass baking pan with wax paper-leave extra on the ends so you can lift the granola bars out.
Spread the granola out in the dish and then pack it down firmly using the back of a spoon or your hand using a piece of wax paper. Wait for it to cool about 3 min. Then score lines across the top. Wait at least 2 hours for them to firm up. (I had to wait MANY hours once-don't know why it took longer that time.)
{Little Project Tip:} If you make multiple pans at the same time, like I do, you can stack the dishes on top of each other while they are firming-it saves counter space!
When ready to cut into bars:Transfer the granola bars to a large cutting bard and use a sharp knife to get a nice clean cut.
To Store them:I wrap each bar in cling wrap. Each piece of wrap is about 4-5 inches wide. Fold the short sides in first. Then fold the long sides down over the side pieces. Store them in an airtight container.
To freeze: Wrap them like above and place the wrapped bars into a zip lock bag and store in the freezer. Mine kept for about a month because by then they were all eaten!
One of the things I love about this recipe is the hint of peanut butter taste from the nuts-luckily we don't have peanut allergy at our house. I use my food processor to crush them nice and tiny-but if you leave it on too long you will have peanut butter! Yummy goodness! Enjoy!


2 comments:
Looks delicious, I'll have to give them a try!
Thanks! I've had this bookmarked and want to make some this weekend. I love your goal of making all your snacks and treats at home and I hope you'll always share recipes that work well for you!
I also appreciate the freezing information. It's good to know, and I'm always a fan of making twice as much and saving some for later. :)
Post a Comment