Leprechaun Peg Dolls

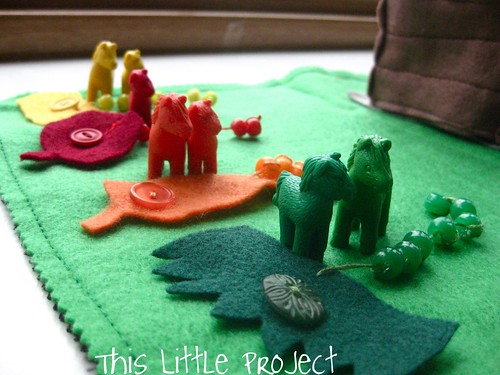
We've caught some leprechauns at our house!


These cute {little} leprechauns have been found all over our house!  

I'll try to catch them at work and show you their leprechaun land tomorrow ;)


Pin It  

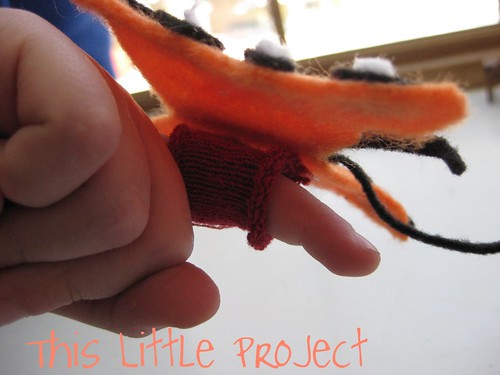
p.s. if you want to make your own peg people, check out {this little project} from the archives for more details.


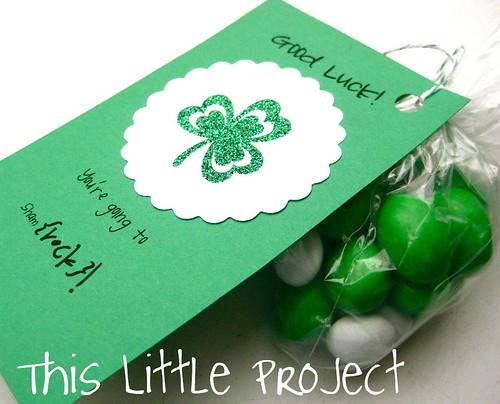
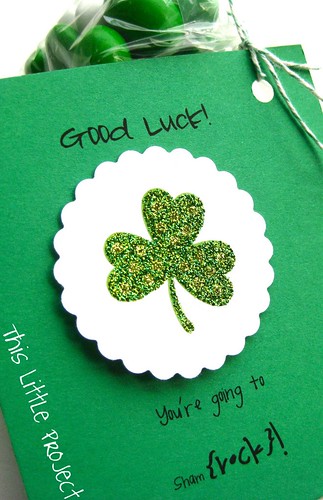
Good Luck Treat Tag Printable

This past week was a {little} extra busy around here.  We had our Nana here, celebrated Ellie's birthday, and all my piano students completed a major national piano test.  I'm a nationally certified teacher in piano performance and {LOVE} teaching.  But this test was not for the faint-hearted!


This test pulled out all the stops with testing in performance, sight reading, theory, transposition, technique, and ear training.  I've never heard so many talented pianists in one day before.  These kids were amazing and worked so hard.  It was more of a {little} by {little} kind of project, since it added up to a big day!


I wanted to send my students with a {little} extra luck so I sent them home with {this little} good luck treat at their lesson.  


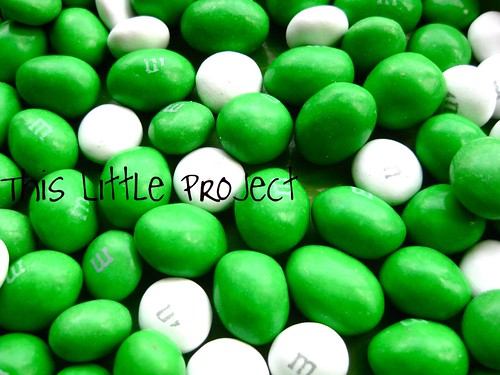
Here's a little money-saving tip: I love to buy extra bags of m&m's after Christmas when they are on sale.  I pull out the red ones for Valentine's Day and the green ones for St. Patty's day.  This year I got extra bags of mint m&m's and there were white and green together in them.  I knew they would be perfect for {this little project} in March...and don't worry, the expiration date on those bags of yummy Christmas m&m's isn't even close yet!


For {this little project} I used the "fonts for peas" fonts by Kevin and Amanda on the gift tag.  They are some of my favorite fonts and they are free to download!  


March seems to be a busy month with all kinds of reasons to send some good luck vibes so I'll share the tag so you can send some good luck too!


These {little} tags are simple to make: punched circle, sticker shamrock, green baker's twine, and a printed green tag (above), with green and white m&m's.


Have fun sending someone some extra luck!

Winner!!! Shabby Apple Dress Giveaway!


We have a WINNER for the Shabby Apple Dress!  


And the lucky number 55 is Deanna who won with the comment that she "liked" This Little Project on Facebook.

It was so fun to hear from all of you.  I wish I had a dress for each one of you!

Happy Monday!

Felt Farm Playmat (For Horses)


For Ellie's 2nd birthday I wanted to make her a gift to celebrate all the new things she is learning and will be mastering this coming year.  One thing that she is in LOVE with is horses, or "neigh neighs."  

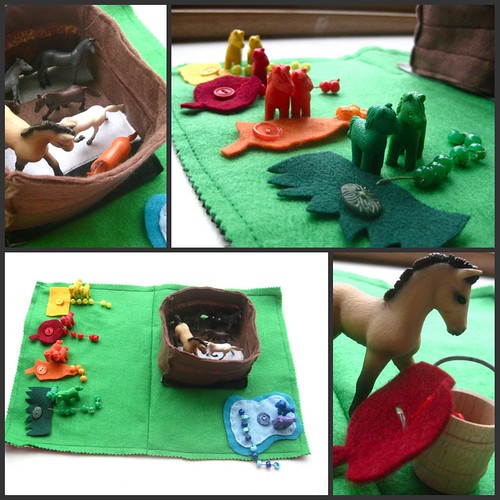
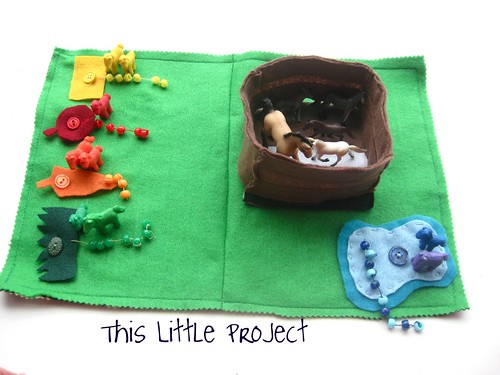
So the day before her birthday (while Ellie was napping) I whipped up {this little} Felt Farm Playmat.  You could use this idea with any favorite animal--or all of the farm together.  But we were throwing Ellie a Pony Party and so that's what you'll see below ;)


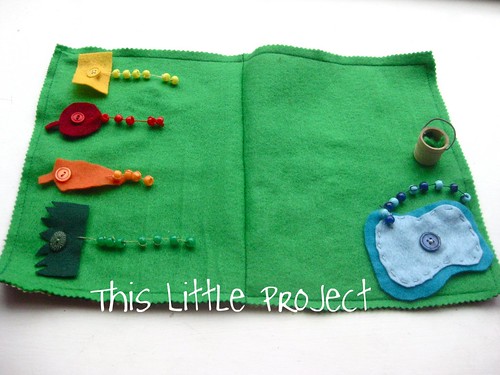
I started out with 2 pieces of felt and some buttons.  Ellie will be learning how to do buttons this coming year and this will be a fun way for her to practice them:

Each button color on the farm playmat coordinates with a kind of food that her horses eat (hay, apples, carrots, water, and grass--which is hay, I know!).  Since she's also learning how to count, I attached a different number of colored beads to each "food" for her to count.


I always use 3 strands of DMC floss (half of the whole strand it comes in) when I'm making something for my kids.  It's thicker than thread and holds up to play so much better than regular thread.


To attach the beads I just wrapped each one through twice and then went to the next one, stitching it to the "food," and tying it off at the end.

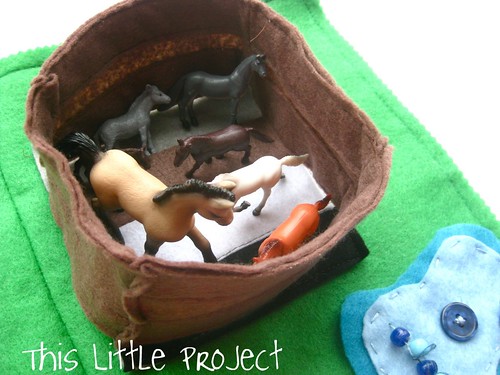
Ellie can unbutton the "food' and put it in the {little} bucket for the horses to eat:


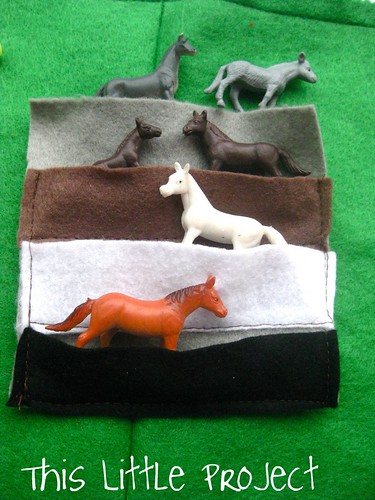
Ellie loves to sort {little} things right now and she's getting good with her colors.  So when I made the floor of the barn/corral I made it different colors.  And I didn't sew the whole color on, just the sides and bottom of it, turning it into lots of {little} pockets, which she also really likes right now.  

So now she can sort her "neigh neighs" into the pockets:


Or she can stand the animals up in the barn/corral.  For my 4 walls/fence I used a double layer of felt on the top and bottom to make it more sturdy.  Sewing all the edges of the felt together gave it a "wood" look.


Ellie also got these {little} horses for her birthday to play with.  They are perfect to sort with and fun to count with too.


You can find them here:


So this is what {this little project} looks like altogether:
I always love it when I can sneak a {little} learning into lots of great playtime.

The farm play mat was a hit--she loves it!

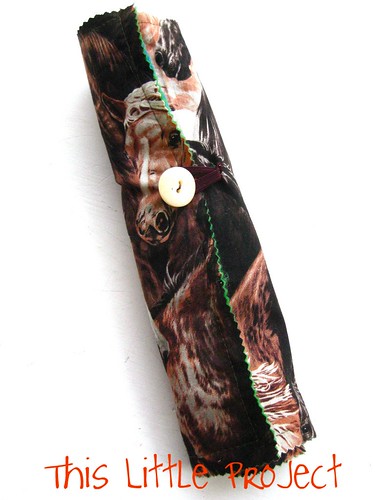
And I made it easy to clean up--it all rolls up into this, with the corral, food, and pond inside.

And it's portable.  All the horses and the bucket go into this cute {little} "neigh neigh" bag her grandma sent for her birthday (thanks Mom!)

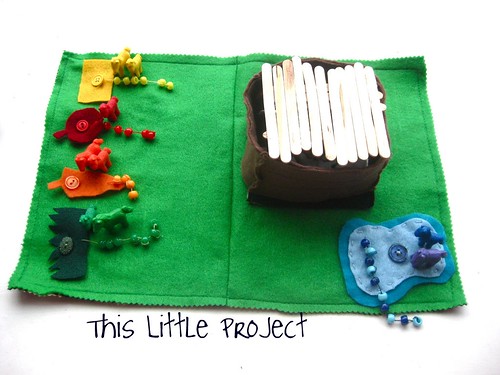
And Jay and Kay's contribution (other than active support while I was putting this altogether) was gluing a {little} roof together for the barn!

I'm totally in denial that my baby is two, and yet looking forward to all the fun we're going to have doing "little projects" together this year--I can't wait!


p.s. just a reminder that the Shabby Apple Dress Giveaway ends Sunday night!

Butterfly Finger Puppets

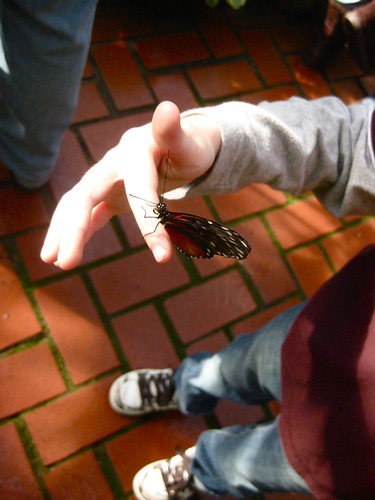
To celebrate {little} Ellie turning 2 years old we went to our favorite local butterfly exhibit!  (More about our birthday {projects} coming!)

Our local exhibit is our favorite because they let the kids interact with the butterflies and have them climb on their fingers.  In fact, our favorite entomologist was there and showed us their newest shipment of chrysalids they were getting ready to pin up to the butterflies could come out.  It was heaven for my bug boy, Jay!


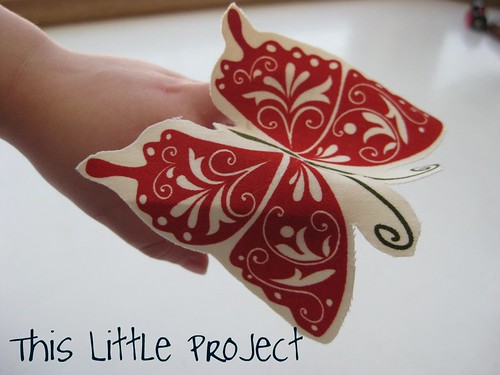
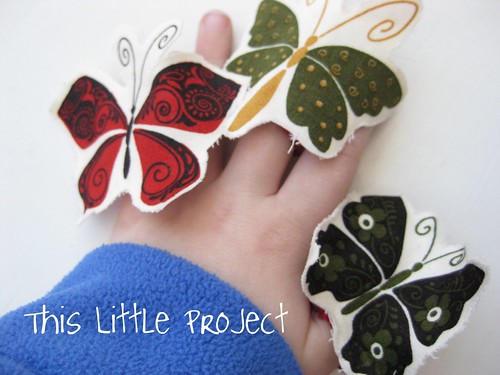
We wanted to take all the fun of the butterflies climbing on our fingers home so we made our own {little} butterfly finger puppets!  


{This little project} was so easy and fun!  I had some butterfly fabric and we cut the butterflies out.

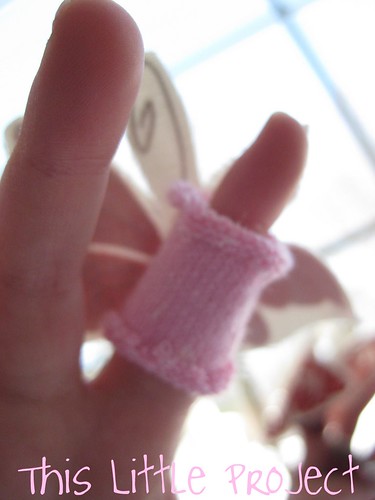
Then we cut the ends off of some knit gloves and hot glued the butterflies to them.

You could loop any kind of stretchy fabric around to go around your fingers.


The wings flap when they move them up and down.

Fun, huh!


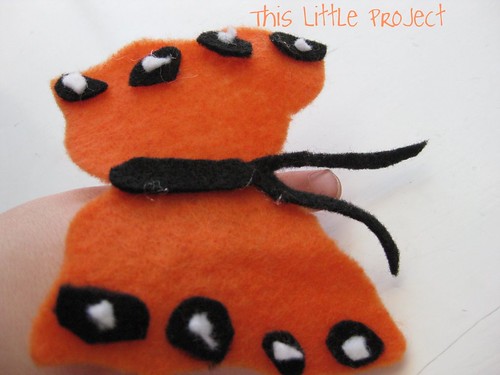
Jay wanted a monarch butterfly, which is a little intense to recreate with felt, but here is our attempt:


We attached it the same way:


You can make your own butterfly garden!


One of our other favorite {little projects} is ordering caterpillars and watching them change into butterflies!  The kits are on sale at Amazon right now:


I will tell you that when the kit comes in the mail it will include a mail-in voucher for five butterfly larvae and special food. ($3.00 fee for processing). 


And I LOVE the Cat in the Hat Learning Library books.  They are non-fiction, but in rhyme and very accessible for young people to enjoy.  We have this one about butterflies!


And thebutterflysite.com is a fun place to learn more.  We've had some other butterfly {projects} in the archives you might like too.


P.S. Don't forget to enter the Shabby Apple giveaway--it closes this weekend!

Shabby Apple Giveaway--Women's Dress

GIVEAWAY CLOSED

Today I have an extra fun Friday Favorite and Freebie for you:

A giveaway from Shabby Apple!

I love to peruse the Shabby Apple website.  
Shopping is a fun {little project}!

I love the mix of classy, modern, and vintage styles. 
So you can imagine how thrilled I was when they contacted me with a dress to giveaway to my readers!  

Here are just a few of the women's dresses at Shabby Apple that I love:

Navy pleated skirt dress has a belt with bow, v-neck, and cap sleevesGrey Cotton T-Shirt Dress

Just looking through these fun colors and styles will help chase those winter blues away!  Shabby Apple has everything from flirty to sophisticated dresses, all with a vintage-kind-of-class.

I'm a big fan of the Roamin' Holiday dresses, especially!


Piazza NavonaSpanish Steps


And today you can enter to win 
{this} fabulous "Amethyst" dress 
from Shabby Apple:

Plum Colored Faux Wrap Dress with Puff SleevesPlum Colored Faux Wrap Dress with Puff Sleeves


To enter to win this amazing dress, "like" Shabby Apple on facebook and then leave me a comment saying you did.  

Also, since This Little Project, finally has a facebook page (yay!), you can enter the giveaway with a "like" for This Little Project too! or get an extra one that way.  Just be sure to leave a comment for each.

If you subscribe to {This Little Project} via email or reader, leave a comment entry for that as well.

You must be a This Little Project follower to win!
(see the google friend connect on the right sidebar)

Entries will be accepted until midnight EST on March 11th.  The winner will be announced Monday the 12th.  

Also, please note that the winner must have a U.S. shipping address and the dress cannot be exchanged for a different style.  But it's ok, you'll love it!

Shabby Apple is also offering a 10% discount code for {This Little Project} readers!

Just use the code: "LITTLEPROJECT10OFF" 
when you check out.
(expires March 31st)

Good Luck!


(I was not compensated for my opinions.  My opinions noted are 100% my own.)


LinkWithin Related Stories Widget for Blogs Add to Technorati Favorites Share/Save/Bookmark